Advertisement
Quick Links
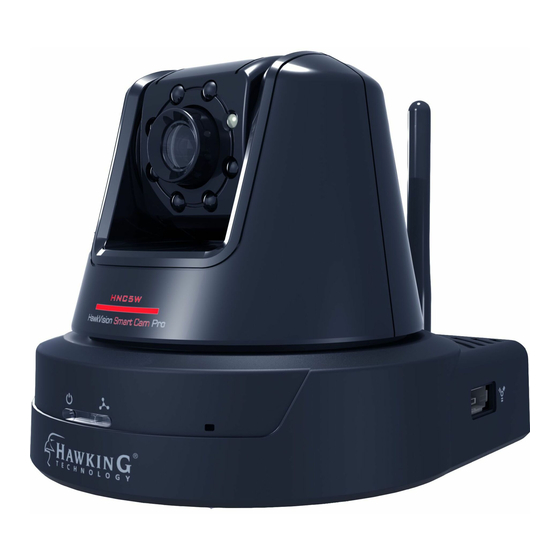
Quick Installation Guide
Hawkvision
TM
Smart Camera Pro
Model No. HNC5W
Package Contents
• 1x HNC5W HawkVision Smart Cam Pro
• 1x Power Adapter 5V/1.5A
• 1x External Antenna
• 1x Wall Mount Kit
• 1x Three Foot Ethernet Cable
• 1x setup CD-ROM
• 1x Quick Installation Guide (QIG)
System Requirements
• Windows XP or later with an available CD/DVD-Rom
Drive (only required for initial setup)
• A LAN Port on your network (only required for initial
setup)
• Wireless 802.11b/g/n network (only if you wish to
connect to your network wirelessly.)
• Power Outlet
• Computer Platform for viewing: Windows XP or later,
Mac OS 10.4 or later
CPU: Intel Pentium III 800MHz or above
RAM: 512MB
Resolution: 800x600 or above
Interface: Internet Explorer 6.0+, Firefox 2.0+, Safari
2.0+, or Chrome
• SmartPhone/Tablet Interface (optional): iOS or Android
EagleSense App
Front
Infrared LEDs (x7)
- Allows your camera to capture a clear image in a dark environment
Light Sensor
- Used to trigger on/off the external LEDs according to light level.
Link LED
Flashing green light indicates the camera's network connectivity
Internal Microphone
Allows the camera to receive sound/voice
Power LED
LED is on, when the power adapter is connected and plugged
into an outlet
Back
USB Dismount Button Used to remove a connected USB Drive Safely
(!Press for four seconds, the Power LED will start flashing, when the
LED becomes steady again, you can remove the USB device)
Power Connector 12V/1.5A
GPIO Connectors
used to connect to external devices.
Wireless Antenna
Provides wireless connection to your network . Removable 2dBi
Antenna (SMA Antenna jack).
Ethernet (LAN Port)
Provides wired connection to your network
Audio-Out (3.5mm jack)
Connects to an external speaker or headphone
DC 12V
GPIO
Reset
Press and release quickly to reboot the camera. Press and hold
USB
WPS
Reset
Ethernet
dismount
for at least 5 seconds to perform a factory reset.
IN OUT
WPS Button
Press and release to initiate easy wireless connection with WPS
devices.
Side
USB Port
With up to 500mA of power, this USB Port allows you to connect to
an external drive, store and record the video footage.
PRE-CONFIGURATION
Connect the Camera to the Network
Use the provided Ethernet cable to connect the camera
to your local area network (LAN). Also, connect the
provided antenna into the antenna port. Plug in the
AC power and the camera will be powered on
automatically. You can verify the status from the Power
LED on the front panel of the camera. Once
connected, the LINK LED will also flash a green light,
indicating that the camera is ready for use.
Internet source
Wired/Wireless Router
Ethernet Cable
Installing the Wall Mount Kit (Optional)
The camera comes with a Wall Mount Kit, which allows
you to place your camera anywhere by mounting the
camera through the three screw holes on the base of the
wall mount kit.
Advertisement

Related Manuals for Hawking HawkVision Smart Cam Pro HNC5W


Summary of Contents for Hawking HawkVision Smart Cam Pro HNC5W
-
Page 1: Quick Installation Guide
Front PRE-CONFIGURATION Quick Installation Guide Infrared LEDs (x7) - Allows your camera to capture a clear image in a dark environment Connect the Camera to the Network Hawkvision Light Sensor Use the provided Ethernet cable to connect the camera Smart Camera Pro - Used to trigger on/off the external LEDs according to light level. -
Page 2: Using The Camera
Ethernet cable and go wireless. Now, you can start viewing the ©2012 Hawking Technologies, Inc. All rights reserved. All trademarks herein are the property of • Trigger Out allows you to trigger on/off the GPIO output their respective owners. IOS is a trademark or registered trademark of Cisco in the U.S. and camera images, using any computer on your local area network.