Table of Contents
Advertisement
MR52/53 Installation Guide
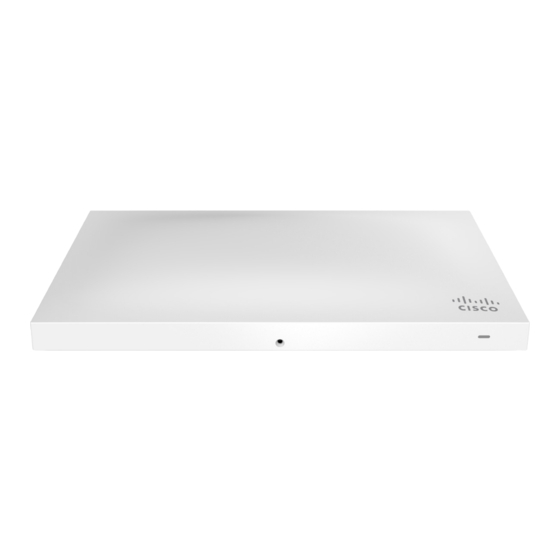
The Cisco Meraki MR52 and MR53 are dual-band enterprise class 802.11ac Wave 2 cloud-managed access point.
Designed for highest capacity and highest density, the MR52 and MR53 meet the need of the most demanding
environments. They both also include a third radio dedicated to optimizing the RF environment and securing the
airwaves.
Package Contents
The MR52 and MR53 packages contain the following:
• MR52 or MR53 Cloud-Managed Access Point
• Mount cradle including built-in level tool
1
Advertisement
Table of Contents

Summary of Contents for Cisco MR52
-
Page 1: Package Contents
The Cisco Meraki MR52 and MR53 are dual-band enterprise class 802.11ac Wave 2 cloud-managed access point. Designed for highest capacity and highest density, the MR52 and MR53 meet the need of the most demanding environments. They both also include a third radio dedicated to optimizing the RF environment and securing the airwaves. - Page 2 • Drop ceiling mount kit • Wall screws, wall screw anchors, and security screws • Spare hardware...
-
Page 3: Understanding The Mr52 And Mr53
Understanding the MR52 and MR53 Your Meraki MR52 and MR53 both have the following features:... - Page 4 The mount cradle has the following features:...
-
Page 5: Security Features
Security Features The MR52 and MR53 both feature multiple options for physically securing the access point after installation: 1. Security screw – The accessory kit includes screws that can be used to secure the access point to the mount cradle. Engaging the security screw prevents accidental dislodging and theft. -
Page 6: Power Source Options
The MR52 and MR53 both will function in low power mode when powered by a 802.3af power source. While in low power mode, the MR52 and MR53 both will disable its Air Marshal radio as well as three out of four transmit streams on the 2.4 Ghz band. -
Page 7: Pre-Install Preparation
Configure Your Network in Dashboard The following is a brief overview only of the steps required to add a MR52 or MR53 to your network. For detailed instructions about creating, configuring and managing Meraki wireless networks, refer to the online documentation (documentation.meraki.com). -
Page 8: Collect Tools
Dynamic Assignment When using DHCP, the DHCP server should be configured to assign a static IP address for each MAC address belonging to a Meraki AP. Other features of the wireless network, such as 802.1X authentication, may rely on the property that the APs have static IP addresses. -
Page 9: Collect Additional Hardware For Installation
Collect Additional Hardware for Installation You will need the following hardware to perform an installation: Installation Instructions... -
Page 10: Choose Your Mounting Location
2. Power over Ethernet supports a maximum cable length of 300 ft (100 m). 3. If being used in a mesh deployment, the AP should have line of sight to at least two other Meraki devices. A Cisco Partner can help ensure that your AP placement is ideal. - Page 11 • 6-32x4 mm screws • 6-32x7 mm screws only used for recessed rail mount (uncommon) • 2 rubber spacers 1. Attach the T-rail clips to the T-rail by rotating them and snapping them into place as shown. The black foam pads should be compressed slightly after installation.
- Page 12 2. Using the dashed lines on the mount cradle template as a guide, set the proper spacing of the T-rail clips on the T-rail. 3. Tighten the set screws on the T-rail clips to secure the clips using a 5/64”(2 mm) hex key.
-
Page 13: Power The Ap
Electrical Junction Box Mount Using mount cradle The MR52 and MR53 can be mounted to a 4” square cable junction box, a 3.5 or 4” round cable junction box, or various U.S. and European outlet boxes (mounting screws are not included). -
Page 14: Attach The Ap To The Mount Cradle
Attach the AP to the Mount Cradle (This section applies to wall and/or solid ceiling, drop ceiling or electrical junction box mount where you have already installed the mount cradle.) The AP attaches to the mount cradle with two tabs on the cradle that insert into the AP, and is secured to the cradle using one screw. -
Page 15: Secure The Ap
Then remove the AP from the cradle’s top tab. Desk or Shelf Mount The MR52 and MR53 can both be placed on a desk or shelf resting on the non-scratch rubber feet. The mount cradle is not necessary for a desk or shelf installation. -
Page 16: Verify Device Functionality And Test Network Coverage
Verify Device Functionality and Test Network Coverage 1. Check LEDs a. The Power LED should be solid green (or blue, if clients are connected). If it is flashing blue, the firmware is automatically upgrading and the LED should turn green when the upgrade is completed (normally within a few minutes).


