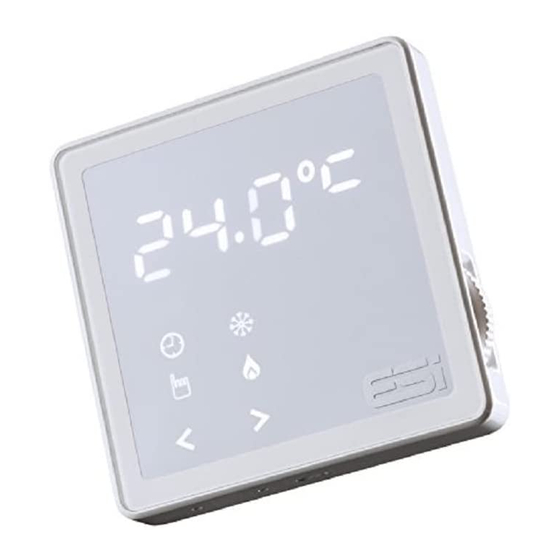
ESI ESRTP5 Installation Instructions Manual
Programmable room
thermostat
Hide thumbs
Also See for ESRTP5:
- User instructions (20 pages) ,
- User and installation instructions manual (32 pages)
Table of Contents
Advertisement
Advertisement
Table of Contents

Summary of Contents for ESI ESRTP5
- Page 1 ESRTP5 Programmable Room Thermostat Installation Instructions...
- Page 2 Thank you for choosing ESi Controls. All our products are tested in the UK so we are confident this product will reach you in perfect condition and give you many years of service. However, for additional peace of mind, we recommend you register your product online at www.esicontrols.co.uk/warranty for your...
-
Page 3: Table Of Contents
Contents Installation Instructions 1. Technical Specification Parameter Settings Thermostat Technical Settings 2. Installation Instructions Installation Safety Instructions 2.1.1 General Safety Instructions 2.1.2 Warning Notices 2.1.3 Maintenance 2.1.4 Fitting the Programmable Room 2.2.1 Thermostat Installing the Programmable Room 2.2.2 Thermostat Wiring Diagram 2.2.3 3. -
Page 5: Installation Instructions
Installation Instructions... -
Page 6: Technical Specification
1. Technical Specification Parameter Settings All Day Mode All ay mode temperature 5°C-35°C (Default: 21°C) Holiday Mode Holiday mode temperature 5°C-35°C (Default: 7°C) Holiday mode days 1-99 days (Default: 1 day) Default Mode Temporary set temperature 5°C-35°C (Default: 21°C) 00.00-24.00 Program event start time (See section 5.1 for details) 5°C-35°C (See section 5.1 for details) -
Page 7: Thermostat Technical Settings
Thermostat Technical Settings Power supply 230VAC, 3(1)A SPDT Temperature sensor type +/- 1°C at 20°C Total switch rating 3(1)A 230VAC SPDT (Volt free changeover Contact type contacts) Plastic Thermoplastic, flame retardant Protection rating IP30 Dimensions 95mm (L) x 95mm (W) x 39mm (D) BST/GMT Time change Automatic Factory pre-set programme... -
Page 8: Installation Instructions
2. Installation Installation Safety Instructions 2.1.1 The unit must be installed by a suitably qualified person in accordance with the latest IEE Wiring Regulations. Isolate mains supply before commencing installation. Please read all instructions before proceeding. Ensure that the fixed wiring connections to the mains supply is via a fuse rated at not more than 3 Amps and Class ‘A’... -
Page 9: Maintenance
Maintenance 2.1.4 Always isolate the mains supply before commencing any work, servicing or maintenance on the system. And please read all instructions before proceeding. Arrange for an annual maintenance and inspection schedule to be carried out by a qualified person on every part of the heating and hot water system. -
Page 10: Installing The Programmable Room Thermostat
Installing the Programmable Room Thermostat 2.2.2 1. Use a flat headed screwdriver to press the fastener at the top of the unit, then gently loosen from the unit, unhooking from top to bottom. 2. Fix the 35mm back box, terminals at the top, onto a 2 flange metal back box with 2 BM3.5x23 screws. -
Page 11: Wiring Diagram
3. Route the wires through the back of the wall plate. Fit the wires to the wall-plate in accordance with the relevant diagram and in accordance with I.E.E. regulations. 4. Fit the unit onto back-plate securing from bottom to top. 5. -
Page 12: Technical Settings (Tech)
3. Technical settings Quick command guide... -
Page 13: Menu Technical Settings (Tech)
Menu Technical Settings (tEcH) 1. Press and hold until the display shows tInE. Turn the dial until display shows tEcH then press & together to enter. 2. Use the dial to choose between the below, then press to enter:- dS: Delayed Start. Default is OFF. Use the dial to choose between OFF (function disabled) or ON (heating on time is delayed up to 40 minutes according to current room temperature). -
Page 14: Setting The Landlord Service (Sers)
4. Landlord settings (SEr) Setting the Landlord Service (SErS) 1. To set the landlord service, enter the landlord service settings (See section 8.2). Use the dial to select SErS then press . 2. Use the dial to enter the password 0000, using to move to the next digit. -
Page 15: Setting The Due Date (Date)
Setting the Due Date (DAtE) To set the due date, enter the landlord service settings (See section 9.1) and use the dial to select DAtE then press . Use the dial to set the due date (between 28 - 366 days) then press to confirm and return to landlord service settings. - Page 16 We are continuously developing our products to bring you the very latest in energy saving technology and simplicity. However, should you have any questions setting up your controls please email us at sales@esicontrols.co.uk or for technical queries call us on our dedicated technical helpline 07539 117468.
- Page 17 WARNING: Interference with sealed parts renders the guarantee void. In the interests of continuous product improvement we reserve the right to alter designs, specifications and materials without prior notice and cannot accept liability for errors.
- Page 18 Version 6.10.1...


