ESI ESRTD3 Installation Instructions Manual
Hide thumbs
Also See for ESRTD3:
- User and installation instructions manual (20 pages) ,
- User instructions (8 pages)
Advertisement
Table of Contents
Advertisement
Table of Contents

Related Manuals for ESI ESRTD3


Summary of Contents for ESI ESRTD3
- Page 1 ESRTD3 Digital Room Thermostat Installation Instructions...
- Page 2 Thank you for choosing ESi Controls. All our products are tested in the UK so we are confident this product will reach you in perfect condition and give you many years of service. However, for additional peace of mind, we recommend you register your product online at www.esicontrols.co.uk/warranty for your...
-
Page 3: Table Of Contents
Contents Installation Instructions Technical Data Installation Instructions Installation Safety Instructions Maintenance Safety Notice Wiring Diagram Mounting the Digital Room Thermostat DIP Switch Settings - Heating Heating Mode... -
Page 5: Installation Instructions
Installation Instructions... -
Page 6: Technical Data
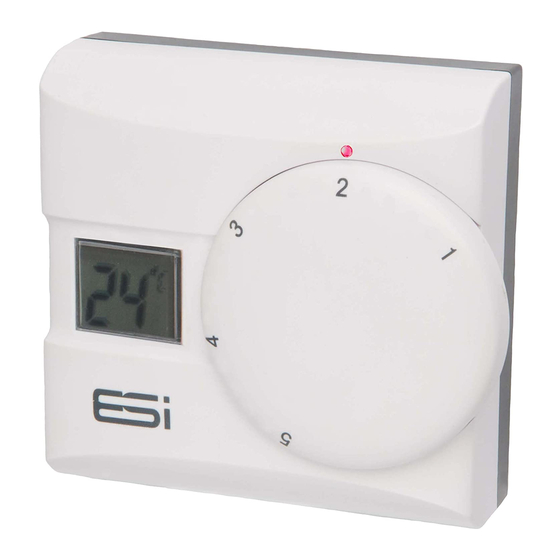
Technical data Fixing Easy Fit Back Plate Sensing Element Electronic Power Supply 230VAC, 50Hz Switch Action 3(1)A 230VAC Temperature Setting Range 5°C to 30°C Current rating Maxiumum 3(1)Amp Terminal Differential <0.6°C at 4°/hour Switch Type SPST Dimensions L: 85mm x H: 85mm x D: 35mm Complies with EN60730-1, EN60730-2.7, EMC Directive 2004/108/EC,... -
Page 7: Installation Safety Instructions
Installation Safety Instructions The unit must be installed by a suitably qualified person in accordance with the latest IEE Wiring Regulations. Isolate mains supply before commencing installation. Please read all instructions before proceeding. Ensure that the fixed wiring connections to the mains supply is via a fuse rated at not more than 6 amps and class ‘A’... -
Page 8: Safety Notice
Safety Notice WARNING! Always isolate the AC mains supply before installing. this product must be fitted by a qualified person, and installation must comply with the guidance provided in the current editions of BS767 (IEE wiring regulations) and part “P” of the building regulations. Wiring Diagram 1.0-2.5mm 6mm MAX... -
Page 9: Mounting The Digital Room Thermostat
1.5m Mounting the Digital Room Thermostat 1. Position the Thermostat about 1.5m above floor level, in a location where the thermostat is accessible, reasonably lit and free from extremes of temperature and draughts. Do not position the thermostat near sources of heat, such as radiators, lights, TV, direct sunlight or on an outside wall. -
Page 10: Dip Switch Settings - Heating
DIP Switch Settings - Heating HEAT COMP DELAY (TPI) OFF COMP DELAY (TPI) ON 6 CYCLES 3 CYCLES DELAYED START OFF DELAYED START ON Heating Mode Option to switch to: 1. Chronopropportional (Chrono) 2. 3 or 6 cycles (Chrono on only) 3. - Page 11 We are continuously developing our products to bring you the very latest in energy saving technology and simplicity. However, should you have any questions setting up your controls please email us at sales@esicontrols.co.uk or for technical queries call us on our dedicated technical helpline 07539 117468. WARNING: Interference with sealed parts renders the guarantee void.
- Page 12 Version 5.5 © ESi Controls Limited 2017...