
Related Manuals for Datavideo TLM-102


Summary of Contents for Datavideo TLM-102
-
Page 1: Instruction Manual
POWER INPUT EXIT MENU POWER INPUT EXIT MENU TLM-102 DUAL 10” MONITOR DUAL 10” MONITOR TLM-102 Instruction Manual w w w . d a t a v i d e o . c o m... -
Page 2: Table Of Contents
Datavideo Technologies is not responsible for any omissions or errors, or for any subsequent loss or damage caused by using the information contained within this manual. -
Page 3: Fcc Compliance Statement
AC adapter. If you are not sure of the type of power available, consult your Datavideo dealer or your local power company. Do not allow anything to rest on the power cord. Do not locate this unit where the power cord will be walked on, rolled over, or otherwise stressed. -
Page 4: Warranty
Your statutory rights are not affected. • Three Year Warranty • All Datavideo products purchased after July 1st, 2017 are qualified for a free two years extension to the standard warranty, providing the product is registered with Datavideo within 30 days of purchase. -
Page 5: Disposal
PCIe Card are covered for 1 year. The three-year warranty must be registered on Datavideo's official website or • with your local Datavideo office or one of its authorized distributors within 30 days of purchase. Disposal For EU Customers only - WEEE Marking. -
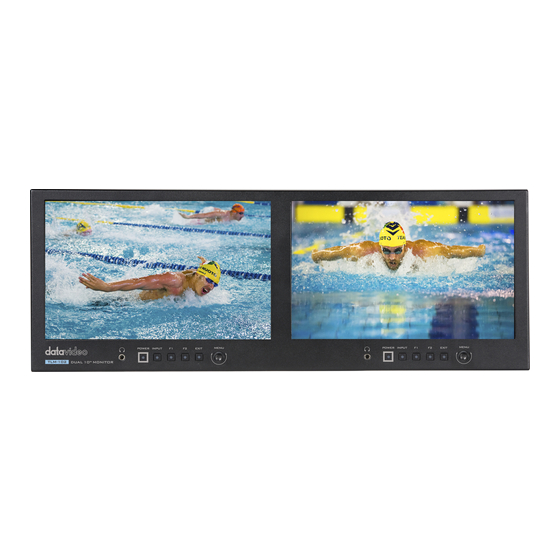
Page 6: Introduction
Introduction The Datavideo TLM-102 Dual 10” monitor is a 4RU Rack mount dual monitor which is designed for the broadcast quality monitoring application. Datavideo TLM-102’s 4RU rack design, SDI and HDMI inputs and outputs and different mounting methods make it the best solution for various applications such as live vans, on-site monitoring and video wall. -
Page 7: Tlm-102 Model Type
TLM-102 Model Type Model TLM-102 Image System 4U Rack Mount... -
Page 8: Compatible Resolutions And Formats
Compatible Resolutions and Formats TLM-102 Interface Format HDMI 1920x1080P @ Support Support 59.94 1920x1080P @ 60 Support Support 1920x1080P @ 50 Support Support 1920x1080P @ Support Support 29.97 1920x1080P @ 25 Support Support 1920x1080P @ 30 Support Support 1920x1080P @... -
Page 9: Connections And Controls
Connections and Controls Front Panel Input Input F1/F2 Button Button Button Power Power F1/F2 Button Button Button Bi-Color Tally Light Exit Exit Headphone Headphone Button Button Socket Socket MENU MENU Knob Knob Buttons Descriptions Headphone Socket 3.5mm headphone socket. Power Button Press the power button to turn ON/OFF the monitor. - Page 10 F1: Scan F2 :Waveform Exit Button Press the Exit button to exit or go back. Menu Knob Menu Function: press to activate the menu displayed on screen. Option Function: select the options in the menu via dialing to the left or right. Confirm Function: press to confirm after option selected.
-
Page 11: Rear Panel
Input Ports Descriptions Tally Light Input Tally light information can be supplied to the TLM-102 from Datavideo’s switchers via this socket. Pin1 and pin6 represent “Red”. Pin3 and pin 8 represents “Green”. Pin4 and pin9 represents “GND”. Service Only USB For service only. -
Page 12: Software Function
Software Function Basic Functions Center Marker ● Safety Marker ● Aspect Marker ● Aspect ● Underscan ● Pixel to Pixel ● Zoom ● H/V Delay ● DSLR ● Freeze ● ● Image Flip ● Check Field Level Meter ● ● TALLY Advanced Functions Peaking... -
Page 13: Osd Menu
OSD Menu The TLM-102 can be set up using an OSD menu system. To display the OSD menu, please press the MENU knob. This menu system is navigated using the knob to change a value or to highlight a menu option. Press the MENU Knob to select an option or confirm a value. - Page 14 Time Code Off/LTC/VITC(under SDI) Volume 0~100 Level Meter On/Off Audio Audio Ch Ch1&Ch2 (under SDI) Language English/Chinese HDMI/SDI Convert On/Off Color Bar On/100%/75% OSD Timer 10s/20s/30s System Back light 0 ~100 Reset On/Off Version V1.0...
-
Page 15: Install The Tlm-102
Install the TLM-102 For installing the TLM-102 Dual 10” monitor, please refer to following diagrams. -
Page 18: Dimensions
Dimensions... -
Page 19: Specifications
Specifications Size 10.1'' Resolution 1280 x 800 Active Area 216.96(H) × 135.60(V) mm Dot Pitch 0.0565 (H) × 0.1695 (V) mm Contrast Ratio 800:1 View Angle (Typ.) 170°(H) / 170°(V) Aspect Ratio 16:10 Brightness 300cd/m² Video Input 1x HDMI, 1 x SDI Video Output 1x HDMI, 1 x SDI 1920 x 1080p 50/59.94/60... - Page 20 Storage -40°C ~ 60°C(-40°F-140°F) Temperature Dimension(mm) 482.5(L)× 178(W)× 38(D) mm Weight 3.6Kg TALLY× 1 piece Accessory 12V DC adapter× 1 piece Manual× 1copy...
-
Page 21: Accessories
Accessories Accessories Quantity 1. DC 12V Power adapter 1 piece 2. Tally Connector 1 piece 3. Manual 1 piece... -
Page 22: Service And Support
Service & Support It is our goal to make owning and using Datavideo products a satisfying experience. Our support staff is available to assist you to set up and operate your system. Contact your local office for specific support requests. Plus, DATAVIDEO WORLDWIDE OFFICES please visit www.datavideo.com to access our FAQ section.