Table of Contents
Advertisement
Quick Links
Advertisement
Table of Contents

Related Manuals for Datavideo TLM-170L


Summary of Contents for Datavideo TLM-170L
-
Page 2: Table Of Contents
SERVICE AND SUPPORT ..................17 Disclaimer of Product and Services The information offered in this instruction manual is intended as a guide only. At all times, Datavideo Technologies will try to give correct, complete and suitable information. However, Datavideo Technologies cannot exclude that some information in this manual, from time to time, may not be correct or may be incomplete. -
Page 3: Fcc Compliance Statement
AC adapter. If you are not sure of the type of power available, consult your Datavideo dealer or your local power company. 8. Do not allow anything to rest on the power cord. Do not locate this unit where the power cord will be walked on, rolled over, or otherwise stressed. -
Page 4: Warranty
• Certain parts with limited lifetime expectancy such as LCD Panels, DVD Drives, Hard Drives are only covered for the first 10,000 hours, or 1 year (whichever comes first). Any second year warranty claims must be made to your local Datavideo office or one of its authorized Distributors before the extended warranty expires. -
Page 5: Introduction
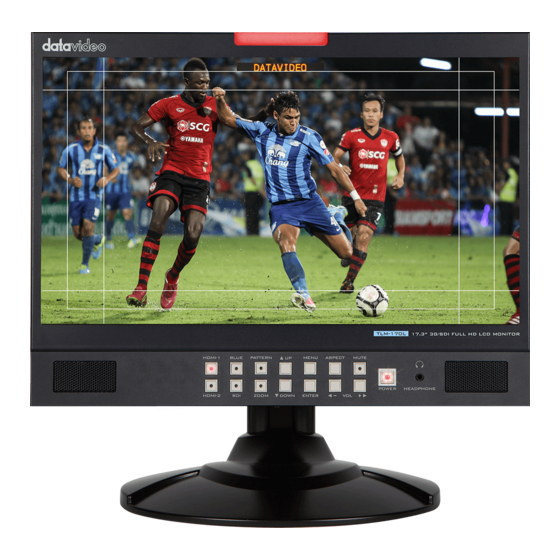
The Datavideo TLM-170L monitor is designed for superior performance. Whether your application is in a live production gallery, 19’’ rack monitoring, OB Van or a video editing suite the TLM-170L will help you confidently monitor the pictures within your chosen workflow. - Page 6 1920x1080P @ 50 Support Support 1920x1080P @ 29.97 Support Support 1920x1080P @ 25 Support Support 1920x1080P @ 30 Support Support 1920x1080P @ 23.98 Support Support 1920x1080P @ 24 Support Support 1920x1080i @ 59.94 Support Support 1920x1080i @ 60 Support Support 1920x1080i @ 50 Support Support...
-
Page 7: Connections And Controls
Connections and Controls Front Panel Bi-Color Tally Light Menu Mute Navigation Button Buttons Aspect Blue Only Button Pattern Ratio Button Button Source Select Buttons Zoom Volume Power Headphone Button Control Button Socket Buttons Descriptions Bi-Colour Tally Light Can be used to indicate Live (Red). Source Select Buttons Select the type of input you are using. - Page 8 Aspect Ratio Button Sets the Aspect Ratio to 16:9 / 4:3 Mute Button Mutes the audio from the internal speakers or headphone socket. Zoom Button This feature is designed for use with HD-SDI and HDMI sources above 720p resolution. Press this button to zoom in to the video on the display.
-
Page 9: Rear Panel
DC In Socket for connecting 12V / 30W power supply. The connection can be secured by screwing the outer fastening ring of the DC In plug to the socket. On / Off Switch Main on / off switch to switch the TLM-170L on and off. -
Page 10: Osd Menu
OSD Menu The TLM-170L can be set up using an OSD menu system. To display the OSD menu press the MENU button. This menu system is navigated using the Up / Down buttons to change a value or to highlight a menu option. Press the Enter button to select an option or confirm a value. -
Page 11: Firmware Update Procedure
Firmware update procedure From time to time Datavideo may release new firmware to either add new features or to fix reported bugs in the current TLM-170L firmware. Customers can update the firmware themselves if they wish or they can contact their local dealer or reseller for assistance should they prefer this method. -
Page 12: Tlm-170Lr: Fitting The 19" Rack Ears To The Tlm-170L
TLM-170LR: Fitting the 19” Rack Ears to the TLM-170L The TLM-170LR is supplied with 19” Rack Ears which allow the monitor to be rack mounted (19” 7U). Use the supplied screws to attach the left and right rack ears. You will see there are four screws on either side, as illustrated above, plus additional screws at the base of each rack ear, as illustrated below. -
Page 13: Tlm-170Lm: Fitting The Monitor To A 19" Rack
TLM-170LM: Fitting the monitor to a 19” Rack The TLM-170LM is designed to rack mount. When folded away it is 1U high, please bear in mind that when opened for operation the monitor is 7U high, so leave adequate room above for this. The monitor arrives already fitted with sliding rack rails, these have a length adjustment at the rear to suit the distance between the front and rear rack rails of your cabinet. -
Page 14: Dimensions
Dimensions All measurements in millimetres (mm) -
Page 15: Vesa Mounting Interface Standard (Mis)
VESA Mounting Interface Standard (MIS) -
Page 16: Specifications
Specifications Size 17.3'' Resolution 1920 x 1080 Top: 60 deg Bottom: 60 deg View Angle Left: 70 deg Right: 70 deg White Luminance 300cd Contrast VESA Mounting Interface 100mm x 100mm Standard (MIS) HDMI x 2 HDMI Ver. 1.3 Video INPUT BNC x 1 3Gbps/HD/SD-SDI Video OUTPUT... -
Page 17: Service And Support
Service and Support...