
Related Manuals for Monogram ZIPP360NHSS


Summary of Contents for Monogram ZIPP360NHSS
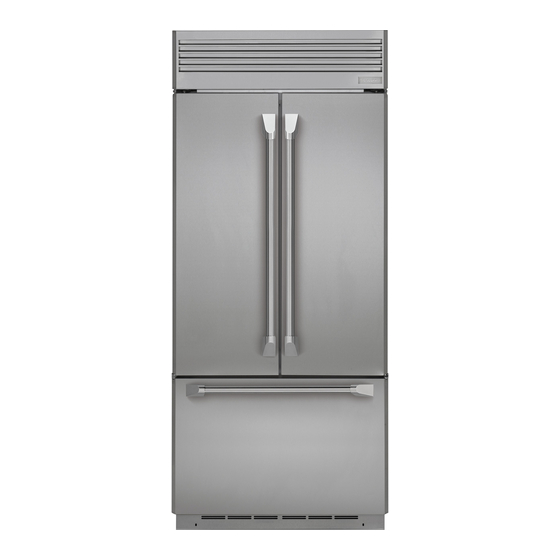
- Page 1 Design Guide with Installation Instructions 36” Built-In French Door, Bottom-Freezer Refrigerators 31-49074 224D3560P002 12-14 GE monogram.com...
-
Page 2: Safety
This refrigerator is very heavy. To reduce the risk of person injury during maneuvering and installing this refrigerator, 3 people are required for proper installation. For Monogram local service in your area, call 1.800.444.1845. For Monogram service in Canada, call 1.800.561.3344 For Monogram Parts and Accessories, call 1.800.626.2002. - Page 3 Consignes de Sécurité Ce symbole représente une alerte de sécurité. Ce symbole vous avise de dangers possibles pouvant causer la mort, des blessures ou autres. Tous les messages de sécurité seront précédés du symbole d’alerte de sécurité ainsi que des mots « DANGER », «...
-
Page 4: Table Of Contents
Contents Safety Step 4. Anti-Tip Procedures 11-12 Step 5. Level Refrigerator Planning Guide Step 6. Secure Unit to Wall The Installation Space Step 7. Alternate Anti-Tip Procedure Dimensions and Clearances Step 8. Secure Refrigerator to Cabinetry 130° Door Swing Step 9. Connect Water Supply 90°... -
Page 5: The Installation Space
Design Guide DIMENSIONS AND CLEARANCES THE INSTALLATION SPACE 35-1/2" 35" Finished Width The finished 25-3/4" Stainless Steel Models Case Width Case Depth Wall View cutout width 2-5/16" * Shipping height. The must be refrigerator can be 6" adjusted to fit into a 35-1/2”. -
Page 6: 130° Door Swing
Design Guide Frameless Cabinets: The case trim overlaps cabinets at the top and sides. Therefore, frameless cabinets Refrigerator may require filler strips to prevent 23-7/8" From interference with cabinet door swing. Rear of The opening must allow for filler strips. Refrigerator 1"... -
Page 7: 90° Door Swing
Design Guide Frameless Cabinets: The case trim overlaps cabinets at the top and Refrigerator sides. Therefore, frameless cabinets may require Case Trim filler strips to prevent interference with cabinet door swing. The opening must allow for filler strips. 23-7/8" From Rear of Refrigerator 1/4"... -
Page 8: Side Panels
Design Guide SIDE PANELS 24" * Depending on Side panels must be used whenever the sides of the installation height. refrigerator will be exposed. The 1/4 ” side panels will slip into the side case trim. Secure the panels to the 3/16"... -
Page 9: Installation Instructions
Installation Instructions TOOLS REQUIRED HARDWARE SUPPLIED • Tinsnips to cut banding • Water filter bypass plug • Stepladder • Anti-Tip brackets • Bucket • 1/4” nut and ferrule • Level • Flush inset bracket pack • Appliance Hand Truck • Case trim(s) •... -
Page 10: Step 1 Remove Packaging
Installation Instructions STEP 1 REMOVE PACKAGING • The unit is secured to the skid with 2 full-length WARNING tie-down straps. Remove Tip Over Hazard. the ten 5/16” bolts from the Refrigerator is much heavier at the top than at the base channels in the tie- bottom. -
Page 11: Step 2A. Water Line With Reverse Osmosis System
Installation Instructions STEP 4 ANIT-TIP PROCEDURE (CONT) STEP 2A WATER LINE INSTALLATION WITH A REVERSE OSMOSIS SYSTEM • The kit supplied with the unit contains 2 lag bolts and 4 toggles with bolts. The wall bracket will be attached to Skip this step when not using an RO System the wall in 4 places. - Page 12 Installation Instructions STEP 4 ANIT-TIP PROCEDURE (CONT) STEP 4 ANIT-TIP PROCEDURE (CONT) • The anti-tip wall bracket has a series of holes. Select 2 • Place your thumb between the plastic straps and bend holes that match with the located studs. Make sure the up and down to snap the straps off at the wall.
-
Page 13: Step 5 Level Refrigerator
Installation Instructions STEP 6 SECURE UNIT TO WALL STEP 5 LEVEL REFRIGERATOR • The “L” rod can be found in the upper left corner of All models have 4-point leveling. The front is supported the unit in the access compartment. Look through the by leveling legs, the rear is supported by adjustable access compartment to make sure the rod lines up wheels. -
Page 14: Step 7. Alternate Anti-Tip Procedure
Installation Instructions STEP 7 ADJUST DOOR SWING STEP 8 SECURE REFRIGERATOR TO CABINETRY NOTE: This refrigerator has a 2-position door stop. When space does not allow the door to swing open Whenever possible, perform this step in addition to the fully to 130°, you may change the door swing to a 90°... -
Page 15: Step 9 Connect Water Supply
Installation Instructions STEP 9 CONNECT WATER SUPPLY STEP 10 CONNECT POWER • Check to be sure the power cord is plugged into the receptacle. Raise Grille Panel Electrical Outlet • Check to make sure power to refrigerator is on by House Refrigerator Water Supply... -
Page 16: Step 12 Install Toekick
Installation Instructions STEP 12 INSTALL TOEKICK INSPECT FINAL INSTALLATION • Locate the 2 supplied toekicks (shipped taped to Check door alignment the side of the refrigerator). Install the toekick Stand back away from the refrigerator to inspect the assembly with the 2 screws provided, adjust to the final installation. - Page 17 Notes...
- Page 18 Notes...
- Page 19 Notes...
- Page 20 NOTE: While performing installations described in this book, safety glasses or goggles should be worn. For Monogram local service in your area, call ® 1.800.444.1845. NOTE: Product improvement is a continuing endeavor at General Electric. Therefore, materials, appearance and specifications are subject to change without notice.