Edimax EW-7206APg Quick Installation Manual
Wireless access point
Hide thumbs
Also See for EW-7206APg:
- User manual (47 pages) ,
- Quick install manual (16 pages) ,
- Quick installation manual (12 pages)

Related Manuals for Edimax EW-7206APg


Summary of Contents for Edimax EW-7206APg
- Page 1 EW-7206APg / EW-7206PDg / EW-7209APg Version 2.0 / October 2006...
- Page 2 English Version. Before deploying the Access Point, please make sure all the PCs in your wired network are able to obtain an IP address automatically from the router like the figure below. After the Access Point is deployed, you can surf the Internet / Intranet wirelessly as show in the figure below.
-
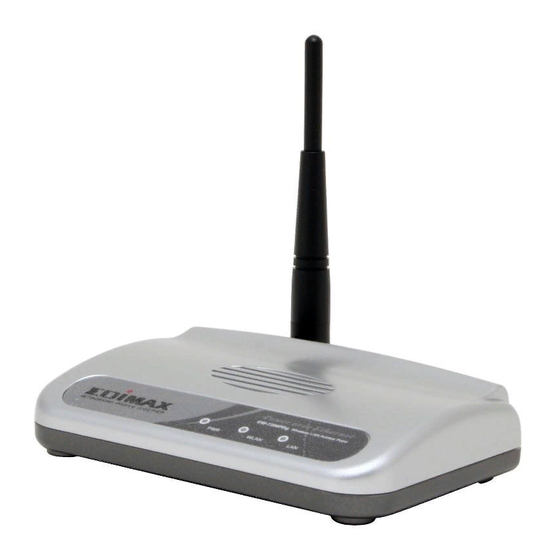
Page 3: Front Panel
Front Panel The LED lights located on the Access Point’s front panel provide information of the Access Point’s current status. EW-7206APg EW-7206PDg EW-7209APg Color Status Description Power is supplied. Green (Power) No Power. Antenna is transmitting or Green Flash receiving data. -
Page 4: Antenna Connector
(Warning: Your settings will be deleted and replaced with the factory default settings). 10/100M (EW-7206APg / EW-7206PDg ) This LAN port is where you connect the Access Point to your Ethernet devices (switch or router). 1. 2. 3. 4. 5. - Page 5 To configure the other advanced settings of this Access Point with advanced setting such as data encryption, please follow the procedures to login the Access Point’s setup page. To configure the more advanced settings from this Access Point, such as data-encryption, please follow the procedure to login the Access Point’s setup page.
- Page 6 2. Click “Switch to Classic View” on the top left corner to see more setting icons… 3. Find the “Network Connection” icon then Double-Click to open the network connection settings.
- Page 7 4. You will see the “Local Area Connection” icon, click the icon to highlight it, then Right-Click the mouse to open the sub-menu and select the “Properties” to setup the IP address. Click and highlight the “Internet Protocol (TCP/IP)”, then click the “Properties”...
- Page 8 Select “Use the following IP address”. Enter a fixed IP address, for example “192.168.2.10”, with a subnet mask of “255.255.255.0” and leave “Default gateway”, “Preferred DNS server” and “Alternate DNS server” blank then press “OK” to close. Second, login to the Access Point with a Web Browser 1.
- Page 9 3. Enter the default user name and password, then press OK button. You can start configuring the Access Point now. : If this Access Point will be connected to a router, please first find out the DHCP/IP address setting of the router and setup a suitable IP address to the Access Point.
- Page 10 4. After the configuration is done, please change your PC’s IP address back to original setting either “Obtain an IP address automatically” / “Obtain DNS server address automatically” or “Using the following IP address” / “Use the following DNS server addresses”. Press “OK” to close. Finally, connect the Access Point to your router or switch.