Edimax EW-7206APg Quick Install Manual
Edimax ew-7206apg network-accessory: install guide
Hide thumbs
Also See for EW-7206APg:
- User manual (47 pages) ,
- Quick installation manual (12 pages) ,
- Installation manual (7 pages)

Related Manuals for Edimax EW-7206APg


Summary of Contents for Edimax EW-7206APg
- Page 1 EW-7206APg / EW-7206PDg / EW-7209APg Version 2.0 / October 2006...
- Page 3 Č ý : Č ý Českého průvodce rychlou instalací naleznete na přiloženém CD s ovladači Finden Sie bitte das deutsche S.A.L. beiliegend in der Treiber CD ñ ñ Incluido en el CD el G.R.I. en Español. ç ç Veuillez trouver l’fran dans le CD Incluso nel CD il Q.I.G.
- Page 4 Please see the GNU (www.gnu.org) and LPGL (www.gnu.org) Web sites to view the terms of each license. The GPL Code and LGPL Code used in Edimax products are distributed without any warranty and are subject to the copyrights of their authors. For details, see the GPL Code and LGPL Code licenses.
- Page 5 English Version. Before deploying the Access Point, please make sure all the PCs in your wired network are able to obtain an IP address automatically from the router like the figure below. After the Access Point is deployed, you can surf the Internet / Intranet wirelessly as show in the figure below.
-
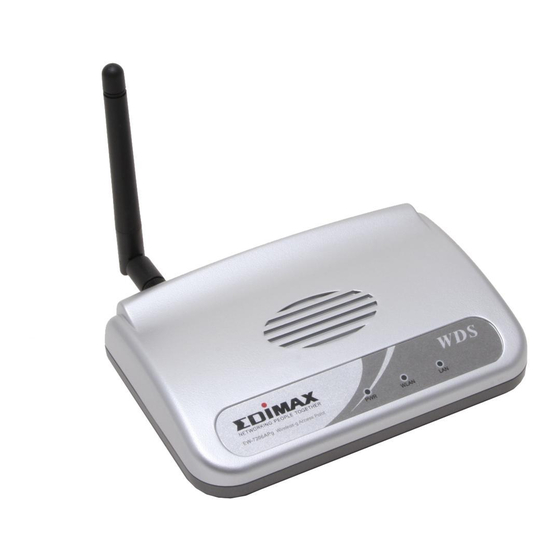
Page 6: Front Panel
(Wireless LAN) (EW-7209APg) (Link / Act) Color Status Green Green Flash Orange Green Flash EW-7206APg EW-7206PDg EW-7209APg Description Power is supplied. No Power. Antenna is transmitting or receiving data. Antenna is not transmitting or receiving data. A valid link is established. -
Page 7: Antenna Connector
(Warning: Your settings will be deleted and replaced with the factory default settings). 10/100M (EW-7206APg / EW-7206PDg ) This LAN port is where you connect the Access Point to your Ethernet devices (switch or router). 1. 2. 3. 4. 5. - Page 8 To configure the other advanced settings of this Access Point with advanced setting such as data encryption, please follow the procedures to login the Access Point’s setup page. To configure the more advanced settings from this Access Point, such as data-encryption, please follow the procedure to login the Access Point’s setup page.
- Page 9 2. Click “Switch to Classic View” on the top left corner to see more setting icons… 3. Find the “Network Connection” icon then Double-Click to open the network connection settings.
- Page 10 4. You will see the “Local Area Connection” icon, click the icon to highlight it, then Right-Click the mouse to open the sub-menu and select the “Properties” to setup the IP address. Click and highlight the “Internet Protocol (TCP/IP)”, then click the “Properties”...
- Page 11 Select “Use the following IP address”. Enter a fixed IP address, for example “192.168.2.10”, with a subnet mask of “255.255.255.0” and leave “Default gateway”, “Preferred DNS server” and “Alternate DNS server” blank then press “OK” to close. Second, login to the Access Point with a Web Browser 1.
- Page 12 3. Enter the default user name and password, then press OK button. You can start configuring the Access Point now. : If this Access Point will be connected to a router, please first find out the DHCP/IP address setting of the router and setup a suitable IP address to the Access Point.
- Page 13 4. After the configuration is done, please change your PC’s IP address back to original setting either “Obtain an IP address automatically” / “Obtain DNS server address automatically” or “Using the following IP address” / “Use the following DNS server addresses”. Press “OK” to close. Finally, connect the Access Point to your router or switch.
- Page 14 This equipment has been tested and found to comply with the limits for a Class B digital device, pursuant to Part 15 of FCC Rules. These limits are designed to provide reasonable protection against harmful interference in a residential installation. This equipment generates, uses, and can radiate radio frequency energy and, if not installed and used in accordance with the instructions, may cause harmful interference to radio communications.
- Page 15 Federal Communications Commission (FCC) RF Exposure Requirements SAR compliance has been established in the laptop computer(s) configurations with PCMCIA slot on the side near the center, as tested in the application for Certification, and can be used in laptop computer(s) with substantially similar physical dimensions, construction, and electrical and RF characteristics.