NEC UX5000 User Manual
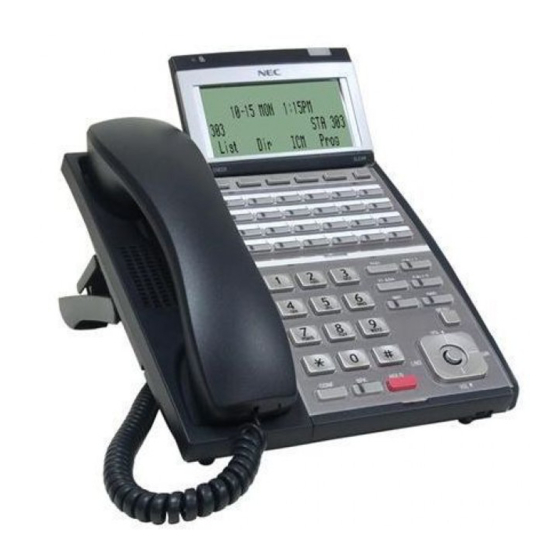
Multibutton terminal
Hide thumbs
Also See for UX5000:
- Manual (588 pages) ,
- Hardware manual (370 pages) ,
- Resource manual (220 pages)

Related Manuals for NEC UX5000


Summary of Contents for NEC UX5000
-
Page 1: User Guide
Empowered by Innovation Multibutton Terminal User Guide 0913401 Rev 4.1, 4/7/10 Printed in U.S.A... - Page 2 Installing the Handset And Line Cord Adjusting the Five-Position Viewing Angle To adjust the viewing angle position: Secure legs and lift center brace. When installing the handset and line cord: 1. Plug the handset cord into the handset jack on the bottom of the terminal.
-
Page 3: How To Use This Guide
Removing and Reinstalling the Faceplate To remove the faceplate (if installing a custom DESI label): Put your finger in the recessed area under the faceplate and lift off the faceplate. When using the instructions in this user guide, you: 1. Dial a digit on the key pad. For example: –... - Page 4 Secure Mode and Display Secure Mode IP Terminals can be locked to prevent access and ensure security of stored data. Alphanumeric Display While your terminal is idle , the display shows: – The date and time, your name and your extension number. –...
-
Page 5: Using The Soft Keys
Understanding the Ring/Message Lamp The Ring/Message Lamp – Fast flash (red): A call is ringing your terminal. – Fast flash (red): You have a message waiting. – Lit solid (red): You left a message waiting on a co-worker’s terminal. Soft Keys –... - Page 6 Setting Up Your Abbreviated Dial Bin Keys Abbreviated Dial Bin Keys To store common or group Abbreviated Dialing numbers: Press CALL1 + 853 (for Common) or CALL1 + 854 (for Group) + Dial Abbreviated Dialing bin number + Phone number to store + HOLD + Enter name for stored number + HOLD + SPK or hang up (Refer to page 18 for Entering Names).
-
Page 7: Using The Fixed Function Keys
Fixed Function Keys DIAL – Press DIAL to access Abbreviated Dialing. CALL1 or CALL2 – Line appearance keys are Intercom keys for placing, answering or transferring calls. FLASH – Lets you access features of your outside lines (if provided), such as Waiting Call Pickup. –... -
Page 8: Outside Calls
Outside Calls To answer an outside call: Press or lift the handset. If you are not automatically connected, press flashing – If you hear a call ringing a co-worker, dial ** and their extension number to pick it up. To place an outside call: Lift the handset or press a Programmable Function Keys). - Page 9 Intercom Calls To And From Co-Workers To answer an Intercom call from a co-worker: Do one of the following: – If you hear a beep, speak toward your terminal or lift handset for privacy. – If you hear Intercom ringing, press To dial a co-worker over the Intercom: Press CALL1...
-
Page 10: Place A Call On Hold
Place A Call On Hold To place your call on System (Regular) Hold: (Your co-workers can pick up calls you place on System Hold.) Do not hang up + Press – While an outside call is on Hold, the line key will flash (green). –... - Page 11 Transfer A Call To A Co-worker To Transfer your call to a co-worker: (If you have a Hotline Function Key for your co-worker, press it and skip to step 3.) While on a call, press – To Transfer the call directly to your co-worker’s mailbox, press your Programmed Voice Mail Key before going to step 2.
- Page 12 To forward (reroute) your calls to a co-worker, voice mail or off-premise: + Dial CALL1 Soft Keys can also be used to access the Call Forward feature. To forward off-premise: To cancel: HOLD Dial Call Forwarding Condition : – = Personal Answering Machine Emulation (then skip to step 4) –...
-
Page 13: Message Waiting
To leave a Message Waiting (flashing Message Wait LED) when your co-worker doesn’t answer: Place or answer your call + Do not hang up + Dial – Your co-worker’s Message Wait LED flashes fast. Your MW is lit. – With Voice Mail, dial 8 to leave a message in your co-worker’s mailbox. To answer a Message Waiting left for you: CALL1 –... - Page 14 Dialing By Name (Directory Dialing) To dial a co-worker or outside call by selecting from a group of names: Dir Soft Key. Push Soft Key Push for Directory Dialing type: ABBc – = Common or Group Abbreviated Dialing EXT. – = Co-worker’s extension numbers –...
-
Page 15: Using A Dss Console
If you are an attendant (normally extension 301), you have the following unique features: Attendant Call Queuing If also enabled as an operator, calls can wait in queue on a CALL key. This means you are never busy for calls - they “stack up” under this key instead. Attendant Call Queuing is a permanent, non-programmable system feature. - Page 16 Installing And Using a Headset To install an optional headset: Plug the headset cord into the headset jack on the bottom of the terminal. The headset cord routes through the upper channel on the right side of the terminal base. To program a Headset Key: CALL1 + Dial 851 + Press Function Key + Headset code 05 + SPK –...
- Page 17 Answer a ringing call by pressing the Headset key. Press the Headset key and then a line key to make a trunk call. Press the Headset key to get Intercom dial tone. If on a headset call, press the Headset key to hang up. While talking with an outside party while on speakerphone or off-hook with the handset, ringing for an incoming call will not be heard in the headset.
- Page 18 Programming Your Extension’s Name To program your extension’s name: Press idle key. CALL1 Dial Enter the extension number to be named. Enter the name following the Name Programming Chart below. – Your name can be up to 12 digits maximum. –...
- Page 19 Additional Quick Reference For Other Features Check with your Communications Manager to see if you can use these features: Do Not Disturb: to block your outside calls outside calls While on a call, store a number for easy recalling : Memo Dial: Memo Dial To dial number:...
- Page 20 Calling (Logging Into) Your Mailbox Voice Mail lets callers leave recorded messages for you and lets you leave recorded messages for co-workers. Messages get stored in each person’s mailbox. To listen to your messages or use other voice mail features, you call your mailbox and access the Main Menu.
- Page 21 Review these basic features before using your mailbox for the first time. To record a greeting for your mailbox: (Callers hear your greeting before leaving you a message.) Press your Voice Mail key or push VMsg. Push Greet. Push Gr1, Do one of the following: Lstn –...
-
Page 22: To Listen To Your Messages
More Mailbox Features When you log onto your mailbox, you get your mailbox main menu of options. To record and send a message to a co-worker: Press your Voice Mail key or push VMsg. Push Rec. Listen to the voice prompt, wait for the beep, and start recording. Done –... - Page 23 After listening to a message, to have voice mail announce the message sender, as well as the time and date the message was sent to you: Press your Voice Mail key or push VMsg. More> Optns Push Do one of the following: –...
- Page 24 IntraMail or in UX Mail) + Push (to change the override mailbox). + Dial extension whose mailbox you want to maintain (e.g., EN (36). NEC Unified Solutions, Inc. 4 Forest Parkway, Shelton, CT 06484 203-926-5400 TEL: www.necux5000.com in IntraMail or to erase.