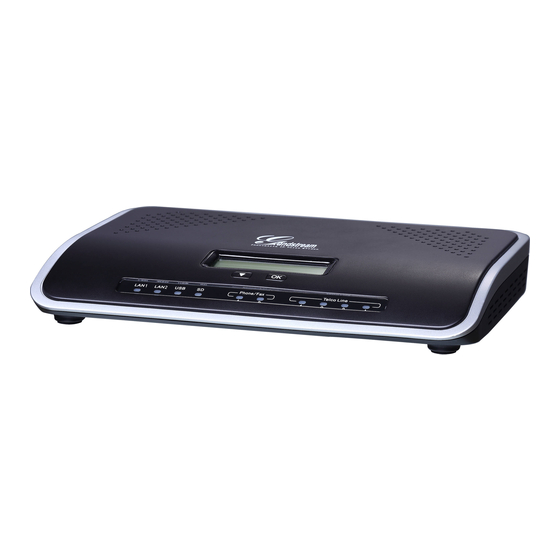
Grandstream Networks UCM6102 Instruction Manual
Ip pbx
Hide thumbs
Also See for UCM6102:
- User manual (308 pages) ,
- Basic configuration manual (21 pages) ,
- Quick installation manual (17 pages)
Table of Contents
Advertisement
Quick Links
Download this manual
See also:
User Manual
Advertisement
Table of Contents

Summary of Contents for Grandstream Networks UCM6102
- Page 1 SIP Trunking using the Optimum Business SIP Trunk Adaptor and the Grandstream UCM6102 IP-PBX...
-
Page 2: Table Of Contents
UCM6102 IP PBX Table of Contents Goal Prerequisites Grandstream UCM6102 Configuration Network Access SIP Trunk DID/Extensions Dial Plan Auto Attendant Backup/Restore V 1.4... -
Page 3: Goal
Grandstream UCM6102 Configuration The steps below describe the basic configuration required to enable the Grandstream UCM6102 IP-PBX to use Optimum Business SIP trunking for inbound and outbound calling. Please refer to the Grandstream UCM6102 documentation for other advanced PBX features. -
Page 4: Network Access
UCM6102 IP PBX Network Access The default IP of the LAN port of the PBX was 192.168.2.1 /24 and was unchanged. As for the WAN port, it was given a static IP address of 10.10.154.11 /24 with the Optimum Business SIP Trunk Adaptor being 10.10.154.1 /24. SIP traffic flow was via the WAN port. - Page 5 UCM6102 IP PBX To configure network settings navigate to Settings4Network Settings4 Basic Settings. Under Basic Settings next to Method select Route. Under WAN, first enter Static next to IP Method. Enter the address of the Optimum Business SIP Trunk Adaptor next to Gateway IP and the address of the PBX next to IP Address.
- Page 6 UCM6102 IP PBX When done click Save. Thereafter there will be a prompt to restart the device for the network settings to take effect. Click OK and upon restart the new settings will take effect. Once the system has restarted, the new network configuration can be viewed by navigating to Status4System Status4Network as shown.
-
Page 7: Sip Trunk
UCM6102 IP PBX SIP Trunk To register the Optimum Business SIP Trunk Adaptor to the PBX, navigate to PBX4Basic/Call Routes4VoIP Trunks and click on Create New SIP/IAX Trunk. Select Register SIP Trunk next to Type. Enter a name for the Optimum Business SIP Trunk Adaptor next to Provider Name (EM-4552 was use in this example). - Page 8 UCM6102 IP PBX For Static Mode select Peer SIP Trunk instead next to Type. Enter a name for the Optimum Business SIP Trunk Adaptor next to Provider Name and enter the address of the Optimum Business SIP Trunk Adaptor next to Host Name as shown.
-
Page 9: Did/Extensions
UCM6102 IP PBX DID/Extensions To provision phones and assign extensions, navigate to PBX4Basic/Call Routes4 Extensions and click Create New User. Here the basic settings for a phone can be configured. Under General, the Extension field specifies the extension for the phone. - Page 10 UCM6102 IP PBX When done click Save then Apply Changes from above. By clicking on Auto Discover, the PBX can automatically discover the device using a specific Scan Method of Ping, ARP, or SIP-Message. Once that is selected the Scan IP field can be filled to scan the entire network segment by entering 255.
- Page 11 UCM6102 IP PBX Click OK and the result will be displayed. A user may also manually enter device information prior to performing the Auto Discover step above. This can be done by clicking on Create New Device. Here an extension may be entered along with a MAC and IP Address of the device.
-
Page 12: Dial Plan
UCM6102 IP PBX Dial Plan To configure Dial Plan, Outbound and Inbound routes need to be configured. First navigate to PBX4Basic Call Routes4Outbound Routes and click Create New Outbound Rule. Initially, a rule name needs to be given. Next to Pattern is where the dial pattern needs to be entered. - Page 13 UCM6102 IP PBX As for inbound rules, click on Inbound Routes and then Create New Inbound Rule. First select the trunk for the Optimum Business SIP Trunk Adaptor next to Trunks. With the same character values as outbound rules, enter a pattern next to DID Pattern.
-
Page 14: Auto Attendant
UCM6102 IP PBX Auto Attendant To configure Auto Attendant navigate to PBX4Call Features4IVR and click on Create New IVR. Enter a name next to Name and a valid extension number next to Extension. Welcome Prompt may be left as is or manually created by clicking on Prompt. -
Page 15: Backup/Restore
UCM6102 IP PBX Backup/Restore To back up or restore the configuration file, navigate to Maintenance4Backup 4 Local Backup. Here the option of Create New Backup and Upload Backup File will be displayed. If Create New Backup is selected, a window will prompt for a file name.


