Dremel 3D20 Quick Start Manual
Hide thumbs
Also See for 3D20:
- Original instructions manual (288 pages) ,
- Operating and safety instructions manual (108 pages) ,
- Quick start manual (8 pages)
Advertisement
Advertisement
Table of Contents

Related Manuals for Dremel 3D20


Summary of Contents for Dremel 3D20
- Page 1 Quick Start Guide READ ALL OPERATING/SAFETY INSTRUCTIONS IN THE MANUAL AND FAMILIARIZE YOURSELF WITH THE WARNING WARNING DREMEL 3D20 BEFORE SETUP AND USE. FAILURE TO COMPLY WITH THE WARNINGS AND INSTRUCTIONS MAY RESULT IN FIRE, EQUIPMENT DAMAGE, PROPERTY DAMAGE, OR PERSONAL INJURY.
-
Page 2: Kit Contents
WARNING READ ALL OPERATING/SAFETY INSTRUCTIONS IN THE MANUAL AND FAMILIARIZE YOURSELF WITH THE DREMEL 3D20 BEFORE SETUP AND USE. FAILURE TO COMPLY WITH THE WARNINGS AND INSTRUCTIONS MAY RESULT IN FIRE, EQUIPMENT DAMAGE, PROPERTY DAMAGE, OR PERSONAL INJURY. Dremel 3D20... -
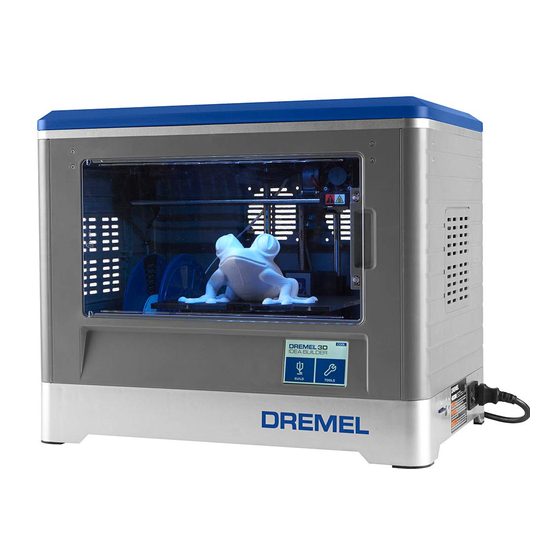
Page 3: Getting To Know Your Dremel 3D20
Getting to Know Your Dremel 3D20 2. Door 3. Touch Screen 4. Build Platform 5. Build Platform Clips 6. Filament Spool Filament Spool Holder/Lock 8. Extruder Tip 9. Extruder Fan 10. Extruder 11. Extruder Intake 12. X-Axis Guide Rails 13. Stepper Motor (1 of 3) 14. -
Page 4: Getting Ready To Build
2. Place filament spool onto spool holder with spool being fed from the bottom towards the back of the Dremel 3D20. Insert spool lock into spool holder and rotate 90 degrees to lock in place. - Page 5 Getting Ready to Build (continued…) LEVELING BUILD PLATFORM WARM STEP 1: LEFT ADJUSTMENT 1. Tap “Tools” on your Dremel 3D20’s touch screen and tap “Level” . NEXT 2. First level the front left of the build platform. TURN LEFT RAISE 3.
- Page 6 2. Tap on the model file you would like to build and tap "Build". 3. Your Dremel 3D20 will align the extruder with the build platform and will begin heating the extruder. 4. Once the build temperature is reached, your model will begin to build.
-
Page 7: Best Practices
8” (203mm) 8” (203mm) 5. It is important to stay near your Dremel 3D20 during operation and watch the Dremel 3D20 begin building objects. (If a situation occurs, select the STOP icon right away, to stop any further building). - Page 8 Dremel Experts. 3. Go to the Dremel3D.com Support section to download the Dremel 3D software. 4. Review the Dremel 3D Quick Start Guide online to watch videos on how to easily set up your Idea Builder. KICKSTART YOUR 3D PRINTING EXPERIENCE •...