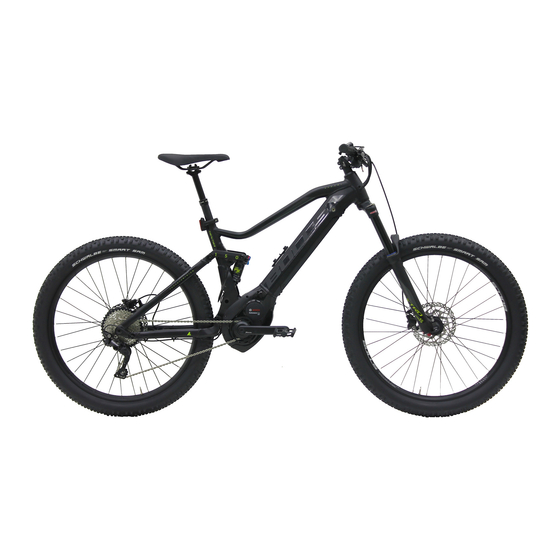
Bulls E-Core EVO AM 1 Manuals
Manuals and User Guides for Bulls E-Core EVO AM 1. We have 4 Bulls E-Core EVO AM 1 manuals available for free PDF download: Manual, Original Operating Instructions, Translation Of The Original Operating Instructions, Operating Instructions Manual
Bulls E-Core EVO AM 1 Manual (321 pages)
Bosch
Table of Contents
-
Manufacturer12
-
Language12
-
Warnings12
-
Markups12
-
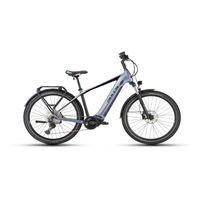
Urban EVO 1213
-
Frame Number14
-
Safety16
-
Damage17
-
Condensation17
-
Brake Fluid18
-
Battery Fire20
-
Description22
-
Proper Use22
-
Improper Use23
-
Nameplate27
-
Components28
-
Overview28
-
Chassis29
-
Frame29
-
Stem29
-
Handlebars30
-
Fork30
-
Suspension31
-
Rigid Fork31
-
Wheel40
-
Tyres40
-
Rim40
-
Valve40
-
Spoke41
-
Hub41
-
Disc Brake43
-
Seat Post44
-
Motor46
-
Charger48
-
Lighting48
-
Handlebars50
-
Display51
-
Gear Shift53
-
Hand Brake54
-
Pedelec56
-
Emissions56
-
Motor56
-
Storing64
-
Pedelec Sale79
-
Operation80
-
Preparing87
-
Handlebars99
-
Stem100
-
Tyres104
-
Brake105
-
Suspension110
-
Fork Sag110
-
Lighting131
-
Accessories134
-
Child Seat134
-
Trailer135
-
Mobile Holder136
-
Pannier Rack136
-
Before each Ride137
-
Using the Saddle139
-
Using the Pedals139
-
Using the Bell139
-
Frame Battery140
-
Brake148
-
Gear Shift152
-
Parking153
-
Before each Ride159
-
After each Ride161
-
Basic Cleaning162
-
Motor162
-
Stem163
-
Handlebars163
-
Handles163
-
Leather Handles163
-
Seat Post163
-
Saddle163
-
Leather Saddle164
-
Tyres164
-
Hub164
-
Shifter164
-
Brake165
-
Brake Lever165
-
Brake Disc165
-
Belt165
-
Chain165
-
Servicing166
-
Frame166
-
Fork166
-
Pannier Rack167
-
Mudguard167
-
Stem167
-
Handlebars167
-
Handle167
-
Rubber Handles167
-
Leather Handle168
-
Seat Post168
-
Carbon Seat Post168
-
Leather Saddle168
-
Hub168
-
Spoke Nipples168
-
Rim168
Advertisement
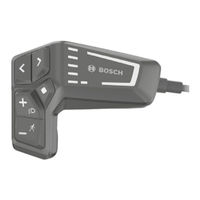
Bulls E-Core EVO AM 1 Original Operating Instructions (276 pages)
Pedelecs with BOSCH LED remote control panel
Brand: Bulls
|
Category: Bicycle Accessories
|
Size: 9 MB
Table of Contents
-
2 Safety
16-
Damage17
-
Condensation17
-
Brake Fluid19
-
Battery Fire21
-
-
Proper Use22
-
Improper Use23
-
Nameplate27
-
Components28
-
Overview28
-
Chassis29
-
Frame29
-
-
Suspension31
-
Wheel40
-
-
Disc Brake43
-
Seat Post44
-
-
-
Display49
-
-
-
-
Storing65
-
-
Pedelec Sale76
-
6 Operation
77-
Preparing81
-
Handlebars88
-
Stem89
-
Accessories125
-
Before each Ride128
-
Using the Saddle130
-
Using the Pedals130
-
Using the Bell130
-
Brake137
-
Gear Shift138
-
-
Before each Ride149
-
After each Ride151
-
Basic Cleaning152
-
Motor152
-
Stem153
-
Handlebars153
-
Handles153
-
Leather Handles153
-
-
Seat Post153
-
Saddle153
-
Leather Saddle154
-
-
Tyres154
-
Hub154
-
-
Shifter154
-
-
Brake155
-
Brake Lever155
-
-
Brake Disc155
-
Belt155
-
Chain155
-
Servicing156
-
Frame156
-
Fork156
-
Pannier Rack157
-
Mudguard157
-
Stem157
-
Handlebars157
-
Handle157
-
Rubber Handles157
-
Leather Handle157
-
-
Seat Post158
-
Carbon Seat Post158
-
Rim158
-
Leather Saddle158
-
Hub158
-
Spoke Nipples158
-
Gear Shift159
-
Pedal159
-
-
Maintenance161
-
Wheel161
-
-
ROHLOFF Hub172
-
-
-
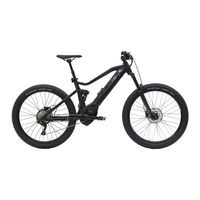
Bulls E-Core EVO AM 1 Operating Instructions Manual (115 pages)
With Shimano 7000
Table of Contents
-
-
2 Safety
10-
Data Privacy12
-
Emergency13
-
Brake Fluid14
-
-
Overview15
-
-
3 Overview
16-
Description16
-
Valve16
-
Suspension16
-
-
Damper18
-
-
Brake System18
-
Rim Brake18
-
Disc Brake19
-
Display21
-
Riding Light22
-
Charger22
-
Proper Use23
-
Improper Use24
-
Pedelec25
-
Emissions25
-
-
Transporting31
-
Storing32
-
-
Assembly34
-
-
Unpacking34
-
Pedelec Sale41
-
-
6 Operation
42-
-
Release47
-
-
-
FOX Fork54
-
-
While Riding76
-
-
Damper77
-
Suntour Fork77
-
-
-
Shox Damper78
-
-
Gear Shift79
-
Use Eshift80
-
-
Hub Gears80
-
Advertisement

Bulls E-Core EVO AM 1 Translation Of The Original Operating Instructions (196 pages)
With Bosch eBike Systems
Advertisement