Table of Contents
Advertisement
Quick Links
Advertisement
Table of Contents

Related Manuals for D.A.S. VA-24T


Summary of Contents for D.A.S. VA-24T
- Page 1 User’s Manual VA series Antes de utilizar el equipo, lea la sección “Precauciones de seguridad” de este manual. Conserve este manual para futuras consultas. Before operating the device, please read the “Safety precautions” section of this manual. Retain this manual for future reference.
-
Page 2: Table Of Contents
CONTENTS SAFETY PRECAUTIONS WARRANTY DECLARATION OF CONFORMITY INTRODUCTION LINE DRAWINGS SYSTEM DESCRIPTION CONNECTION CONFIGURATION SPECIFICATIONS INSTALLATION SYSTEM 11 - 14 Warning Description TROUBLESHOOTING Manual del Usuario / VA series / User’s Manual... -
Page 3: Safety Precautions
VA series Precauciones de Seguridad Safety Precautions Cajas acústicas pasivas / Passive loudspeaker enclosures Conserve y lea todas estas instrucciones. Keep these instructions. Siga todas las advertencias. Heed all warnings. Follow all instructions. El signo de exclamación dentro de un triángulo indica la The exclamation point inside an equilateral triangle indicates the existencia de componentes internos cuyo reemplazo puede existence of internal components whose substitution may affect... -
Page 4: Warranty
GARANTÍA Todos nuestros productos están garantizados por un periodo de 24 meses desde la fecha de compra. Las garantías sólo serán válidas si son por un defecto de fabricación y en ningún caso por un uso incorrecto del producto. reparaciones garantía pueden realizadas,... -
Page 5: Declaration Of Conformity
DECLARACIÓN DE CONFORMIDAD DECLARATION OF CONFORMITY D.A.S. Audio, S.A. C/ Islas Baleares, 24 - 46988 - Pol. Fuente del Jarro - Valencia. España (Spain). Declara que la serie VA: Declares that VA series: Cumple con los objetivos esenciales de las Directivas: Abide by essential objectives relating Directives: Low Voltage Directive 2006/95/EC Regulation (EU) No 305/2011 - Constrution Products... -
Page 6: Introduction
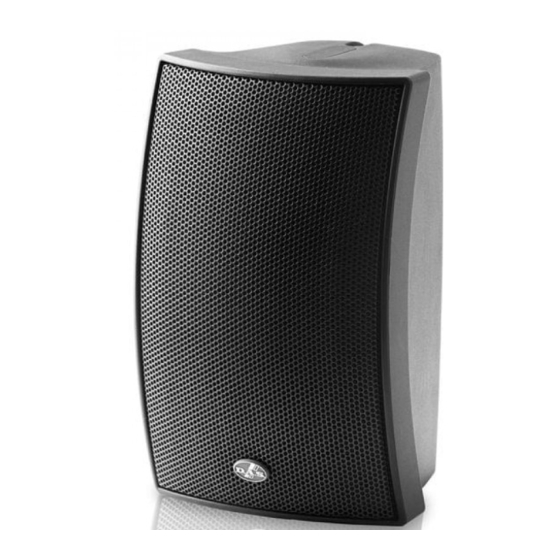
LINE DRAWINGS The VA series is composed of two models, the VA-4T, a single 4” speaker working with a tweeter and the VA-24T with two 4” speakers working with a tweeter. VA-24T The 4” woofer incorporates a weather resistant polypropylene cone and 1”... -
Page 7: System Description
SYSTEM DESCRIPTION The system includes 3m of connection wire ready to use in the application. If more than 3m of connection wire is required, a longer cable can be used. If so proceed as follows: 1.- Unscrew the four screws from the rear part of the enclosure, removing the existing cable. 2.- Connect the new cables and adjust the rear cover in the holes as shown. -
Page 8: Connection
CONNECTION The VA-4T and VA-24T include a transformer for Switch off the amplifier before making any use on 70V/100V distribution lines. connections. Connect an amplifier output channel terminal to They can be also used as low impedance the enclosure’s input terminals using speaker cabinets. -
Page 9: Configuration
CONFIGURATION AMPLIFIER Manual del Usuario / VA series / User’s Manual... -
Page 10: Specifications
SPECIFICATIONS VA-4T VA-24T RMS (Average) Power Handling : 100 W 50 W Program Power Handling : 200 W 100 W Peak Power Handling : 400 W 200 W 90 Hz - 22 kHz On-axis Frequency Range (-10dB): 90 Hz - 22 kHz... -
Page 11: Installation System
INSTALLATION SYSTEM Warning When flying a system, the working load must be lower than the resistance of each individual flying point in the enclosure, as well as each box. This manual contains needed information for Hanging hardware should be regularly inspected flying D.A.S. - Page 12 2.- Position the AXU support on the wall or ceiling and mark the drill holes. 3.- Drill and insert the wall plugs. 4.- Position the VA-4T/VA-24T between the arms of the support. Beware that the AXU support allows for an asymmetric arc, install in the appropriate direction.
- Page 13 AXA- AC. Mounting instructions 1.- Remove the cover pieces (top and bottom sides). 2.- Place the last box with the AXA-AC 3.- Insert allen screws and lock washers selecting the angles provided between 0º and 42º in 6º steps. Use the wide washer (incl) to supplement the distance between the last box and the AXA- 4.- Place the next box and the new AXA-AC.
-
Page 14: Troubleshooting
TROUBLESHOOTING PROBLEM CAUSE SOLUTION 1 - No sound from any units. 1.1 – No signal present in the 1.1.1 – Check that the amplifier is amplifier 1.1.2 – Check that the gain is set above its minimum setting. 1.1.3 – Check that there is a signal to your amplifier from your mixer. - Page 15 www.dasaudio.com D.A.S. AUDIO, S.A. D.A.S. AUDIO OF AMERICA, INC. D.A.S. AUDIO ASIA PTE. LTD. C/. Islas Baleares, 24 Sunset Palmetto Park 25 Kaki Bukit Crescent #01-00/02-00 46988 Fuente del Jarro 6816 NW 77th Court. Kaki Bukit Techpark 1 Valencia, SPAIN Miami, FL.
Need help?
Do you have a question about the VA-24T and is the answer not in the manual?
Questions and answers