Toshiba Satellite L40 series Resource Manual
Hide thumbs
Also See for Satellite L40 series:
- User manual (190 pages) ,
- User manual (29 pages) ,
- User manual (179 pages)
Table of Contents
Advertisement
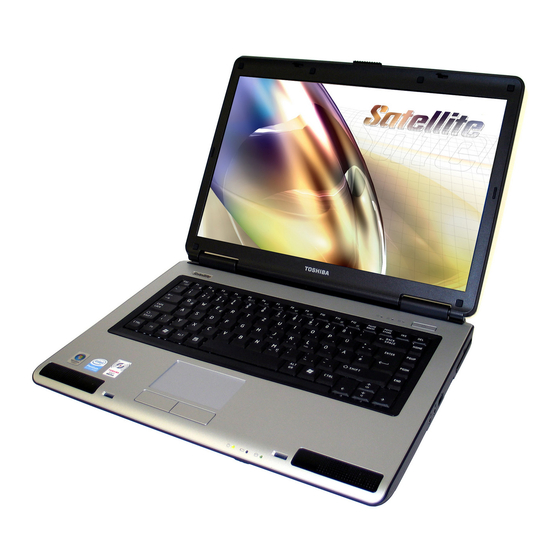
Satellite
Resource Guide
If you need assistance:
❖ Toshiba's Support Web site
pcsupport.toshiba.com
❖ Toshiba Global Support Centre
Calling within the United States (800) 457-7777
Calling from outside the United States (949) 859-4273
Please fill in for your reference and future use:
Model name______________________________________
Part number______________________________________
Serial number____________________________________
®
L40/L45 Series
Keep this guide in a convenient place to access important
information about your computer.
Advertisement
Table of Contents


Need help?
Do you have a question about the Satellite L40 series and is the answer not in the manual?
Questions and answers