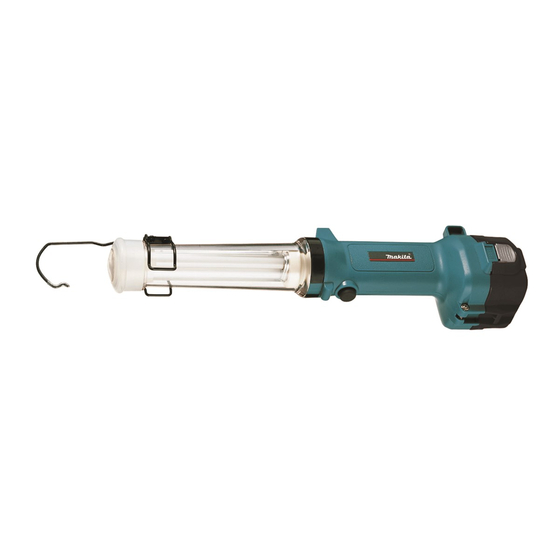
Summary of Contents for Makita ML122
- Page 1 Rechargeable Job Site Light Lampe a batterie Linterna fluorescente a bateria ML122 ML123...
- Page 2 ML122 9-JlOJ MLi22 ML122...
- Page 3 ML12 Symbols The following show the symbols used for the tool, Be sure that you understand their meaning before use. Symboles Nous donnons ci-dessous les symboles utilises pour I'outil. Assurez-vous que vous en avez bien compris la signification avant d'utiliser I'outil. Sfmbolos A continuacion se muestran significado antes de usarla.
-
Page 4: Important Safety Instructions
This is a normal condition and does not indicate problem. 11. If any problem develops, consult your nearest Makita Service Center or dealer. To maintain product safety and reliability, repairs, maintenance or adjustment should be carried out by Makita Authorized Service Center. - Page 5 91 34 91 35 (Note) If you use a power checking battery on Model ML122/ML123. the power checking battery will not indicate the remaining battery capacity properly. Storing battery cartridge Always charge the Nickel Metal Hydride battery cartridge before storing it when you do not use it for more than six months.
- Page 6 The hook can be turned, slid and stored around the lamp cover. (Fig. 7) The hook also can be removed when you do not use it. To maintain product safety and reliability, repairs, maintenance or adjustment should be carried out by a Makita Authorized Service Center.
-
Page 7: Consignes De Securite Importantes
11. Si un p r o b i t ” quelconque survient, consultez le Centre de Services Makita le plus pres revendeur. Afln de malntenir la s6curite et la flabilite du produit, les reparations, I’entretien ajustements doivent stre effectues par un Centre de Services Maklta agree. - Page 8 Makita agr66 et design6 comme lieu de recyclage des batteries Makita. Contactez le centre de services ou distributeur Makita le plus pr&s pour connaitre le lieu ou s'effectue le recyclage des batteries Makita. RBfBrez-vous aux Pages James locales sous la rubrique "outi / s -~I e ctfl q ues.
- Page 9 Centre d’Entretien Makita. ACCESSOIRES ATTENTION Ces accessoires ou ces fixations sont recommandes pour I’utilisation de I’outil Makita spbcifie dans ce manuel. Cutilisation d’autres accessoires ou fixations peut prbsenter fixations ne devront &re utilisbs que dans le but et de la maniere prevus.
-
Page 10: Instrucciones De Seguridad Importantes
Cuando el Interruptor se ponga en tubo fluorescente no est6 instalado ningun problema. 1 1 . SI surgiera algun problema, consulte al distribuidor o Centro de servicio Makita mas cercano. Para mantener product0 seguro y fiable, ias reparaclones, reallzados en Centro de servicio autorizado por Makita. -
Page 11: Instrucciones Para El Funcionamiento
INSTRUCCIONES PARA Carga Cargue el cartucho de bateria con el cargador Makita antes de utilizarlo. Para retirar el cartucho de bateria, saquelo de la herramienta mientras presiona 10s botones a ambos lados del cartucho. Despu6s de cargar el cartucho de bateria, ins6rtelo en la herramienta empujhndolo a tope hasta que encaje en posicibn produciendo un chasquido. - Page 12 Centro de Servicio Autorizado de Makita. ACCESORIOS PRECAUC16N: Estos accesorios o acoplamientos estan recomendados para usar con la herramienta Makita especificada en este manual. Con el us0 de cualquier otro accesorio heridas a personas. Los accesorios la que ha sido designados.


Need help?
Do you have a question about the ML122 and is the answer not in the manual?
Questions and answers