Makita 4324 Instruction Manual
Makita jig saw instruction manual model 4324
Hide thumbs
Also See for 4324:
- Instruction manual (56 pages) ,
- Parts manual (2 pages) ,
- Instruction manual (16 pages)

Related Manuals for Makita 4324


Summary of Contents for Makita 4324
- Page 1 Jig Saw MODEL 4324 I N S T R U C T I O N WARNING: For your personal safety, READ and UNDERSTAND before using. SAVE THESE INSTRUCTIONS FOR FUTURE REFERENCE. w w w . m a k i t a t o o l s . c o m...
-
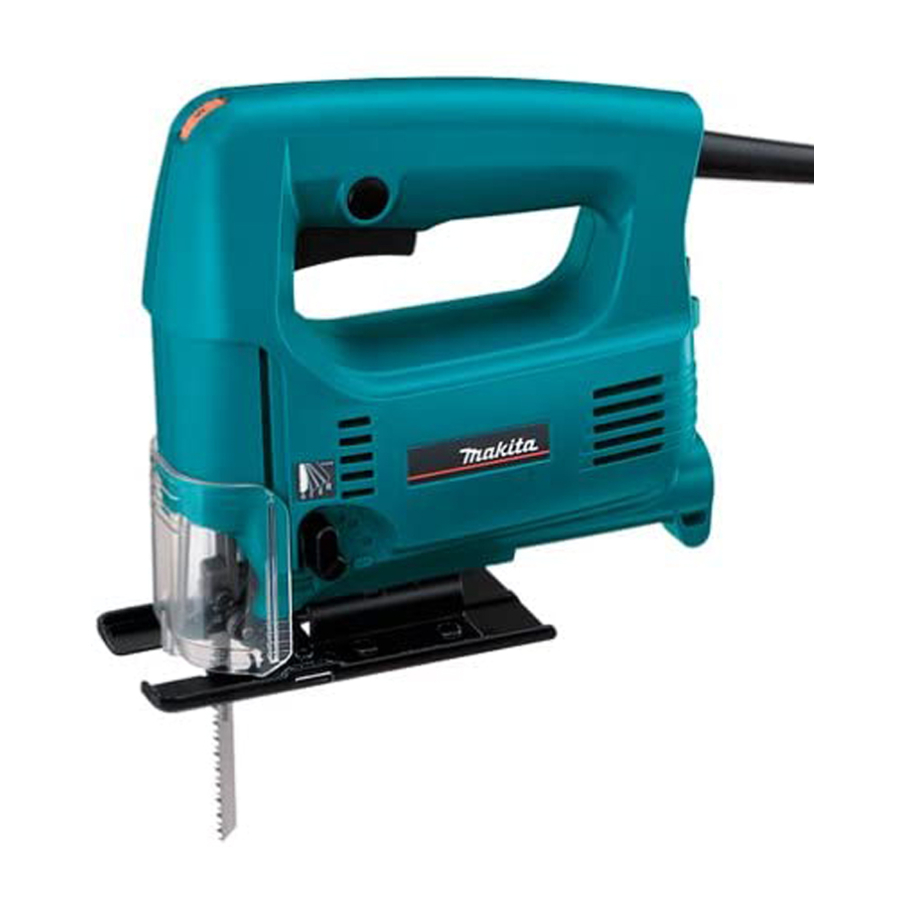
Page 2: Specifications
Do not change the plug in any way. Double insula- tion grounded power cord and grounded power supply system. 4324 18 mm (11/16”) 65 mm (2-9/16”) 6 mm (1/4”) 500 - 3,100/min 207 mm (8-1/8”) 1.9 kg (4.2 lbs) - Page 3 5. Avoid body contact with grounded sur- faces such as pipes, radiators, ranges and refrigerators. There is an increased risk of electric shock if your body is grounded. 6. Do not expose power tools to rain or wet conditions. Water entering a power tool will increase the risk of electric shock.
-
Page 4: Specific Safety Rules
Not More Than SPECIFIC SAFETY RULES DO NOT let comfort or familiarity with product (gained from repeated use) replace strict adherence to jig saw safety rules. If you use this tool unsafely or incorrectly, you can suffer serious personal injury. - Page 5 8. Make sure the blade is not contacting the workpiece before the switch is turned on. 9. Keep hands away from moving parts. 10. Do not leave the tool running. Operate the tool only when hand-held. 11. Always switch off and wait for the blade to come to a complete stop before removing the blade from the workpiece.
-
Page 6: Functional Description
FUNCTIONAL DESCRIPTION 002704 1. Cutting action changing lever Position 002707 1. Lock button 2. Switch trigger CAUTION: • Always be sure that the tool is switched off and unplugged before adjusting or checking function on the tool. Selecting the cutting action This tool can be operated with an orbital or a straight line (up and down) cutting action. - Page 7 CAUTION: • Always be sure that the tool is switched off and unplugged before carrying out any work on the tool. Installing or removing saw blade CAUTION: • Always clean out all chips or foreign matter adhering to the blade and/or blade holder. Failure to do so may cause insufficient tightening of the blade, resulting in a serious personal injury.
- Page 8 002715 1. Blade holder 2. Hex wrench 3. Bolt 002716 1. Bolt 2. Roller 3. Blade 002727 1. Hook 2. Hex wrench To install the blade, loosen the bolt counterclockwise on the blade holder with the hex wrench. With the blade teeth facing forward, insert the blade into the blade holder as far as it will go.
-
Page 9: Dust Cover
002730 1. Dust cover 002732 1. Anti-splintering device 2. Protrusions OPERATION 002743 1. Cutting line 2. Base Dust cover CAUTION: • Always wear safety goggles even when operating the tool with the dust cover lowered. Lower the dust cover to prevent chips from flying. However, when making bevel cuts, raise it all the way. -
Page 10: Bevel Cutting
002749 002748 1. Hex wrench 2. Bolt 3. Base 002750 1. Graduation 2. Edge 002757 Bevel cutting CAUTION: • Always be sure that the tool is switched off and unplugged before tilting the base. • Raise the dust cover all the way before making bevel cuts. -
Page 11: Metal Cutting
002762 1. Starting hole 002761 002768 Cutouts Cutouts can be made with either of two methods A or B. A) Boring a starting hole For internal cutouts without a lead-in cut from an edge, pre-drill a starting hole 12 mm (1/2”) or more in diameter. Insert the blade into this hole to start your cut. -
Page 12: Dust Extraction
4. Guide facing Dust extraction Clean cutting operations can be performed by connecting this tool to a Makita vacuum cleaner. Insert the hose of the vacuum cleaner into the hole at the rear of the tool. Lower the dust cover before operation. -
Page 13: Maintenance
To maintain product SAFETY and RELIABILITY, repairs, car- bon brush inspection and replacement, any other mainte- nance or adjustment should be performed by Makita Authorized or Factory Service Centers, always using Makita replacement parts. - Page 14 CAUTION: • These accessories or attachments are recommended for use with your Makita tool specified in this manual. The use of any other accessories or attachments might present a risk of injury to persons. Only use accessory or attachment for its stated purpose.
- Page 15 Memo...
- Page 16 Memo...
- Page 17 First-Class Postage Required Post Office will not deliver without proper postage. Makita U.S.A., Inc. 14930 Northam Street La Mirada, CA 90638-5753 Fold...
- Page 18 Paste 3. How did you learn about this product: Magazine From Dealer Newspaper Store Display Catalog 4. Most favored points are: Design Features Size Price Makita Brand MODEL NO. YEAR SERIAL NO. PHONE 20-29 30-39 40-49 Paste Paste Radio Exhibition...
-
Page 19: Factory Service Centers
Date Purchased When you need service: Send complete tool (prepaid) to one Dealer’s Name & Address of the Makita Factory Service Centers listed, or to an Authorized Makita Service Center. Be sure to attach a letter to the outside of Model No. -
Page 20: Warranty Policy
MAKITA LIMITED ONE YEAR WARRANTY Warranty Policy Every Makita tool is thoroughly inspected and tested before leaving the factory. It is warranted to be free of defects from workmanship and materials for the period of ONE YEAR from the date of original purchase.
Need help?
Do you have a question about the 4324 and is the answer not in the manual?
Questions and answers