Table of Contents
Advertisement
Operating Manual
Level (dB)
Level (dB)
0
-1
0
-1
-3
-3
-
SRA-120
-6
Stereo
-20
-6
Power Amplifier
Protect
Sig. Clip
-10
-10
Channel 1
Channel 2
(M ono)
847 Holt Road
Webster, NY
Toll-Free: (800) 828-6308 Fax: (716) 872-0739 Internet: http://www.ashly.com/
SRA-120
Power Amplifier
Stereo
Headphones
-
SRA-120
SRA-120
-20
Sig. Clip
ASHLY AUDIO INC.
14580-9103 Phone: (716) 872-0010
Channel 2
Protect
Power
Advertisement
Table of Contents

Related Manuals for Ashly SRA-120


Summary of Contents for Ashly SRA-120
-
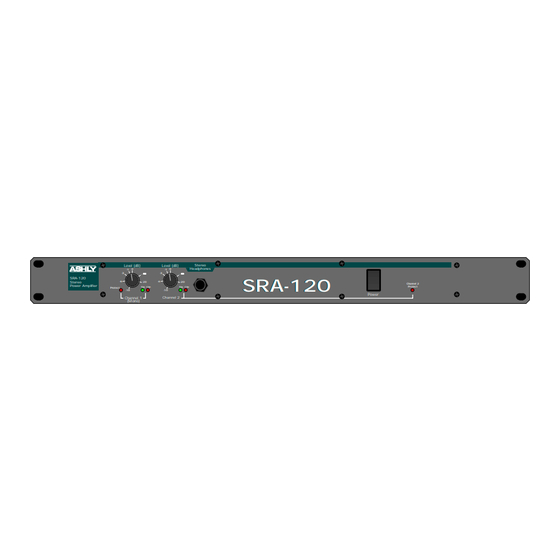
Page 1: Power Amplifier
Power Amplifier Protect Sig. Clip Sig. Clip Channel 1 Channel 2 (M ono) ASHLY AUDIO INC. 847 Holt Road Webster, NY Toll-Free: (800) 828-6308 Fax: (716) 872-0739 Internet: http://www.ashly.com/ SRA-120 SRA-120 SRA-120 Channel 2 Protect Power 14580-9103 Phone: (716) 872-0010... -
Page 2: Table Of Contents
Operating Manual - SRA-120 Power Amplifier 1 INTRODUCTION ..........4 2 UNPACKING . - Page 3 Operating Manual - SRA-120 Power Amplifier 9 DESIGN THEORY ..........10 10 TROUBLESHOOTING TIPS .
-
Page 4: Introduction
Both channels of the SRA-120 can easily drive 4 ohm loads, delivering a total of 120 watts of undistorted, average sinewave power. -
Page 5: Output Cables
For installations where it is desirable to protect the front panel level controls from tampering or acciden- tal misadjustment, use an Ashly security cover. Installa- tion is simple and does not require removal of the equip- ment from your rack. See your Ashly dealer for details. -
Page 6: Front Panel Features
Protect Channel 1 (Mono) Protect Indicators Protect mode in the SRA-120 is automatically activated during extreme fault conditions, as well as dur- ing power-up and power-down. When in protect mode, as indicated by the red LED, the speaker output terminals are internally disconnected. -
Page 7: Rear Panel Features
Operating Manual - SRA-120 Power Amplifier SRA-120 REAR PANEL FEATURES Inputs The input of the SRA-120 amplifier is equipped with balanced 1/4" tip-ring-sleeve (TRS) phone jacks and balanced screw-terminal inputs. Each channel's connec- tors are internally wired in parallel and may be used with balanced or unbalanced connections. -
Page 8: Input Sensitivity Switch
TYPICAL APPLICATIONS Stereo Sound Reinforcement System In this situation, the audio source feeding the SRA-120 is a professional level (0dBu) stereo mixer. All three mode switches should be in the "out" position. and the channel 1 red binding post becomes the (-) out-of- phase speaker terminal. -
Page 9: Stereo Playback Monitoring System
Operating Manual - SRA-120 Power Amplifier Stereo Playback Monitoring System Here the SRA-120 is fed from a low line-level (-10dBu) stereo tape machine or CD player. Only the sensitiv- ity switch should be depressed. Mono Operation in High Level Bi-Amped System Here the SRA-120 is fed from the high frequency output of a professional two-way crossover. -
Page 10: Design Theory
Operating Manual - SRA-120 Power Amplifier DESIGN THEORY Ashly engineers set out to design a single rack space stereo power amplifier delivering a minimum of 120 watts total with the sonic excellence, mechanical rug- gedness and unsurpassed reliability Ashly amps are known for. -
Page 11: Excessive Hiss Noise
If you still need help, get in touch with your Ashly dealer, or call Ashly direct: (800) 828-6308. In New York State, dial (716) 872-0010. -
Page 12: Specifications
Specification conditions are 120VAC 60Hz at 25°C. WARRANTY POLICY We thank you for your expression of confidence in Ashly products. The unit you have just purchased is protected by a limited five year warranty. To establish the warranty, you must first complete and mail the war- ranty card attached to your product. -
Page 13: Schematics
Operating Manual - SRA-120 Power Amplifier SCHEMATICS:... - Page 14 Figure 15.2: SRA-120 Channel One Schematic Diagram.
- Page 15 Figure 15.3: SRA-120 Channel Two Schematic Diagram.
- Page 16 Operating Manual - SRA-120 Power Amplifier ASHLY AUDIO INC. 847 Holt Road Webster, NY 14580-9103 Phone: (716) 872-0010 Fax: (716) 872-0739 Toll Free (800) 828-6308 Internet: http://www.ashly.com 1997 by Ashly Audio Corporation. All rights reserved worldwide. Printed in USA 4/97 SRA Rev 3...
Need help?
Do you have a question about the SRA-120 and is the answer not in the manual?
Questions and answers