Advertisement
Table of Contents
Advertisement
Table of Contents

Related Manuals for Shinco YPO6 Series


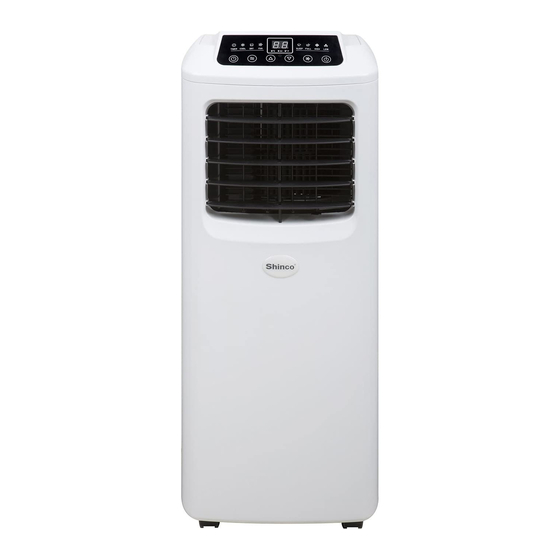
Summary of Contents for Shinco YPO6 Series
-
Page 1: User Manual
Page: 1/15 User Manual YPO6 Series Portable Air-conditioner Thank you for selecting this new model portable air conditioner. Please read this owner’s manual carefully before operating the unit. Please keep this manual in a safe place for future reference. -
Page 2: Table Of Contents
Page: 2/15 Contents Important Safeguards.....………………………………………….…….…... 3 Function Description……………….……………………………….…………...…. 4 Features and Parts…………………………………………………….…………….4 Installation…………………………………………………..…………………. …….5 Control Setting…………………………………………………………….………….8 Water Drainage Methods………..…………………………………………………10 Maintenance…………………………………..………………….………….………11 End of Season Storage………………..……………………………………………11 Handling of the Unit……………………………………………………………….…12 Troubleshooting……………………….………………………………………….…13 Appendix………………………….……………………………………….…….……14... -
Page 3: Important Safeguards
Page: 3/15 Important Safeguards Important safeguards: ·The appliance is for indoor use only. Read all instructions ·Rated Power Supply: Connect unit to a Grounded Power Source: 110-120VAC, 60HZ. ·Disconnect the power plug before dismantling, assembling or before cleaning unit. ·Avoid touching moving parts of the appliance. ·Never insert fingers, pencils or any other objects though the vent guard whenever the power plug is connected, especially while running. -
Page 4: Function Description
Page: 4/15 Function Description These series of mobile air-conditioners is available in two model lines: Cooling models and Cooling & Heating models. The Cooling only models offers Cooling, Dehumidifier, Fan air and Sleep Functions. The Cooling & Heating Models offer Cooling, Dehumidifier, Fan air and Heating Functions. -
Page 5: Installation
Page: 5/15 1. Control panel 15. Lower air duct bottom 2. Horizontal louver 16. Wire-winding post 3. Vertical louver 17. Drain cap 4. Air outlet frame 18. Evaporator filter mesh 5. Vertical Louvre connecting lever 19. Evaporator filter frame 6. Caster 20. - Page 6 Page: 6/15 1). Take the heat exhaust hose C clamp buckle off the plastic bag. 2). Point the swivel hole at the end of the C clamp, towards the swivel shaft at the back of the vent. Set it onto the swivel shaft on the back exhaust vent as shown in Figure 1. Note: 1.
-
Page 7: Important Notes
Page: 7/15 1.4 Installation of the unit 1). Move the machine with the heat exhaust hose assembly installed to the window and keep the unit at least 50cm (20‖) away from the walls or big objects as shown in Figure 7. Figure 7 2). -
Page 8: Control Setting
Page: 8/15 Control Setting Operation instructions of the control panel 1. Select the operation display depending on the models and functions. 2. The operation display is as follows: Double 8 Fahrenheit Celsius Regular display degree degree time area indicator indicator indicator Mode Down... - Page 9 Page: 9/15 Operation instructions of the unit controls a) Formula for all Cooling models: Ta = Room Temperature Ts = Programmed Temperature If Ta≥Ts+1℃ (1℉) = the cooling mode starts. If Ta≤Ts-1℃ (1℉) = the compressor stops and only the fan motor remains working at the set fan speed.
-
Page 10: Water Drainage Methods
Page: 10/15 Multiple protection functions: 1. Anti-freeze protection function: Upon cooling, when the compressors operates continuously for more than 10 minutes, if the pipe temperature Tp is less than or equal to 2 continuously for 20 ℃ seconds, the compressor and water spraying motor will turn off, and the LED displays E4. -
Page 11: Maintenance
Page: 11/15 Note: 1. The drain hose must be installed when there is not water in the base plate; 2. When operating in the cooling mode, do not use continuous drainage to ensure the water for radiation of the condenser of the unit and enhance the cooling effects of the unit, 3. - Page 12 Page: 12/15 Figure 13 Figure 14 3). For cleaning, put the evaporator filter frame, condenser filter frame, evaporator filter mesh, and condenser filter mesh into warm water (about 40℃) mixed with a neutral cleaner, and then dry them in the shade (as shown in Figure 15). Note: 1.
-
Page 13: End Of Season Storage
Page: 13/15 Handling of the Unit 1. Handling and moving of the unit 1). To handle or move the unit, hold the top of the air outlet of the front shell with one hand and the handle position at the top of the back shell with another hand, and move the unit in an upright position. -
Page 14: Troubleshooting
Page: 14/15 Troubleshooting Never attempt to repair the air-conditioner yourself. Disqualified repair will void the warranty card and may cause harm to the removal personnel and property. If you encounter any of the problems listed in the table below or the recommended remedy does not work, contact the professional service agency. -
Page 15: Appendix
Page: 15/15 Appendix Fuse parameters Model: FSD or 50F Voltage: 115V Current: 7.64A Schematic diagram of the air-conditioner Coil Condenser Compressor Evaporator For specific technical parameters of the models, refer to the nameplate on the product (s). Disposal: do not store waste products with other non-classified wastes. Such wastes shall be stored separately for other special purposes. - Page 16 1845 S.Vineyard Ave.Ste.4 Ontario.CA 91761 Tel:909-974-2859 Fax:909-974-2865 Hours:8:30AM-5:00PM PST TO OBTAIN WARRANTY SERVICE Contact Shinco Technical Suport Email:TechSupport@cchappliance.com Phone:800.838.3315 From 8:30AM to 5:00PM Monday through Friday Pacific Time. WARRANTY PERIOD: Labor: 1 Year from the Date of Purchase. Parts: 1 Year from the Date of Purchase.
Need help?
Do you have a question about the YPO6 Series and is the answer not in the manual?
Questions and answers