Table of Contents
Advertisement
Quick Links
Advertisement
Table of Contents

Related Manuals for Avtec XHD070Pro


Summary of Contents for Avtec XHD070Pro
- Page 1 Operation Manual_V1.0...
- Page 3 XHD070 & XHD070Pro Operation Manual_V1.0 Important Safety Instructions There are no user-serviceable components inside the device so please do not take apart or repair the unit by yourself. The device repair must be done by qualified specialists only. Do not expose this product to direct sunlight, heat or humid conditions WARNING! To avoid possible malfunctions the device must not be exposed to rain or moisture.
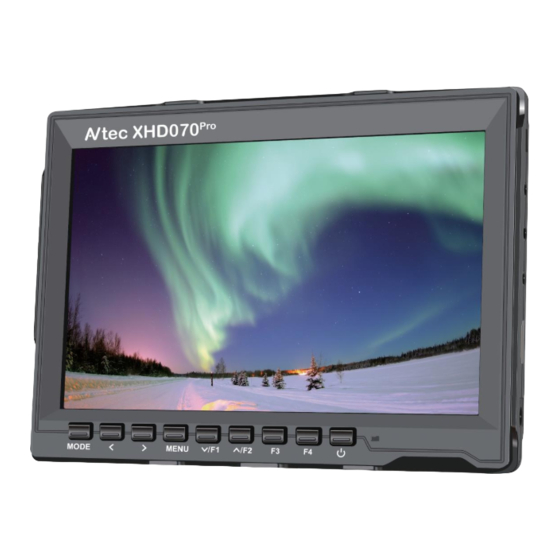
- Page 4 XHD070 & XHD070Pro Operation Manual_V1.0 1. Overview Thank you for purchasing the AVtec XHD070(Pro) on-camera field monitor. This 7” monitor is a great tool for focusing, composing, and viewing images/video clips directly from your digital camera/video camera. It is conveniently sized for easy transportation, and it is perfect for difficult shooting situations.
- Page 5 XHD070 & XHD070Pro Operation Manual_V1.0 3. Included in this box 1x AVtec XHD070(Pro) On-Camera Field Monitor 3x Battery bracket for NP-F, BP-U & LP-E6 batteries 1x AC/DC Combi adapter with EU, US, UK & AU plugs 1x Sun hood attachment & detachable sun hood 1x Ball head with 1/4"...
- Page 6 XHD070 & XHD070Pro Operation Manual_V1.0 3.1 Battery brackets & AC/DC Adapter Battery brackets The battery bracket for Sony NP-F batteries is installed on the monitor. You can easily change the battery bracket by unscrewing the 4 small screws on the back of the battery bracket. Unplug the bracket connector from the slot, plug in the connector of the bracket you would like to install and fasten the 4 screws.
- Page 7 XHD070 & XHD070Pro Operation Manual_V1.0 AC/DC Combi adapter The supplied AC/DC combi adapter (100-240V~) supports AC or DC power and uses wall, vehicle, or airplane power outlets to power your device. Four power plugs are supplied for EU, US, UK and AU. Slide the selected plug on to the adapter until you hear a soft click.
- Page 8 XHD070 & XHD070Pro Operation Manual_V1.0 Sun hood The firm but flexible plastic sun hood is designed to protect your screen and reduces strong light reflection. It mounts to the monitor with a strong easy-on- easy-off construction with hook and loop fasteners.
-
Page 9: Front Panel & Controls
XHD070 & XHD070Pro Operation Manual_V1.0 4. Front panel & Controls Item: Description: Power Indicator light when power on/standby, it turns red; when signal in, it turns green. Power on/off button F4 Function button, enter secondary menu item F (self-defined button), then self-define the function that user need... -
Page 10: Rear Panel
XHD070 & XHD070Pro Operation Manual_V1.0 5. Rear panel Item: Description: USB Upgrade port OSD Controller port Headphone Jack port AV port HDMI-in port (HDMI type A-connector) DC Power input (12V) Battery bracket Built-in speaker AVtec LCD Monitors Page: 8/13... -
Page 11: Menu Instructions
XHD070 & XHD070Pro Operation Manual_V1.0 6. Menu instructions Image Color menu Use one of the /F1 button to enter the Image Color menu. Press ▲/F2 or ▼ /F1 to navigate through the settings. Once the desired setting is highlighted, ▼... -
Page 12: Settings Menu
XHD070 & XHD070Pro Operation Manual_V1.0 Settings menu Use one of the /F1 button to enter the Settings menu. Press ▲/F2 or /F1 to ▼ ▼ navigate through the settings. Once the desired setting is highlighted, use the ◄ or ►buttons to navigate through the sub-menu functions. Press the MENU button to activate the function. -
Page 13: Function Menu
Histogram Turns on the Histogram in the right corner of the screen. To check the picture brightness. (only available in XHD070Pro version) Exposure (Zebras) Turns on Exposure with red stripes to check what is overexposed. (only available in XHD070Pro version) -
Page 14: Assignable Functions
XHD070 & XHD070Pro Operation Manual_V1.0 Function buttons menu Use one of the /F1 button to enter the Function buttons menu. Press ▲/F2 or ▼ /F1 to navigate through the settings. Once the desired setting is highlighted, ▼ use the ◄ or ►buttons to navigate through the sub-menu functions. Press the MENU button to activate the function to save it under the specific function button. -
Page 15: Technical Specifications
XHD070 & XHD070Pro Operation Manual_V1.0 7. Technical Specifications Panel Size IPS LCD 7.0 inch Panel Type IPS LCD Resolution 1280x800 (3.072.000 Pixels) Backlight Dot Pitch 0.11775(W) x 0.11775 (H) Aspect Ratio 16:9 Brightness 400cd/m2 Contrast Ratio 800:1 Response Time 25ms Viewing Angle 89°/89°(Left/Right) 89°/89°(Up/Down) - Page 16 http://www.AVtec.tv...
Need help?
Do you have a question about the XHD070Pro and is the answer not in the manual?
Questions and answers