Table of Contents
Advertisement
Quick Links
Advertisement
Table of Contents

Related Manuals for Avtec XFM070


Summary of Contents for Avtec XFM070
- Page 1 Owner’s Manual_V1.0...
- Page 2 Operation of this equipment in a residential to correct the interference at his own expense CAUTION: Change or modifications not expressly approved by the manufacturer responsible for compliance could void the user’s authority to operate the equipment. AVtec LCD Monitors Page: 2/17...
- Page 3 It is conveniently sized for easy transportation, and it is perfect for difficult shooting situations. To obtain the best results with your new XFM070, please take the time to read this manual. 2. Features • Ultra Thin 7” IPS LCD Panel in Aluminum housing •...
- Page 4 XFM070 Owner’s Manual_V1.0 3. Included in this box 1x AVtec XFM070 Full HD Monitor 3x Battery bracket for NP-F, BP-U & LP-E6 batteries 1x AC/DC Combi adapter with EU, US, UK & AU plugs 1x Sun hood attachment & detachable sun hood 1x Ball head with 1/4"...
- Page 5 NP-QM91, NP-QM90D, NP-QM90, NP-QM71D, NP-QM71, NP-QM70D, NP-QM70, NP-QM51D, NP-QM51, NP-FM71 & NP-FM70 series. BP-U bracket Sony BP-U30, BP-U60 & BP-U90 LP-E6 bracket Canon LP-E6 NOTE: Please remove the battery from the bracket before changing the battery bracket itself. AVtec LCD Monitors Page: 5/17...
- Page 6 Four power plugs are supplied for EU, US, UK and AU. Slide the selected plug on to the adapter until you hear a soft click. AVtec LCD Monitors Page: 6/17...
- Page 7 Slide the ball head into a hot shoe and fasten it by turning the wheel on the bottom of the ball head to the right. AVtec LCD Monitors Page: 7/17...
-
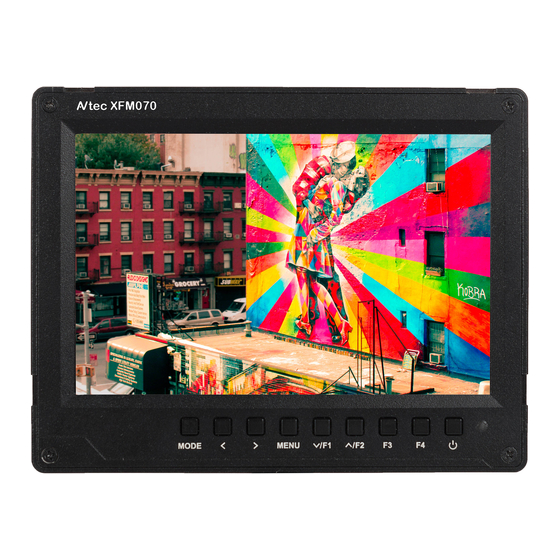
Page 8: Front Panel & Controls
MENU To enter or exit the menu ► Volume up / increase the value of selected menu item ◄ Volume down / decrease the value of selected menu item MODE To switch signal mode LCD display AVtec LCD Monitors Page: 8/17... -
Page 9: Rear Panel
XFM070 Owner’s Manual_V1.0 5. Rear panel Item: Description: USB Upgrade port OSD Controller port Headphone Jack port AV port HDMI-in port DC Power input (12V) Battery Bracket Built-in speaker AVtec LCD Monitors Page: 9/17... - Page 10 3. After selecting the items in the secondary menu, then press ◄ or ► button to adjust the item parameters. 4. Press ▼ /F1 or ▲/F2 button to choose another parameter adjustment after confirming the item adjustment. 5. Press MENU button to exit the menu. AVtec LCD Monitors Page: 10/17...
-
Page 11: Menu Instructions
Color Temp. 6500 K, 9300 K or User. The User option allows you to adjust Red, Green & Blue. Tint On NTSC video mode, the image color tint difference is adjusted by tint. AVtec LCD Monitors Page: 11/17... -
Page 12: Settings Menu
To adjust the brightness of screen backlight Power On Manual or Auto setting USB Upgrade To update the firmware via USB. Please check the firmware page on AVtec.tv. Restore factory settings by pressing ► button. Reset AVtec LCD Monitors Page: 12/17... -
Page 13: Function Menu
Use one of the /F1 to navigate through the settings. Once the desired setting is highlighted, use the ◄ or ►buttons to navigate through the sub-menu functions. Press the MENU button to activate the function. AVtec LCD Monitors Page: 13/17... - Page 14 Red, Green, Blue, Black, White. Mark Width To select the above mark color display width; 1~7 Modified Marker Adjust the brightness of the image outside tag line to highlight the inside tag line of the image; AVtec LCD Monitors Page: 14/17...
- Page 15 Assist”, and press MENU button to confirm. So when you exit OSD menu, you could press F1 directly on the front of panel to turn on “Focus Assist” function. Same settings for F2, F3 and F4 AVtec LCD Monitors Page: 15/17...
-
Page 16: Technical Specifications
490/520g (with F970 battery plate) 17.28/18.34 oz Installation Method 1/4 inch bracket screw hole, can be easily connected to the hot shoe mount, tripod fixed installation Working Temperature -20°C~55°C / -4°F~131°F Storage Temperature -30°C~65°C / -22°F~149°F AVtec LCD Monitors Page: 16/17... -
Page 17: Troubleshooting
① Check Volume control; press the volume button, and try to increase the volume. ② Check the AUDIO input and ensure there is AUDIO signal. If other issues with the device may occur, please contact us. http://www.AVtec.tv AVtec LCD Monitors Page: 17/17...
Need help?
Do you have a question about the XFM070 and is the answer not in the manual?
Questions and answers