Table of Contents
Advertisement
Quick Links
Assembly Guide
EN-CAUH-B
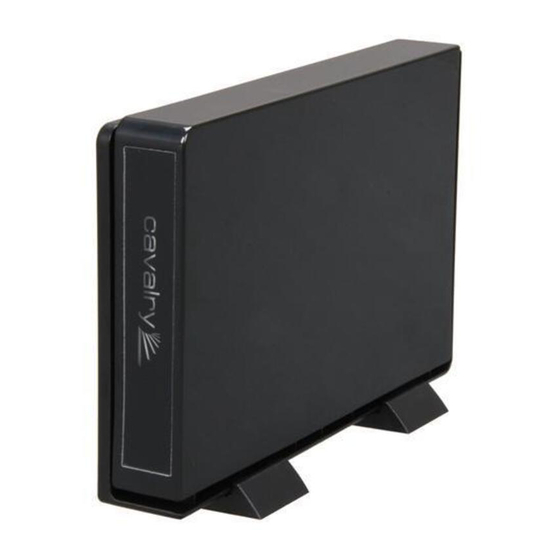
Enclosure
Thank you for purchasing the CAUH user-configured enclosure!
The CAUH enclosure is elegant, cost-effective, and primarily
designed to protect your Hard Disk from shock. The sleek ABS
plastic enclosure tightly conforms to the shape of your Hard Disk
in order to divert the shock of accidental collisions and direct it
towards the enclosure itself; safely away from the delicate Hard
Disk. This requires a careful assembly process in order to
provide maximum protection to your data. Please read the entire
guide before beginning the assembly!
EN-CAUH-B
1
Note:
*To reduce static discharge, do not
assemble while on a carpeted
surface.
*Handle hard drives on the sides
only. Do not touch any pins or
connectors.
*EN-CAUH-B does not have an
eSATA Connection
Advertisement
Table of Contents

Related Manuals for Cavalry EN-CAUH-B


Summary of Contents for Cavalry EN-CAUH-B
- Page 1 Note: *To reduce static discharge, do not assemble while on a carpeted surface. *Handle hard drives on the sides only. Do not touch any pins or connectors. *EN-CAUH-B does not have an eSATA Connection EN-CAUH-B...
- Page 2 THE EN-CAUH-B ASSEMBLY GUIDE ENCLOSURE You will need (not included): Screwdriver with Philips head 1 SATA hard drive STEP ONE Remove the box contents. Put the two panels off to the side. The panel with the circuit board will be refered to as Panel A. The lid will be referred to as Panel B.
- Page 3 THE EN-CAUH-B ASSEMBLY GUIDE ENCLOSURE STEP THREE As you place the hard drive into the enclosure, watch the retainer pins on the right side of panel A. Once they have lined-up with the screw-holes on the side of your HDD, push the back end of Screwhole the drive downwards, into the floor of Panel A.
- Page 4 THE EN-CAUH-B ASSEMBLY GUIDE ENCLOSURE STEP FIVE Now bring Panel B down slowly on top of Panel A. Take this time to make sure all of the tabs are lined up with the channels that you counted before. Push the longest tabs in halfway first. Make sure they are inside of the channels.
- Page 5 THE EN-CAUH-B ASSEMBLY GUIDE ENCLOSURE STEP EIGHT Once all the tabs are lined-up, push down on the entire surface of Panel B until you hear the snapping noises of the tabs engaging. Use your thumbs to go around the edges of the enclosure and engage every tab.
Need help?
Do you have a question about the EN-CAUH-B and is the answer not in the manual?
Questions and answers