Table of Contents
Advertisement
Advertisement
Table of Contents

Summary of Contents for Nexersys-Home NXS-H
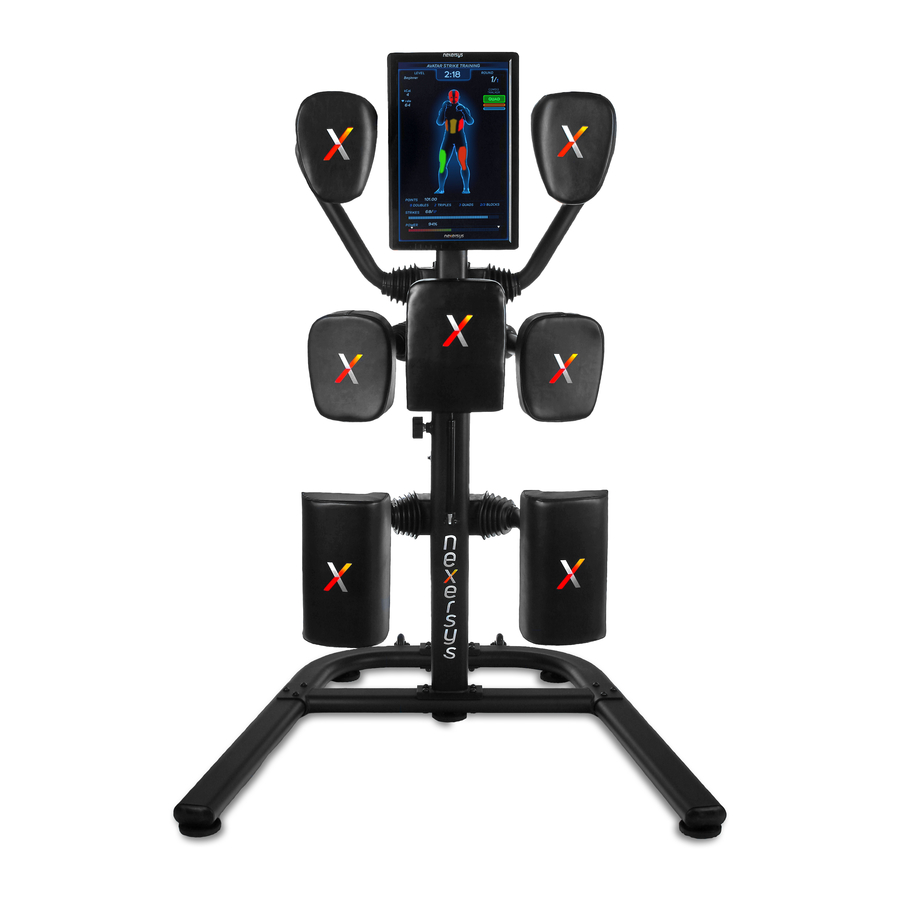
- Page 1 Nexersys - Home NXS-H Owner’s Manual...
-
Page 2: Table Of Contents
Contents Introduction ..............................1 Before Assembly ............................2 Important Safety Instructions ........................3 Product Specifications ..........................5 Parts & Reference Guide ..........................6 Step 1: Base Assembly ..........................10 Step 2: Spine Support Assembly ........................11 Step 3: Spine Assembly ..........................12 CPU & Monitor ........................13 Warning/Caution ............................14 FCC Notice ..............................15 Parts &... -
Page 3: Introduction
Please review all safety, maintenance and usage instructions and warranty and return policies as are included in this Owner’s Manual before using your Nexersys. Customer Satisfaction is our priority. Please call with any questions or issues and we will do our best to serve you – 877-785-3823. Thank you! Team Nexersys NXS-H Owner’s Manual... -
Page 4: Before Assembly
Try and remember where you laid out each piece so that you can find them quickly when you need them. NXS-H Owner’s Manual... -
Page 5: Important Safety Instructions
Protect the power cord from being walked on or pinched particularly at plugs, convenience receptacles, and the point where they exit from the CPU and monitor. • Only use attachments/accessories specified by the manufacturer. • Unplug this product during lightning storms or when unused for long periods of time. NXS-H Owner’s Manual... - Page 6 Do not overexert yourself or work to exhaustion. Stop your workout immediately and consult your physician if you feel any pain, dizziness, shortness of breath, or other abnormal symptoms. • You should always consult your physician before beginning a new exercise program or nutrition plan. NXS-H Owner’s Manual...
-
Page 7: Product Specifications
Saved Profiles, Preferences and Workout History • Feedback: Accuracy, Strike Count, Power, Points, Heart Rate and Calories Burned • Before each use check all bolts, pads, and framework for wear and proper function. Tighten all fasteners as necessary. NXS-H Owner’s Manual... -
Page 8: Parts & Reference Guide
Parts & Reference Guide NXS-H Owner’s Manual... - Page 9 M10 75mm Bolt M10 25mm Bolt M10 Flat Washer M10 Nylock Nut M8 20mm Bolt M8 Flat Washer M8 Lock Washer Hex Key, size = 5/32” Hex Key, size = 5 Hex Key, size = 6 Wrench NXS-H Owner’s Manual...
- Page 10 Parts & Reference Guide NXS-H Owner’s Manual...
- Page 11 Rubber Gasket Spine Support Spine Left Head Pad Right Head Pad Left Body Pad (Kidney Pad) Center Body Pad Right Body Pad (Kidney Pad) Left Kick Pad Right Kick Pad Accelerometer Cables DC Power Cable Sit Up Bar NXS-H Owner’s Manual...
-
Page 12: Step 1: Base Assembly
Parts Needed: Left Base Edge, Right Base Edge, Plate 1, Rubber Gasket, Spine Support Hardware Needed: 4 - M10 75mm Bolt (#52); 8 - M10 Flat Washer (#64); 4 - M10 Nylock Nut (#65) Note: Do not tighten the M10 75mm Bolts until after Step 3. NXS-H Owner’s Manual... -
Page 13: Step 2: Spine Support Assembly
Position the Spine horizontally so that the Center Base Connector can be attached to the Spine. Parts Needed: Spine; Rubber Gasket; Center Base Connector Hardware Needed: 4 - M10 25mm Bolt (#56); 4 - M10 Washer (#64); NXS-H Owner’s Manual... -
Page 14: Step 3: Spine Assembly
Hardware Needed: 6 - M10 25mm Bolt (#56); 8 - M10 Washer (#64); 1 - M10 105mm Bolt (#54); 1 - M10 Nylock Nut (#65) #56 #64 Note: Now tighten the M10 75mm Bolts from step 1 (connecting the spine support to the base assembly). NXS-H Owner’s Manual... -
Page 15: Cpu & Monitor
Nexersys CPU & Monitor... -
Page 16: Warning/Caution
INSIDE. REFER TO QUALIFIED SERVICE PERSONNEL. The exclamation point within an equilateral triangle is intended to alert the user to the presence of important operating and maintenance (servicing) instructions in the literature accompanying the appliance. NXS-H Owner’s Manual... -
Page 17: Fcc Notice
Do not attempt to modify this product in any way without written authorization from the manufacturer. Unauthorized modification could void the warranty and user’s ability to operate this product. To prevent fire or shock hazards, do not expose this product to rain or moisture. NXS-H Owner’s Manual... -
Page 18: Parts & Reference Guide
Parts and Reference Guide NXS-H Owner’s Manual... - Page 19 Parts and Reference Guide Item Quantity Description M6 Nylon Lock Nut M3.5 Flat Washer 19” LCD Monitor AC Cable HDMI to DVI Cable AC Power Brick Audio Cable NXS-H Owner’s Manual...
- Page 20 Step 4 - Mount CPU and Monitor to Nexersys Note: Both the lock washer and flat washer are required for proper assembly. Warning: Be sure to install washers per instructions to avoid potential damage to the CPU. NXS-H Owner’s Manual...
- Page 21 Assembly Step 5 - Connect Accelerometer Cables Note: Plug-in left to right (1-7) when facing back of monitor. Make sure the clip on the accelerometer cable faces the monitor when installed. NXS-H Owner’s Manual...
-
Page 22: Step 4: Connect Audio, Video & Usb Cables
Assembly Step 6 - Connect Audio, Video & USB Cables HDMI to DVI-D Cable VGA Port (Not Used) Audio Cable NXS-H Owner’s Manual... -
Page 23: Step 5: Connect Ac Power Supply
Assembly Step 7 - Connect AC Power Supply Note: Connect DC Cable from AC power supply to DC cable at base of Nexersys. DC Cable NXS-H Owner’s Manual... -
Page 24: Step 6: Connect Dc Power Cables To Cpu And Monitor
Assembly Step 8 - Connect DC Power Cables to CPU and Monitor Note: The DC cable is routed through the spine of the Nexersys iPower Trainer. DC Power Supply NXS-H Owner’s Manual... -
Page 25: Step 7: Insert Sd Card
Assembly Step 9 - Insert SD Card Note: Insert SD card into slot fully until spring mechanism locks SD card into place. SD Card NXS-H Owner’s Manual... -
Page 26: Step 8: Turn On Power
Assembly Step 10 - Turn On Power Note: Please wait at least 20 seconds for software license screen. CPU Power Switch Monitor Power Switch NXS-H Owner’s Manual... -
Page 27: Monitor Specifications
Move icon down / decrease value Move icon up / increase value DOWN Back to last menu / Auto adjust EXIT Change ratio (wide or normal) SCALE Display or change input signal SOURCE Turn ON / OFF monitor NXS-H Owner’s Manual... - Page 28 To press menu into main choice menus, press menu into phase adjustment, and then press up or down to start pixel sampling by phase improving stabilization. 2.4 Clock adjustment: To press menu into main choice menus, press menu into Frequency adjustment, and then press up or down to adjust clock image display to track stability. NXS-H Owner’s Manual...
- Page 29 This selection will automatically adjust your image setting to the best viewing. 6.2 Auto color This selection will automatically adjust your color setting to the best viewing. 6.3 Factory reset This selection will reset the monitor to factory statement. NXS-H Owner’s Manual...
- Page 30 DVI input Input signal 10bit digital signal Audio In 2X2W Audio In 30 ~ 80 KHz Audio In 60 ~ 75 Hz Storage Temp -20°C to 60°C Temperature Operation Temp 0°C to 40°C Humidity Operation 10% to 85% NXS-H Owner’s Manual...
-
Page 31: Troubleshooting
– or the bootload process may stop (i.e. hang). Please turn off the CPU, check the connection of any reported pad error, and then restart the CPU. The pad layout corresponding to the accelerometer numbers is shown below: Please don’t hesitate to contact Nexersys support if you have any questions. NXS-H Owner’s Manual... - Page 32 Check that the USB stick is plugged in properly, and that you have enough memory left on your USB stick. If you removed your USB stick or turned off your Nexersys during a “Do not unplug USB or turn off the NXS-H Owner’s Manual...
- Page 33 Check that the switch on the SD card is up, meaning the card is unlocked. Software 1. Power down Nexersys, remove the SD card, reinsert it and power back up. 2. Call Customer Service. Long Term Storage For ideal storage, set-up Nexersys in a climate controlled environment. NXS-H Owner’s Manual...
- Page 34 If you encounter any problems, please contact customer service for troubleshooting support and/or a replacement. Power Cords and Cables Avoid twisting or creasing the power cords and cables. Contact customer service if you are having problems with your cords or cables. NXS-H Owner’s Manual...
-
Page 35: Final Inspection
Inspect: Pad bolts. Tighten if needed. Inspect: Arm screws. Tighten if needed Inspect: All decals and replace if missing or torn. Inspect: Spine spring cover bolts. Tighten if needed. Inspect: Boot cover bands. Call to replace if needed. NXS-H Owner’s Manual... -
Page 36: Features And Use
The current pad will then move down, as either green or orange, as the next strike pad pops up. Figure 1 shows the pad history. Figure 1. Pad History NXS-H Owner’s Manual... - Page 37 Lead Knee Power Knee Lead Sweep Power Sweep Lead Elbow Power Elbow Lead Hook Power Hook Lead Uppercut Power Uppercut Figure 2. Rotational Strike Icons NXS-H Owner’s Manual...
- Page 38 (Figure 4 left) and a detail page with the round wrap-up stats from each round (Figure 4 right). These workout wrap-ups will be stored in the Historical Data folder found under Profiles & Settings / View Historical Data. Figure 4. Workout Summary Figure 3. Round Wrap-up NXS-H Owner’s Manual...
-
Page 39: Intensity Levels
Advanced combos like a pro. Training videos measure accuracy, power, and the number of strikes per round. Based on the measurements captured over time, Nexersys will show where a user can focus to improve performance and results in the round and workout wrap-ups. NXS-H Owner’s Manual... -
Page 40: Strike Technique
Lead hand throws a hook to the inside of the opposite head pad. Fist to elbow is parallel to the ground. Big rotation in the core. • Power Hook Power hand throws a hook punch to the inside of the opposite head pad. NXS-H Owner’s Manual... - Page 41 Lead leg sweeps around, as body pivots with it. Lead leg strikes the inside of the opposite leg pad. • Power Sweep Power leg sweeps around, as body pivots with it. Power leg strikes the inside of the opposite leg pad. NXS-H Owner’s Manual...
-
Page 42: Limited Warranty
Warranty period. THESE REMEDIES ARE THE EXCLUSIVE AND SOLE REMEDIES FOR ANY BREACH OF WARRANTY. What You Must Do • Retain appropriate and acceptable Proof of Purchase • Operate, maintain, and inspect the product as specified in the Product Documentation (Assembly Manual, Owner’s Manual, etc.) NXS-H Owner’s Manual... - Page 43 OF FITNESS FOR A PARTICULAR PURPOSE, are limited in direction to the term of the applicable express warranty provided above, whichever is longer. Some states do not allow limitations on how long an implied warranty lasts, so the above limitation may not apply to you. NXS-H Owner’s Manual...
- Page 44 This policy applies to products purchased direct from Nexersys Corporation and includes the Nexersys unit. Nexersys Corporation accepts returns of merchandise only under the following conditions: • You must receive a Return Merchandise Authorization Number from Nexersys before shipping the product to us. NXS-H Owner’s Manual...
- Page 45 The merchandise must be returned within the Satisfaction period specified. • Products returned must be received no later than two (2) weeks after we have provided your Return Authorization Number (RMA). • Products must be returned undamaged in suitable packaging (preferably original cartons). NXS-H Owner’s Manual...
-
Page 46: Return Policy And Contacts
E-mail: support@nexersys.com Frame Serial Number Phone: 877-785-3823 Website: www.nexersys.com CPU Serial Number CORPORATE HEADQUARTERS Nexersys Corporation 1021 E 7th Street Suite 100A Austin, Texas 78702 Monitor Serial Number Phone: 877-209-0320 E-mail: info@nexersys.com Date of Purchase Website: www.nexersys.com NXS-H Owner’s Manual...
Need help?
Do you have a question about the NXS-H and is the answer not in the manual?
Questions and answers