Table of Contents
Advertisement
Quick Links
INSTRUCTION MANUAL
Operating and Servicing Instructions
Vax Cadence Series
IMPORTANT: READ CAREFULLY BEFORE ASSEMBLY AND USE.
Please contact our Customer Care Line on: 0330 026 8455 Mon-Fri 8.30am to 6.30pm, Sat 9.00am to 5.00pm
PLEASE DO NOT RETURN THIS PRODUCT TO THE STORE.
THIS PRODUCT IS INTENDED FOR HOUSEHOLD USE ONLY.
IF USED COMMERCIALLY WARRANTY IS VOID.
Advertisement
Table of Contents

Related Manuals for Vax vrs101


Summary of Contents for Vax vrs101
-
Page 1: Instruction Manual
INSTRUCTION MANUAL Operating and Servicing Instructions Vax Cadence Series IMPORTANT: READ CAREFULLY BEFORE ASSEMBLY AND USE. Please contact our Customer Care Line on: 0330 026 8455 Mon-Fri 8.30am to 6.30pm, Sat 9.00am to 5.00pm PLEASE DO NOT RETURN THIS PRODUCT TO THE STORE. -
Page 2: General Safety
Do not use this vacuum cleaner with a damaged cord or plug. If the supply cord is damaged return the vacuum cleaner to Vax or an authorised Service Agent for examination, repair or adjustment. - Page 3 • Do not pick up any flammable or combustible materials (lighter fluid, petrol, kerosene etc.) or use in the presence of explosive liquids or vapours. • Do not vacuum up harmful or toxic material (chlorine, bleach, ammonia, drain cleaner etc.). •...
-
Page 4: Table Of Contents
Verification of date of purchase may be required for MANUFACTURING CODE warranty service of your VAX™ product. (Label located on bottom of vacuum) Be sure to register your product online at VAX.com or call (UK) 0330 026 8455 (ROI) 1-800 928 308 to register by phone. CONTENTS General Safety ...................... -
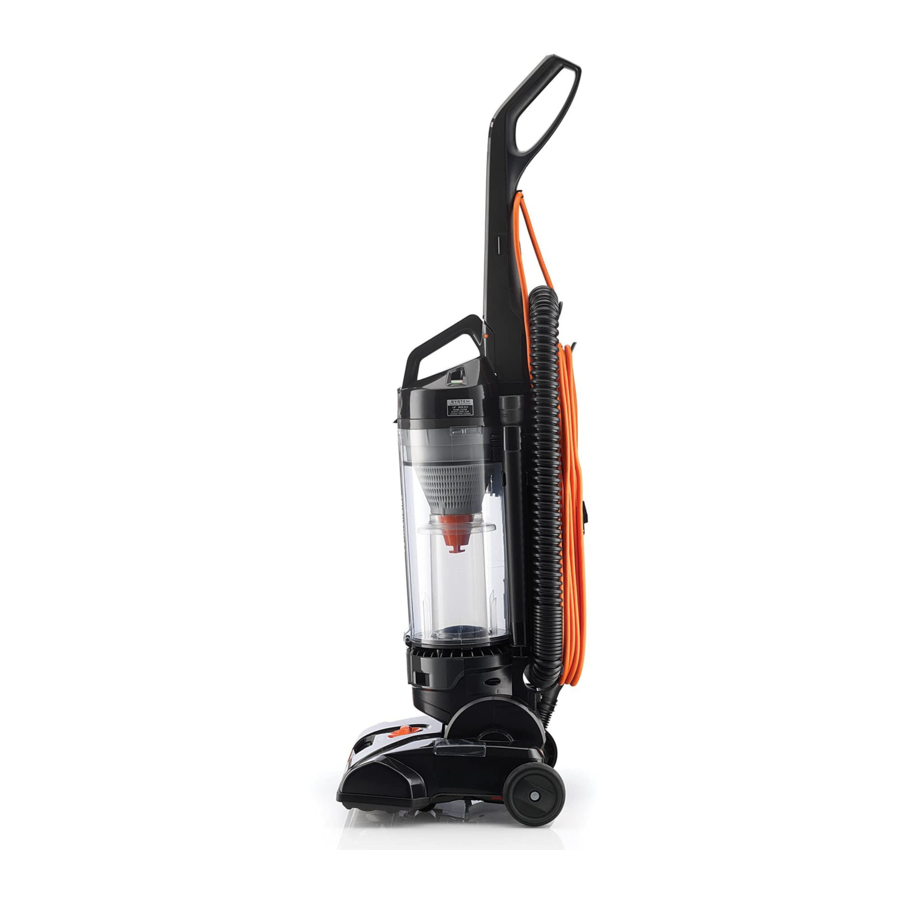
Page 5: Machine Overview
11. Quick Release Cord Hook 12. Power Cord 13. Wheels 14. ON/OFF Pedal 15. Brushbar Control Button 16. Hard Floor Adaptor *Accessories not included with your model may be purchased separately by visiting www.vax.co.uk Actual model may vary from images shown. -
Page 6: Getting Started
1. GETTING STARTED WHAT’S IN THE BOX 1.1 Remove all parts from carton and identify each item shown. Make sure all parts are located before disposing of packaging. A. Handle B. Crevice Tool (Attached to handle) C. Main Body D. Dirt Bin E. -
Page 7: Store Tools
ATTACH DIRT BIN 1.5 Place bottom of dirt bin into vacuum body first. Pivot Bin into vacuum. Dirt Bin is secure when you hear a click. STORE TOOLS 1.6 Snap dusting brush (D) into storage area on side of cleaner. 1.7 Crevice tool is permanently attached to end of handle/wand and... -
Page 8: Handle Release
HANDLE RELEASE FLOOR/CARPET 1.10 1.9 Pull back handle to CLEANING tilt back. Press on the 1.10 Move the handle front nozzle and adjust it to the needed. desired position operating the cleaner, and lowering handle to clean under furniture. SUCTION ONLY CARRY HANDLE 1.12 1.11... -
Page 9: Hard Floor Cleaning
ATTACH WAND AND TOOLS 1.15 1.15 Remove the hose from hose caddy. Connect tools to end of hose or use hose alone. To use handle wand, first remove hose from hose holder then remove handle from main body by pressing the handle release button. Attach hose to top of handle. -
Page 10: Using Your Machine
3. USING YOU MACHINE CORD RELEASE/ STORAGE 3.1 Turn the quick cord release for easy cord removal. Store cord in cord guide to keep out of the way while vacuuming. Wrap cord around cord hooks for convienient storage. Attach the plug end to the cord. -
Page 11: Taking Care Of Your Machine
4. TAKING CARE OF YOUR MACHINE Familiarise yourself with these home maintenance tasks as proper use and care of your cleaner will ensure continued cleaning effectiveness. The System Check Indicator located at (A), alerts you to possible system performance issues. Please refer to the What to do if it goes wrong section on page 14 for possible causes and solutions. - Page 12 FILTERS Pre-Motor Filter: How to Clean CAUTION To reduce the risk of personal injury - Unplug before cleaning or servicing. Do not operate vacuum without either the dirt bin or filters in place. Remove dirt bin. 4.4 Twist dirt bin lid counter clockwise and lift up to remove.
- Page 13 BELT AND BRUSHBAR 4.13 4.14 How to Replace CAUTION To reduce the risk of injury from moving parts - Unplug vacuum before servicing. 4.13 Lay the vacuum flat and flip it to expose the nozzle base. The base should lay flat and face up. Remove the five screws.
-
Page 14: What To Do If It Goes Wrong
5. WHAT TO DO IF IT GOES WRONG If a minor problem occurs, it usually can be solved quite easily when the cause is found by using the checklist below. Any other servicing should be done by an authorised service representative. CAUTION To reduce the risk of personal injury –... -
Page 15: Other Information
Any queries or concerns about using your Vax, simply visit; vax.co.uk/support – vaxireland.ie or call the Vax Careline. Calls are charged at the UK local rate. Please make a note of the serial number and model number of the vacuum cleaner before calling. - Page 16 UK based customer care centre — Open 6 days a week Monday-Friday 8:30am-6:30pm Saturday 9:00am-5:00pm we’re here if you need us Instead of taking me back to the shop, simply visit: vax.co.uk/support or call (UK) 0330 026 8455 (ROI) 1-800 928 308 Let us know what you think @VaxUK...
Need help?
Do you have a question about the vrs101 and is the answer not in the manual?
Questions and answers