Subscribe to Our Youtube Channel
Summary of Contents for Gloview FP3
- Page 1 Manual for FP3 Board FINGER TOUCH PORTABLE INTERACTIVE WHITEBOARD FP3 BOARD QUICK START GUIDE V 4.0...
-
Page 2: Table Of Contents
Manual for FP3 Board Contents Package……………………………….……………….1 Hardware Installation...……… ……………………..1 Adjust the hardware......….....…….4 Software installation ...........4 Automatic Calibration…………………….…….……….8 Manual Calibration………………………………..………9... -
Page 3: Package
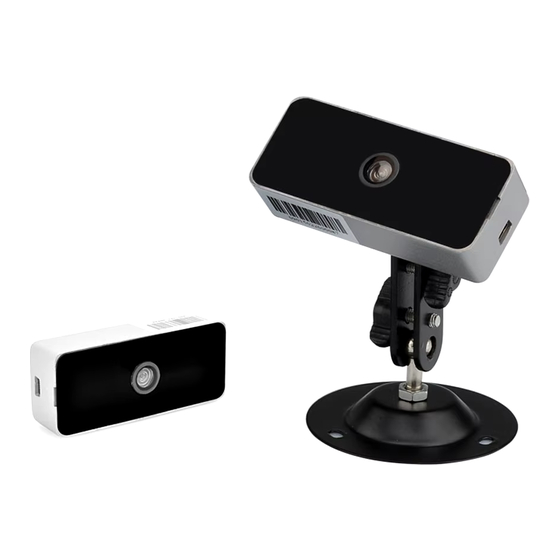
Manual for FP3 Board Quick Start Guide Package: Device (Sensor and Emitter) 12m USB Cable Mounts Power Adaptor Pointer Installation preparation: Projector, Computer (Vista, XP, Windows 7, Windows 8), Flat whiteboard (Must very flat) Hardware Installation Connection Topological graph: Emitter ( 5V,1A )... - Page 4 Manual for FP3 Board 3. USB cable or adapter cable cannot be cut or extended. 4. Leave 7cm space above the projection screen before you install the projection, such space for install the emitter. 5. Put a adhesive tape on the middle of emitter(the central point of projection screen must on straight line with the central point the emitter) 6.
- Page 5 Manual for FP3 Board Emitter Note: if you use double screen FP3 Board, one emitter on the above space of one projection screen.( each emitter install according step 1) Emitter Emitter...
-
Page 6: Adjust The Hardware
Manual for FP3 Board Step 2: Sensor Installation: attach it to projector or attach it on ceiling. Make sure the Capture viewing is erected. For 80” active size (Projection screen), the installation distance is about 1m-1.2m for short throw Sensor part, 0.6-0.8m short throw Sensor and about 2.2m-3.2m for long throw Sensor part. - Page 7 Manual for FP3 Board Open the small CD and copy the “Calibration Software” and “Application Software” file folders into your computer. Open the file of Calibration Software, run “IWB_Setup.exe”; , Then there will be icon on desk : Education software installation dotNetFX35 installation (1).When the operation system is Windows XP, Win8 or Vista, please place the big software CD-ROM...
- Page 8 Pic3 Note: If use double screen FP3 Board, Left camera should take the image of left projection screen, right camera should take the right one. When it is in camera mode, if the image is in opposite way as Pic 4: Pic4 Then please right click in the image, chose “exchange the image”, then it is will be right as Pic5:...
- Page 9 Manual for FP3 Board Step Adjust the emitter 1. The standard:Chose “Installation and debugging”-“Mode 2”. In this mode, emitter cast invisible the laser light over the whiteboard is about 5mm, the light should be parallel with the whiteboard. 2. Principle of adjust: Tighten the down-side screw, then laser light Tilt down.when the light is over the board too much, then do...
-
Page 10: Automatic Calibration
Manual for FP3 Board Pic7 Note: If use double screen, adjust the emitter at the same way. Step There are two calibrations way: one is auto calibration, one is manual calibration. You can chose the one you like. Automatic calibration Choose “Operation”- “Auto Calibration”. -
Page 11: Manual Calibration
Manual for FP3 Board Pic8 After finished the calibration, then the software will be minimize it on task bar , then you can use the finger to touch the screen now. Manual Calibration If you cannot do auto calibration, then you can do manual calibration. - Page 12 Manual for FP3 Board Pic9 3, Click “Manual Calibration” in the “Operation”. Then you will see , touch the cross. Please use finger to touch the dot shown on the screen, another dot then appear, repeat this until the 36thor 25th dot is finished.

Need help?
Do you have a question about the FP3 and is the answer not in the manual?
Questions and answers