Mitsubishi Electric PEFY-P20VMA-E Installation Manual
City multi
Hide thumbs
Also See for PEFY-P20VMA-E:
- Operation manual (124 pages) ,
- Installation manual (14 pages) ,
- Technical & service manual (36 pages)
Table of Contents
Advertisement
Air-Conditioners
INDOOR UNIT
PEFY-P20,25,32,40,50,63,71,80,100,125,140VMA-E
PEFY-P20,25,32,40,50,63,71,80,100,125,140VMAL-E
INSTALLATION MANUAL
For safe and correct use, please read this installation manual thoroughly before installing the air-conditioner unit.
INSTALLATIONSHANDBUCH
Zum sicheren und ordnungsgemäßen Gebrauch der Klimageräte das Installationshandbuch gründlich durchlesen.
MANUEL D'INSTALLATION
Veuillez lire le manuel d'installation en entier avant d'installer ce climatiseur pour éviter tout accident et vous assurer d'une utilisation correcte.
MANUAL DE INSTALACIÓN
Para un uso seguro y correcto, lea detalladamente este manual de instalación antes de montar la unidad de aire acondicionado.
MANUALE DI INSTALLAZIONE
Per un uso sicuro e corretto, leggere attentamente questo manuale di installazione prima di installare il condizionatore d'aria.
INSTALLATIEHANDLEIDING
Voor een veilig en juist gebruik moet u deze installatiehandleiding grondig doorlezen voordat u de airconditioner installeert.
MANUAL DE INSTALAÇÃO
Para segurança e utilização correctas, leia atentamente este manual de instalação antes de instalar a unidade de ar condicionado.
ΕΓΧΕΙΡΙΔΙΟ ΟΔΗΓΙΩΝ ΕΓΚΑΤΑΣΤΑΣΗΣ
Για ασφάλεια και σωστή χρήση, παρακαλείστε διαβάσετε προσεχτικά αυτό το εγχειρίδιο εγκατάστασης πριν αρχίσετε την εγκατάσταση της
μονάδας κλιματισμού.
РУКОВОДСТВО ПО УСТАНОВКЕ
Для осторожного и правильного использования прибора необходимо тщательно ознакомиться с данным руководством по установке
до выполнения установки кондиционера.
MONTAJ ELKİTABI
Emniyetli ve doğru biçimde nasıl kullanılacağını öğrenmek için lütfen klima cihazını monte etmeden önce bu elkitabını dikkatle okuyunuz.
PŘÍRUČKA K INSTALACI
V zájmu bezpečného a správného používání si před instalací klimatizační jednotky důkladně pročtěte tuto příručku k instalaci.
NÁVOD NA INŠTALÁCIU
Pre bezpečné a správne použitie si pred inštalovaním klimatizačnej jednotky, prosím, starostlivo prečítajte tento návod na inštaláciu.
TELEPÍTÉSI KÉZIKÖNYV
A biztonságos és helyes használathoz, kérjük, olvassa el alaposan ezt a telepítési kézikönyvet, mielőtt telepítené a légkondicionáló egységet.
PODRĘCZNIK INSTALACJI
W celu bezpiecznego i poprawnego korzystania należy przed zainstalowaniem klimatyzatora dokładnie zapoznać się z niniejszym podręcznikiem instalacji.
PRIROČNIK ZA NAMESTITEV
Za varno in pravilno uporabo pred namestitvijo klimatske naprave skrbno preberite priročnik za namestitev.
INSTALLATIONSHANDBOK
Läs den här installationshandboken noga innan luftkonditioneringsenheten installeras, för säker och korrekt användning.
PRIRUČNIK ZA UGRADNJU
Radi sigurne i ispravne uporabe, temeljito pročitajte ovaj priručnik prije ugradnje unutarnje jedinice.
РЪКОВОДСТВО ЗА МОНТАЖ
За безопасна и правилна употреба, моля, прочетете внимателно това ръководство преди монтажа на климатизатора.
MANUAL CU INSTRUCŢIUNI DE INSTALARE
Pentru o utilizare corectă şi sigură, vă rugăm să citiţi cu atenţie acest manual înainte de a instala unitatea de aer condiţionat.
Advertisement
Table of Contents

Related Manuals for Mitsubishi Electric PEFY-P20VMA-E


Summary of Contents for Mitsubishi Electric PEFY-P20VMA-E
-
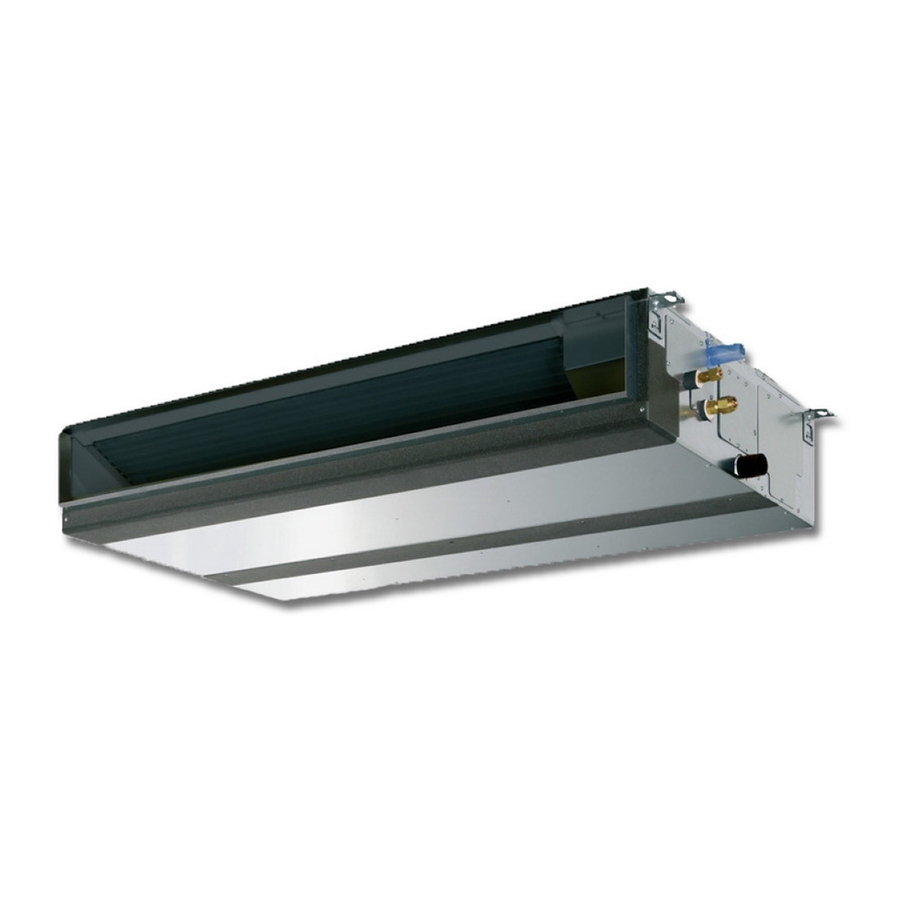
Page 1: Indoor Unit
Air-Conditioners INDOOR UNIT PEFY-P20,25,32,40,50,63,71,80,100,125,140VMA-E PEFY-P20,25,32,40,50,63,71,80,100,125,140VMAL-E INSTALLATION MANUAL For safe and correct use, please read this installation manual thoroughly before installing the air-conditioner unit. INSTALLATIONSHANDBUCH Zum sicheren und ordnungsgemäßen Gebrauch der Klimageräte das Installationshandbuch gründlich durchlesen. MANUEL D’INSTALLATION Veuillez lire le manuel d’installation en entier avant d’installer ce climatiseur pour éviter tout accident et vous assurer d’une utilisation correcte. MANUAL DE INSTALACIÓN Para un uso seguro y correcto, lea detalladamente este manual de instalación antes de montar la unidad de aire acondicionado. - Page 2 [Fig. 3.2.1] 50~150 A Access door B Electrical parts box 1 600 mm or more C Air inlet 2 100 mm or more D Air outlet 3 20 mm or more E Ceiling surface 4 300 mm or more F Service space (viewed from the side) G Service space (viewed from the direction of arrow) (mm) Model...
- Page 3 [Fig. 7.1.1] [Fig. 7.1.3] A Cut here B Remove brazed cap A Thermal insulation [Fig. 7.1.2] B Pull out insulation C Wrap with damp cloth D Return to original position E Ensure that there is no gap here A Cool by a wet cloth F Wrap with insulating tape [Fig.
- Page 4 [Fig. 7.3.1] [Fig. 7.3.2] A Insert pump's end 2 to 4 cm. B Remove the water supply port. C About 2500 cc D Water E Filling port F Screw <Indoor controller board> [Fig. 8.0.2] [Fig. 8.0.1] <A> In case of rear inlet Duct Air inlet Access door...
- Page 5 [Fig. 9.2.3] [Fig. 9.2.4] A Non-polarized DC10~13V B TB15 DC24~30V C Remote Controller D TB5 (A, B) [Fig. 9.3.1] [Fig. 9.3.2] A Screw holding cover (1pc) C Terminal box B Cover D Knockout hole E Remove [Fig. 9.3.3] [Fig. 9.3.4] J Terminal block for power source F Use PG bushing to keep the weight of the cable and external force from being applied to the power supply terminal connector.
-
Page 6: Table Of Contents
- It may also be in violation of applicable laws. Symbols used in the illustrations - MITSUBISHI ELECTRIC CORPORATION cannot be held responsible for : Indicates an action that must be avoided. malfunctions or accidents resulting from the use of the wrong type of refrigerant. -
Page 7: Before Getting Installed
• Use liquid refrigerant to fill the system. • Install an leak circuit breaker, as required. - If gas refrigerant is used to seal the system, the composition of the refriger- - If an leak circuit breaker is not installed, electric shock may result. ant in the cylinder will change and performance may drop. -
Page 8: Install The Indoor Unit On A Ceiling Strong Enough To Sustain Its Weight
• Do not install unit at a site where fire detector is located at the supply air side. 3.2. Securing installation and service space (Fire detector may operate erroneously due to the heated air supplied during heating operation.) • Select the optimum direction of supply airflow according to the configuration of the room and the installation position. -
Page 9: Refrigerant Pipe And Drain Pipe Specifications
- It may also be in violation of applicable laws. 1. Insert the drain hose (accessory) into the drain port (insertion margin: 32mm). - MITSUBISHI ELECTRIC CORPORATION cannot be held responsible for (The drain hose must not be bent more than 45° to prevent the hose from malfunctions or accidents resulting from the use of the wrong type of refrigerant. -
Page 10: Confirming Drain Discharge
5. Attach the insulating material, and fix it with the band (large, accessory) to 7.3. Confirming drain discharge insulate the drain port. Make sure that the drain-up mechanism operates normally for discharge [Fig. 7.2.2] (P.3) *only on the PEFY-P·VMA-E model and that there is no water leakage from the connections. -
Page 11: Electrical Wiring
Indoor unit 15 A 30 mA 0.1sec. or less *1 The Ground-fault interrupter should support Inverter circuit. (e.g. Mitsubishi Electric's NV-C series or equivalent). *2 Ground-fault interrupter should combine using of local switch or wiring breaker. *3 It shows data for B-type fuse of the breaker for current leakage. -
Page 12: Connecting Remote Controller, Indoor And Outdoor Transmission Cables
9.2. Connecting remote controller, indoor 9.4. External I/O specifications and outdoor transmission cables Caution: 1. Wiring should be covered by insulation tube with supplementary insula- • Connect indoor unit TB5 and outdoor unit TB3. (Non-polarized 2-wire) tion. The “S” on indoor unit TB5 is a shielding wire connection. For specifications 2.