
Related Manuals for TRENDnet TV-IP512P


Summary of Contents for TRENDnet TV-IP512P
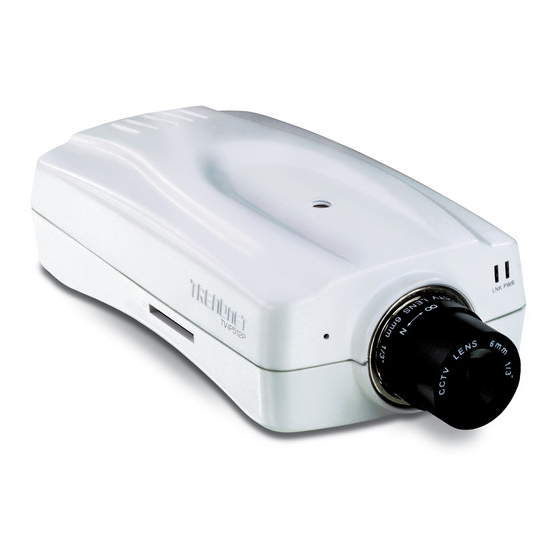
- Page 1 Quick Installation Guide TV-IP512P H/W: V1...
-
Page 2: Table Of Contents
Table of Contents Table of Contents English ...................... 1 1. Before You Start ................. 2. Hardware Installation and Configuration ..........3. Power over Ethernet (PoE) Installation ..........Troubleshooting ..................Version 04.09.2009... -
Page 3: English
An available DHCP Server –routers usually have a built-in DHCP server. Power over Ethernet (PoE) Switch (e.g. TPE-S88)(Optional) Injector (e.g TPE-101I )(Optional) Note: The TV-IP512P only works with Power over Ethernet (PoE) devices that follow the IEEE 802.3af standard. English... - Page 4 Application PoE Internet Camera Server with 2-Way Audio (TV-IP512P) Power + Data (PoE) Power + Data (PoE) 24-Port 10/100Mbps Web Smart PoE switch with 4 Gigabit Ports and 2 Mini-GBIC Slots (TPE-224WS) Internet 300Mbps Wireless N ADSL2/2+ Modem Router (TEW-635BRM)
-
Page 5: Hardware Installation And Configuration
2. Hardware Installation and Configuration Note: 1. It is recommended that you configure the IP Camera from a wired computer. 2. If you would like to use IPViewPro 2.0 software, please install the software by clicking the Install IPView Pro 2.0 in the Autorun window and refer to the User's Guide on the CD for more information. - Page 6 5. Click Close. 6. Double click on the SetupWizard icon on your desktop. 7. Connect a RJ-45 network cable from a Switch/Router to the Ethernet port on the IP Camera. 8. Connect the AC Power Adapter to the IP Camera and then to a power outlet.
- Page 7 11. Enter your ID and password. Then click Next. By default: ID: admin Password: admin 12. If you would like to change the administrator password, click Change Password, enter a new password, retype the new password and then click Next. 13.
- Page 8 16. Please wait while the settings on your cameras are being saved. 17. Click on the following URL or click Link to open up the browser configuration. 18. Right click on the yellow bar and select Install ActiveX Control. 19. Click Install. 20.
- Page 9 23. Use the command icons to control the camera Your installation is now complete. Note: For detailed information regarding the TV-IP512P configuration and advanced settings, please refer to the Troubleshooting section, User's Guide on the Utility CD-ROM, or TRENDnet's website at http://www.trendnet.com.
-
Page 10: Power Over Ethernet (Poe) Installation
3. Power over Ethernet (PoE) Installation Using the TV-IP512P with a PoE switch 1. Connect a RJ-45 cable from the Power Over Ethernet switch (e.g. TPE-80WS) to the LAN port on the Internet Camera Server. 2. Verify that the LEDs are on. Please refer to step 4 in the Hardware Installation section. - Page 11 Using the TV-IP512P with an Injector (TPE-111GI) 1. Connect the Power Cord to the Injector. Then connect the Power Cord to an outlet. 2. Connect a CAT-5e/6 cable from a switch to the TPE-111GI's DATA IN port. 3. Connect a CAT-5e/6 cable from the...
-
Page 12: Troubleshooting
First, go to the TCP/IP settings on your computer and assign a static IP address on your computer's network adapter in the subnet of 192.168.10.x. Since the default IP address of the TV-IP512P is 192.168.10.30, do not assign a static IP address of 192.168.10.30 on your computer's network adapter. Second, open Internet Explorer and enter http://192.168.10.30 into the address bar. - Page 13 Informations générales GPL/LGPL Ce produit TRENDnet comprend un logiciel libre écrit par des programmeurs tiers. Ces codes sont sujet à la GNU General Public License ("GPL" Licence publique générale GNU) ou à la GNU Lesser General Public License ("LGPL" Licence publique générale limitée GNU).
- Page 14 General Public License) ou ao LGPL (GNU Lesser General Public License). Estes códigos são distribuídos SEM GARANTIA e estão sujeitos aos direitos autorais dos desenvolvedores. TRENDnet não presta suporte técnico a estes códigos. Os detalhes do GNU GPL e do LGPL estão no CD-ROM do produto.
- Page 15 Product Warranty Registration Please take a moment to register your product online. Go to TRENDnet’s website at http://www.trendnet.com/register 20675 Manhattan Place Torrance, CA 90501 Copyright ©2009. All Rights Reserved. TRENDnet.
Need help?
Do you have a question about the TV-IP512P and is the answer not in the manual?
Questions and answers