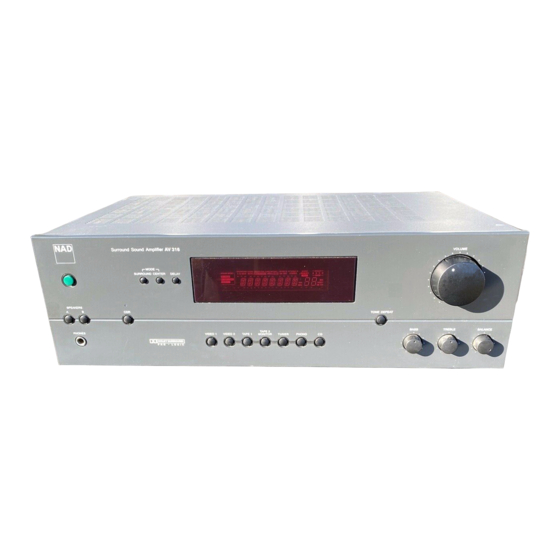
Summary of Contents for NAD AV 316
- Page 1 AV 713 • OWNER'S MANUAL • MANUEL D'INSTALLATION • BEDIENUNGSANLEITUNG • MANUAL DEL USUARIO • MANUALE DELLE ISTRUZIONI • BRUKSANVISNING • MANUAL DO PROPRIETÁRIO...
- Page 2 THE FOLLOWING PRECAUTIONS AND SAFETY INSTRUCTIONS ARE REQUIREMENTS OF UL AND CSA SAFETY REGULATIONS ATTENTION CAUTION ATTENTION: POUR PREVENIR LES CHOCS ELECTRIQUES NE PAS UTILIER RISQUE DE CHOC ELECTRIQUE RISK OF ELECTRIC CETTE FICHE POLARISEE AVEC UN PROLONGATEUR, UNE NE PAS OUVRIR SHOCK DO NOT OPEN PRISE DE COURANT OU UNE AUTRE SORTIE DE COURANT, CAUTION: TO REDUCE THE RISK OF ELECTRIC SHOCK, DO NOT REMOVE COVER (OR BACK).
-
Page 3: Rear Panel Connections
REAR PANEL CONNECTIONS FRONT PANEL CONTROLS... -
Page 4: Remote Control
FIGURE 1. REMOTE CONTROL FIGURE 1 - SPEAKER CONNECTIONS... -
Page 5: Notes On Installation
NOTES ON INSTALLATION. 4. TAPE 2 Connections for analogue recording and playback Your AV 316 should be placed on a firm, level sur- to a second audio tape recorder of any type. Using face. Avoid placing the unit in direct sunlight, near... - Page 6 This connects the rear loudspeakers that are used The high current binding post terminals can be when the AV 316 is operated in Dolby Pro-Logic or Hall modes. Connect the right rear speaker to the ter- used as a socket for speaker cables ending with 4mm plugs or as a screw terminal for cables terminating in minals market ‘R +’...
- Page 7 It will also place the AV 316 into Stereo mode, auto- matically cancelling Pro-Logic or Hall modes. The A single NAD-Link connection from a hi-fi system in Display Panel shows which speakers are currently a second room will allow remote control of Multi selected.
- Page 8 This Tape 2 signal will be heard on the loudspeakers and function can be altered only when the AV 316 is in headphones. T-2 Monitor will be shown in the Display DOLBY PRO-LOGIC Mode.
- Page 9 Center channel, the Test signal will automatically SLEEP continue switching between the speakers. If you are Press SLEEP to make the AV 316 automatically unhappy with your initial setting, repeat the procedure switch off after a preset number of minutes. Pressing until the levels match.
-
Page 10: Speaker Placement
To adjust the Delay setting, put the AV 316 into DELAY To set Delay time. Dolby Pro Logic mode and press DELAY on the front TEST Starts the Surround Set-up Test procedure. panel or the Remote Control. Continue pressing MUTE Mutes all audio. - Page 11 If you are using the AV 316 with only two front connections to the center loudspeaker. The signal speakers, setting the CENTER mode to PHANTOM...
-
Page 12: System Examples
SYSTEM EXAMPLES The AV 316 can be used at the heart of a broad range of surround sound systems. Here are two pos- sible systems configurations; one basic and one advanced. -
Page 14: Troubleshooting
TROUBLESHOOTING NO SOUND Power AC lead unplugged or power not switched on. Check AC lead. Tape Monitor on De-select Tape Monitor mode. Speakers not selected Select speakers A or B Mute on. Switch off Mute. Internal fuse blown. Consult dealer. NO SOUND ONE CHANNEL Balance control not centered. - Page 15 SPECIFICATION - NAD AV 316 SURROUND SOUND RECEIVER Power Outpu t Stereo Mode into 8 75 W into 4 (Min. power per channel, 20Hz-20kHz, both channels driven, with no more than rated distortion) Front L/R and Center Channels Rear Channels...


