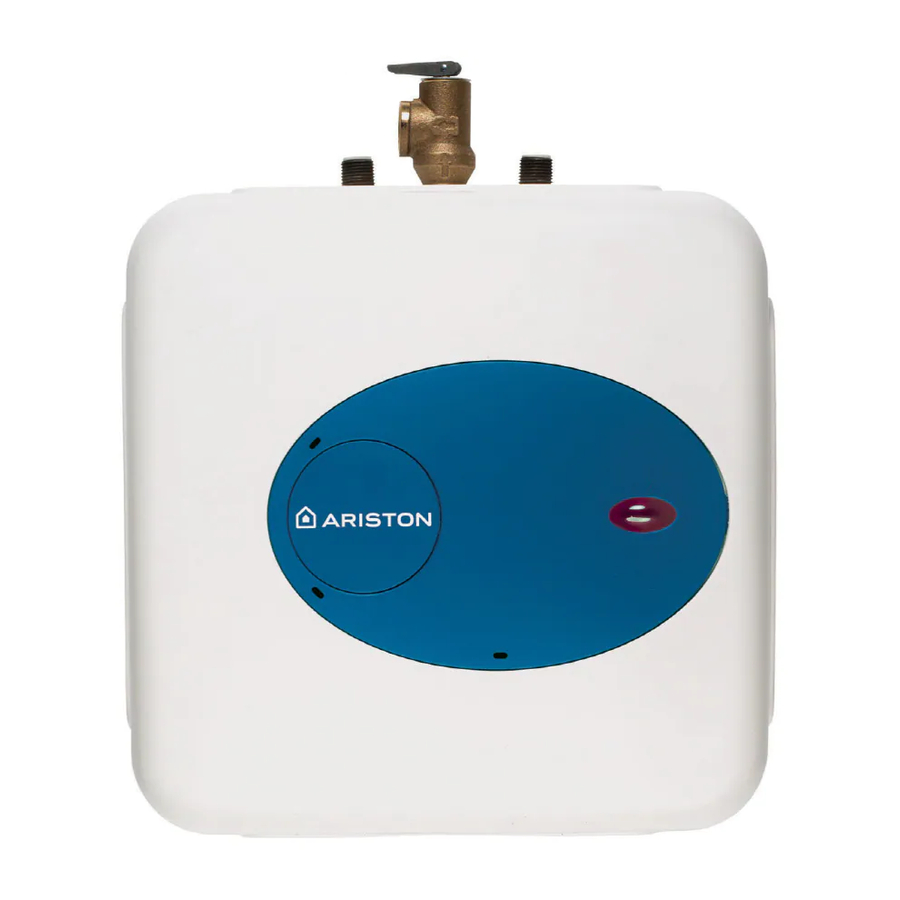
Ariston GL 2.5 User Manual
Mini tank water heater, electric undersink
Hide thumbs
Also See for GL 2.5:
- Instructions manual (37 pages) ,
- User manual (14 pages) ,
- Replacing thermostat (3 pages)
Advertisement
Advertisement
Table of Contents

Related Manuals for Ariston GL 2.5


Summary of Contents for Ariston GL 2.5
- Page 1 Mini Tank water heater Electric undersink Water heaters GL 2.5 - GL 4 - GL 6+...
-
Page 2: Important Safety Instructions
The installer should review the contents of this manual with the owner upon completion of installation, and the manual should be left with the owner and placed in a location close to the installation. GL 2.5 GL 4 GL 6+... -
Page 3: Component Parts
Cold water inlet 1/2 NPT male Temperature & pressure relief valve discharge line to drain COMPONENT PARTS OF GL 2.5 - GL 4 Hot water outlet 3/4 NPT male 3/4 NPT male plug Temperature & pressure relief valve discharge line to drain... - Page 4 FIG. 2/1 DIMENSIONS FOR GL 2.5 - GL 4 14” 10 1/4” 3 3/4” 6” GL 2.5 1/2 NPT MALE 3 1/2” 2 1/2” FIG. 2/2 DIMENSIONS FOR GL 6+ (HORIZONTAL INSTALLATION) 14 1/2” 8 1/2” 4 1/2” 17 1/2”...
-
Page 5: General Remarks
MODEL GL 2.5 - GL 4 The GL 2.5 and GL 4 water heaters can be installed under the sink. Wall Fasten the supplied mounting bracket to the wall. Use screws that are suitable for the wall material and the weight of the heater. -
Page 6: Remove Front Cover To Adjust Thermostat
Floor Heater can sit on floor. Mounting Pipe Connect the cold water inlet pipe to the inlet nipple (marked with a blue ring) and the hot connections water outlet pipe to the outlet nipple (marked with a red ring). CAUTION To reduce the risk of excessive pressures and temperatures in this water heater, install the supplied temperature and pressure protective equipment required by local codes but not less than a combination temperature and pressure relief valve certified by a... -
Page 7: Maintenance Instructions
Rapid degradation of the anode rod (less than 1 year) may indicate the presence of galvanic corrosion due to “stray” direct current. In this case, it may be necessary to add a “grounding strap” from the Ariston tank to the copper plumbing. -
Page 8: Troubleshooting
Changing 1. Turn off power supply and drain the heater (see previous section). 2. Remove the heating element (see section on Removing the Heating Element). the heating 3. Install new element with gasket, making sure the gasket and element are positioned element correctly. - Page 9 FIG. 3/1 FIG. 3/2 FIG. 3/3 FIG. 3/4 FIG. 3/5...
- Page 10 ARISTON • LIMITED 6 YEARS WARRANTY COVERAGE supplied with potable water. ARISTON, THROUGH ITS U.S. DISTRIBUTOR CONTROLLED ENERGY CORP., (hereinafter 5. The OWNER and not the Manufacturer or his CEC) guarantees this water heater to the representative shall be liable for and shall pay Owner (hereinafter “Owner”) of the water heater...
- Page 11 MTS MAKES USE OF RECYCLED PAPER Merloni TermoSanitari SpA Viale Aristide Merloni, 45 60044 Fabriano (AN) Tel. 0732.6011 Telefax. 0732.602331 Telex 560160 http://www.mtsgroup.net COMMON SENSE HEAT & HOT WATER TECHNOLOGY Controlled Energy Corp. 340 Mad River Park Waitsfield, VT 05673 800-642-3111 802-496-4436 Fax 802 496-6924...
Need help?
Do you have a question about the GL 2.5 and is the answer not in the manual?
Questions and answers