
Related Manuals for FoamFly The "Frog"


Summary of Contents for FoamFly The "Frog"
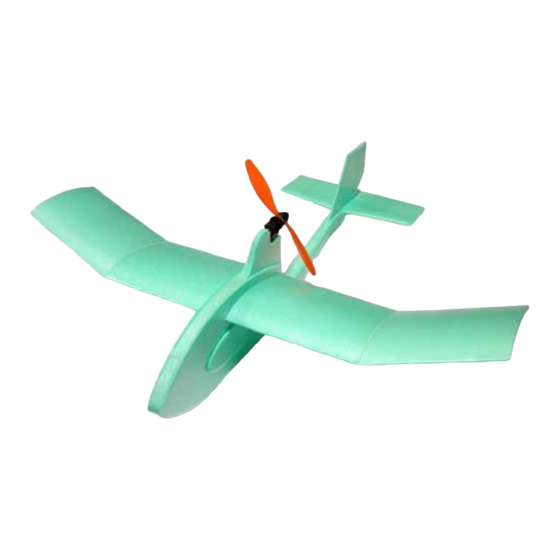
- Page 1 The coldÒ Instruction Manual Electric Foam Slowflyer Designed By: Daniel J. Schwartz Available Exclusively from: www.FoamFly.com 4077 WoodCreek Dr. Ypsilanti MI. 48197 © 2004 FoamFly.com...
- Page 3 Thank You for purchasing the FoamFly Frog Kit! Welcome to the world of simple, durable foam flying machines. The Frog is sure to thrill, with it’s unique style and simplicity. This plane is suitable for beginners, but it is recommended that new pilots get the help of an instructor to trim their plane, and help with the first flights.
- Page 4 Introduction FoamFly.com is more than just a hobby company. It’s a community too! Please take pictures of your Frog, and upload them to the photo gallery. Feel free to drop by and see what all the other foam junkies have been building.
- Page 5 Tails: It’s time to prepare the working surfaces of the Frog. The tails give the plane it’s directional stability, and let you do the steering. Rudder: Flip Rudder “Right” side up Locate the hinge line ©2004 FoamFly.com...
- Page 6 You’ll notice two small dimples in the top and bottom edges of the rudder. If you line up your ruler with the two dimples You’ll have found the line you need to cut. (Drawn in for clarity here.) I prefer to use an, “integral skin hinge” for the rudder, but if you feel the need, you can always cut the rudder off, and tape hinge it back in place.
- Page 7 Carefully narrow one end of the motor mount until it fits tightly all the way into the hole in the back of the gearbox. Use a little Epoxy, ©2004 FoamFly.com...
- Page 8 or Polyurethane Glue, or Foam safe CA, to attach the motor mount into its slot in the pylon. The Fuselage top and bottom: Find the shorter tapered strip of foam. Give it a bend to align it with the curve in the top part of the fuselage tail. It can help to draw it over the edge of a table to get a smoother bend.
- Page 9 Pylon, glue along the edge of the fuselage, and make sure to leave an opening slightly larger than the length of the battery, so you can get it in and out easily. Trim off the excess. ©2004 FoamFly.com...
- Page 10 viii) Test fit the servos into place in the opening in the fuselage. They should go on the inside with the top of the servo case flush with the bottom of the opening. Before sticking anything, it’s a good idea to power up, center the servo arms, and put the little connectors into the servo arms.
- Page 11 Now that you know which side is up for your wings, roll the airfoil shape into them. (See the Appendix Section, “Rolling the Foam”) ©2004 FoamFly.com...
- Page 12 The glue will do the rest. (Note: If you have the FoamFly.com Wing Jig, you can bake wings for this plane using the same standard airfoil.) Use the foam Dihedral Jig to sand the required angle into each wing section.
- Page 13 Now glue them in, with a little Epoxy, or foam safe CA. Make sure the holes are lined up directly over the hinge line. ©2004 FoamFly.com...
- Page 14 I’ve had them laser cut in two sizes for use on a variety of airplanes. If you’d like to get more of them to use in your own projects, they’re available at the FoamFly.com Store in the Accessories section. After you hook up the control horns, center the servos, and then center the control surfaces.
- Page 15 Make sure you’ve got enough room to maneuver. Adjust the trims so that the plane is climbing slowly at full throttle. If you’ve been flying Firebirds, or other 2-channel planes, remember that you’ll have to add up elevator in a turn to maintain altitude. ©2004 FoamFly.com...
- Page 16 You’re still reading? Go fly already. ;) Enjoy your Frog. Share photos if you can, and don’t hesitate to get in touch if you have questions, or need help setting up your plane. Sincerely, -Dan Hippo@FoamFly.com...
- Page 17 The 3M-78 will form the strongest bond, if you allow it to dry for AT LEAST 8 minutes before putting the pieces together, and probably much longer. Put the glue on BOTH surfaces to be joined. If you’re not ©2004 FoamFly.com...
- Page 18 used to contact cement, remember you really only get ONE CHANCE at putting the pieces together. It really is instant gluing! (except for the waiting, but that’s already over at that point) “Advanced Gluing” The 3M-78 is ideally a spray glue, and there are some instances where you can actually spray it during this project.
- Page 19 ©2004 FoamFly.com...
- Page 20 Kit packing Checklist: Foam Airplane Parts: Fuselage halves (Left and Right) Main Wing Wingtips (Left, and Right) Horizontal Stabilizer Long Tapered Strip Short Tapered Strip Top Strip Small Parts Sheet Foam Tools: Dihedral Jig Non-Foam Parts: Wood Motor Mount Laser Cut Control Horns (2) This Instruction Manual...
Need help?
Do you have a question about the The "Frog" and is the answer not in the manual?
Questions and answers