
Related Manuals for NewAir AI-500ss


Summary of Contents for NewAir AI-500ss
-
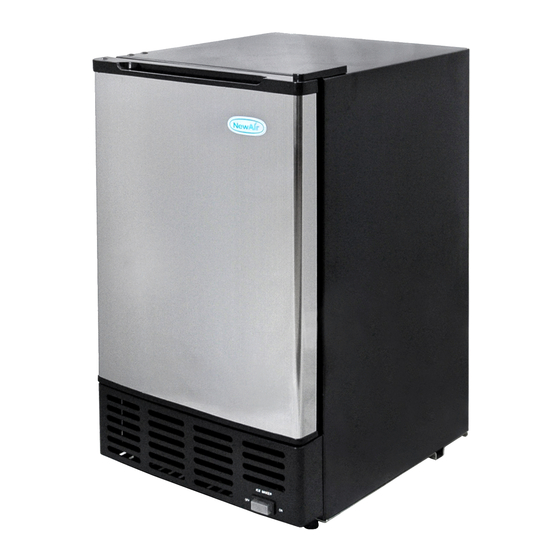
Page 1: Ice Maker
AI-500ss Under Counter Ice Maker OWNERS MANUAL Read and save these instructions. - Page 2 Count on NewAir. As a proud NewAir owner, welcome to our family. There are no robots here, real people shipped your product and real people are here to help you.
-
Page 3: Table Of Contents
General Operation ..................7 Cleaning & Maintenance ..................8 Storage ......................... 8 Vacation/Extended Storage ................. 8 Moving your Ice Maker ................9 Troubleshooting ....................9 Limited Manufacturer’s Warranty ..............11 SPECIFICATIONS AI-500SS ODEL 115V / 60Hz ATED OLTAGE 1.7 amps URRENT 195.5 watts... -
Page 4: Safety Information & Warnings
If the unit will not be used for an extended period of time, remove the door and leave the shelves in place so that children cannot crawl inside. Also remove the door when disposing of the unit. http://www.NewAir.com... -
Page 5: Parts List
PARTS LIST BASIC PARTS DIAGRAM 1. Ice Maker Kit 4. Door Hinge 2. Ice Bucket 5. Door 3. Front Grille 6. On/Off Switch ASSEMBLY & INSTALLATION CONNECTING THE WATER SUPPLY Warning! Improper water line connection may result in flooding. You must use a licensed plumber! Please review state and local plumbing codes before installation. -
Page 6: Reversing The Door
Put the door back on the pivot rod. Attach the hinge to the left side of the unit with two screws. Replace the hinge cover. Energy Saving Tip: The ice maker should be placed in the coolest area of a room, away from heat sources and direct sunlight. http://www.NewAir.com... -
Page 7: Operating Instructions
OPERATING INSTRUCTIONS INITIAL START-UP The unit must be properly installed by a licensed plumber. Make sure the on/off switch is in the “off” position. Plug the appliance into a 115 volt polarized and grounded wall electrical outlet. Turn the on/off switch to the “on” position. Make sure the water supply is on. -
Page 8: Cleaning & Maintenance
Allow the ice maker to run for 1-2 hours until all remaining ice cubes have been ejected, all water has cycled through the system. Disconnect the unit from the main power source. Dry out excess water from the ice make assembly. http://www.NewAir.com... -
Page 9: Moving Your Ice Maker
Leave the door open by at least two inches. MOVING YOUR ICE MAKER Securely tape down any loose items inside your ice maker. Turn the leveling screws up to the base of the unit to avoid damage. Tape the door shut. Make sure the ice maker stays in an upright position during transportation. - Page 10 The ice bucket is not Check to make sure the positioned properly. ice bucked is inserted fully into the unit. The ice cubes are The door is being opened Don’t open the door as melting together. too frequently. frequently. http://www.NewAir.com...
-
Page 11: Limited Manufacturer's Warranty
When making a warranty claim, please have the original bill of purchase with purchase date available. Once confirmed that your appliance is eligible for warranty service, all repairs will be performed by a NewAir™ authorized repair facility. The purchaser will be responsible for any removal or transportation costs.
Need help?
Do you have a question about the AI-500ss and is the answer not in the manual?
Questions and answers