
Related Manuals for G-Technology GD4 1000


Summary of Contents for G-Technology GD4 1000
-
Page 1: Table Of Contents
G-DRIVE Product Guide G-DRIVE™ Installation Guide G-Technology Inc. Tel: (310) 449-4599 Fax: (310) 449-4670 support@g-technology.com TABLE OF CONTENTS 1. INTRODUCTION 2. SAFETY PRECAUTIONS 3. SYSTEM REQUIREMENTS 4. WHAT’S IN THE BOX 5. G-DRIVE OVERVIEW 6. INSTALLING G-DRIVE 7. INITIALIZING G-DRIVE 7.1 Mac OSX (10.4) - Page 2 G-DRIVE Product Guide Page 2...
- Page 3 G-DRIVE Product Guide Page 3...
-
Page 4: Introduction
G-DRIVE Product Guide 1. INTRODUCTION Thank you for purchasing G-DRIVE™ from G-Technology, Inc. (G-Tech)! G-DRIVE external storage solutions from G-Tech offer industry leading performance and are ideal for digital audio & video editing, graphic design and for backing up all of your digital photos, MP3s and other important files. -
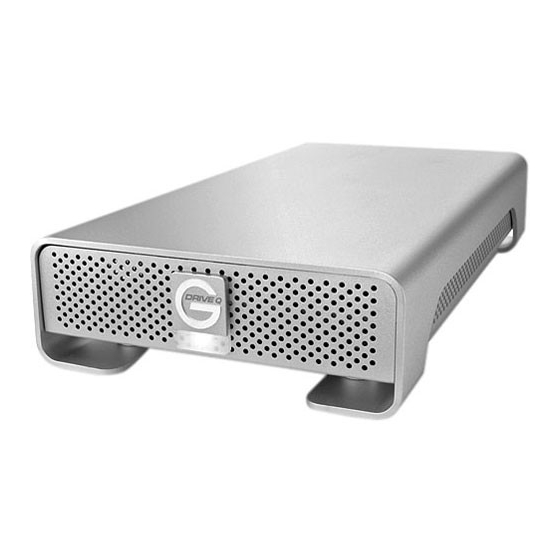
Page 5: G-Drive Overview
G-DRIVE Product Guide G-DRIVE OVERVIEW Power and Activity LED G-DRIVE FW (FW400/800) Security Slot FireWire 400 Port FireWire 800 Ports G-DRIVE Combo (FW400/USB 2.0) FireWire 400 Ports USB 2.0 Port of the box. If it becomes necessary to re-format G-DRIVE for Mac OS X, see section 7.1. -
Page 6: Installing G-Drive
G-DRIVE Product Guide 6. INSTALLING G-DRIVE Q G-DRIVE attaches to your computer via USB 2.0 and, FireWire 400 or FireWire 400 and FireWire 800 depending on your model. Choose the connection appropriate for your system and connect G-DRIVE with a supplied cable. Connect the supplied power cord to the Power Supply “brick”... - Page 7 G-DRIVE Product Guide 3. Select the Partition tab to view the partition options as shown below. 4. Set the Volume Scheme: to 1 Partition. Enter a Volume Name: under Volume Information this example G-DRIVE) Mac OS Extended as shown below. Note: Alternatively, G-DRIVE can be set up in multiple volumes by selecting the desired number of partitions from the Volume Scheme pull- down menu.
-
Page 8: Windows 2000/Xp
G-DRIVE Product Guide 8. G-DRIVE will now mount on the desktop as shown below. G-DRIVE is now set up for use!! 7.2 Windows 2000/XP 1. Power on G-DRIVE, wait 10 seconds, then power on your computer. 2. Open the Disk Management utility by right-clicking on the My Computer icon on the desktop and selecting “Manage”... - Page 9 G-DRIVE Product Guide 5. The following window will appear. G-DRIVE (Disk 1) is now identified as Basic and Online. 6. Right-click on the Disk 1 “Unallocated” bar entry and select New Partition… from the pull-down menu as shown below. 7. The window shown below will appear. <Next>...
- Page 10 G-DRIVE Product Guide 9. The window shown below will appear. Click on the <Next> button to continue. This will create one large volume using all of the available space on G-DRIVE. Note: Multiple partitions can be created on G-DRIVE. Consult your Windows documentation for instructions on setting up multiple partitions.
-
Page 11: Cross Platform Use
G-DRIVE Product Guide 13. Windows will format the volume and then display the following window. Disk 1 is now identified as G-DRIVE (E:). Exit the Computer Management console 14. G-DRIVE will now be displayed as an available hard disk drive under My Computer as shown below. G-DRIVE is now set up for use!! 7.3. -
Page 12: Unmounting/Disconnecting G-Drive
G-DRIVE Product Guide 4. Click “Erase” and your drive will be formatted to its full capacity as FAT32. With this format, you will be able to READ/WRITE on both windows (2000/XP) and MAC OS machines. (NOTE: You could format your drive on a Windows machine FAT32, however Windows currently limits FAT32 partitions to 32GB in size) WARNING:... -
Page 13: Optimizing Data Transfer Rates
(310) 449-4599, or send an email to info@g-technology.com.. 11. LIMITED WARRANTY G-Technology Inc. (G-Tech) warrants your product against any defect in material and workmanship, under normal use, for the designated warranty period. For best become defective within the warranty period, G-Tech, will at its discretion, repair or replace the product.
Need help?
Do you have a question about the GD4 1000 and is the answer not in the manual?
Questions and answers