
Related Manuals for PSA Products PAN780SK


Summary of Contents for PSA Products PAN780SK
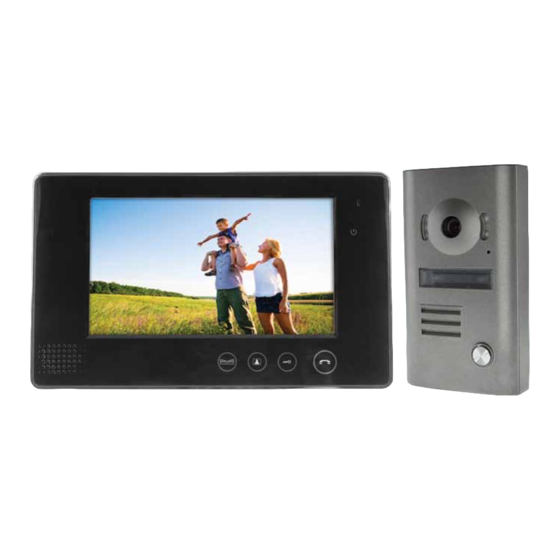
- Page 1 COLOUR VIDEO DOORPHONE KIT iNStructioN mANuAl Choose for intercoms PAN780SK PAN780FK f i r e • s e c u r i t y • i n t e r c o m s psaproducts.com.au...
-
Page 3: Table Of Contents
CONTENTS PAGE Features Kit Components Outdoor Camera Specifications Indoor Monitor Specifications Indoor Monitor Installation Outdoor Camera Installation Wiring & Maintenance Instructions Operating Instruction Warranty & Liability... -
Page 4: Features
1. FEATURES 21mm slim indoor monitor with touch buttons Weather and vandal resistant outdoor camera 7” LED screen, no radiation, low power consumption and high definition. Hands free communication. Surface touch function. Unlock two doors respectively. Monitoring the outside of house. Fourteen polyphonic melodies. -
Page 5: Indoor Monitor Specifications
Infrared Light Microphone 123456 Name Plate Connection Terminals Speaker Call 4. INDOOR MONITOR SPECIFICATIONS Microphone Power Indicator Light Chroma Adjuster Brightness Adjuster Talking Volume Adjuster Volume Adjuster Selection Adjuster Adapter input voltage: AC110-240V/ 60Hz-50Hz Adapter output voltage, output current: DC15V 1200mA Talking last time: 120S±10% Monitoring last time: 40S±10% Working distance: 30M (4 x 0.5mm2) -
Page 6: Indoor Monitor Installation
5. INDOOR MONITOR INSTALLATION Bracket Picture 1. Picture 2. Fix the bracket of the video indoor monitor on the wall with screws (Picture 1). Hang the monitor on the bracket after finishing the wire connection. Plug the enclosed adapter into the sockets of AC power and the monitor (Picture 2). -
Page 7: Outdoor Camera Installation
6. OUTDOOR CAMERA INSTALLATION SURFACE CAMERA WITHOUT RAINHOOD SURFACE CAMERA WITH RAINHOOD Rainhood Door Camera Door Camera Front Cover Front Cover FLUSH CAMERA 30.0CM Wall Box Flush Camera N.B to label the nameplate, remove the front cover to access the nameplate... -
Page 8: Wiring & Maintenance Instructions
7. WIRING & MAINTENANCE INSTRUCTIONS Cable Specifications: • 0 to 30m: minimum CAT 5 or 4 Core Stranded 0.50mm • 30 to 80m: minimum 4 core Stranded 0.75mm To avoid any interference, all intercom cables should maintain 50mm separation from 240VAC wires Never install door camera directly facing sunlight. This will create a white image on indoor monitor and may damage the camera lens over time. -
Page 11: Operating Instruction
8. OPERATING INSTRUCTION Rings/chimes will be heard & images of visitors will be seen on the monitor once the CALL button of door camera is pressed. To talk to the visitor, touch TALK If the system is connected to an electric strike, touch DOOR UNLOCK If the system is connected to a motorised gate, touch GATE UNLOCK To end the conversation, touch TALK again. -
Page 12: Warranty & Liability
To the extent permitted by law, the liability of PSA Products Pty Ltd arising from the sale or under the terms of this limited warranty shall not in any case exceed the cost of replacement and subject to this clause. - Page 14 psaproducts.com.au 1300 772 776 enquiry@psaproducts.com.au Choose for intercoms f i r e • s e c u r i t y • i n t e r c o m s...
Need help?
Do you have a question about the PAN780SK and is the answer not in the manual?
Questions and answers