PURE Sensia 200D Connect User Manual
Hide thumbs
Also See for Sensia 200D Connect:
- User manual (176 pages) ,
- Operating instructions manual (28 pages) ,
- User manual (96 pages)
Table of Contents
Advertisement
Advertisement
Table of Contents

Subscribe to Our Youtube Channel
Related Manuals for PURE Sensia 200D Connect


Summary of Contents for PURE Sensia 200D Connect
-
Page 2: Pure Warranty Statement For Australia
If you have any questions about your warranty you can call us toll free ..1800 988 268 What’s covered by this warranty? • Pure agrees to refund, repair or replace, at your election, without charge to you, any part found to be defective during the warranty period. - Page 3 Thank you for choosing Sensia 200D Connect. This manual will get you up and running in no time, and explains how to make the most of your Sensia 200D Connect. We’re constantly improving and adding new features to our products. To take advantage of any...
-
Page 4: Safety Instructions
Safety Instructions Read these instructions – All the safety Refer all servicing to qualified personnel. and operating instructions should be read Servicing is required when the apparatus before this product is operated. has been damaged in any way, such as power supply cord or plug is damaged, Keep these instructions –... -
Page 5: Table Of Contents
Network setup Download the Pure Connect app Touchscreen interface Selecting Sensia or other Caskeid compatible Controls and connectors device in the Pure Connect app Control buttons 20 Setting alarms and timers Remote Control Switching on Sensia for the first time... -
Page 6: Getting Started
Network setup In order to access the Pure Connect service or use media streaming you will need to connect Sensia to your network. You can connect Sensia to your network using a wireless (Wi-Fi) or wired connection. If you want to use the wired connection method, you will need to plug the optional USB Ethernet adapter into the USB port on the back of Sensia. -
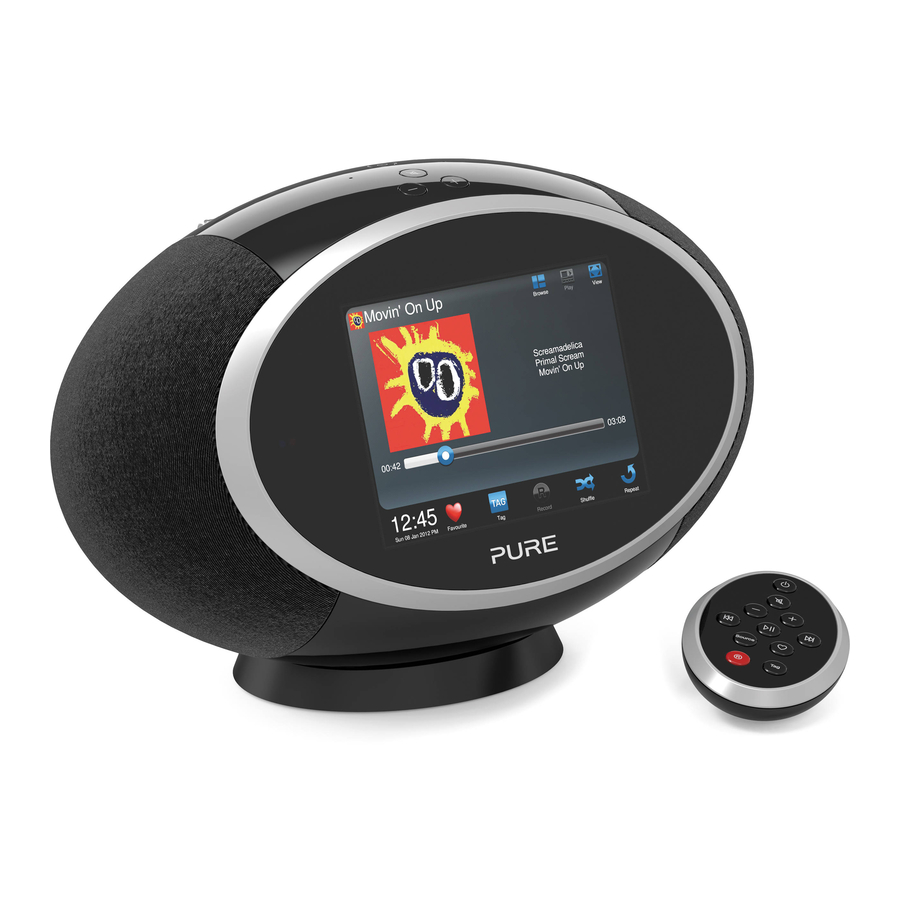
Page 7: Controls And Connectors
Controls and connectors Control buttons See page 6 Touchscreen interface Stand FM/digital aerial ChargePAK cover DC In Aux In Headphone Connector for Connector for analogue Stereo headphones Connector for USB supplied mains stereo input for MP3 connector. Ethernet adapter or power adapter. -
Page 8: Control Buttons
Record Press to record digital or internet radio to a USB memory stick. See page 18. Press to use the Pure Connect tagging service to identify the song that is playing on a digital, FM or internet radio station. See page 15. -
Page 9: Switching On Sensia For The First Time
Switching on Sensia for the first time Note: If you have a ChargePAK F1 rechargeable battery (sold separately) fit it now before plugging Sensia in. See page 26 for more information. 1. Connect the power lead into the power socket on the back of Sensia. 2. -
Page 10: Connecting Sensia To Your Network
Sensia to your network. To setup your network manually see ”Advanced settings” on page 23. Note: The Wi-Fi wizard will automatically start if you have not set up your network settings and you select Pure Connect or Network/USB media as the audio source. Preparing Sensia for Wi-Fi Setup 1. -
Page 11: Changing Sensia Viewing Modes
Changing Sensia viewing modes Sensia has three main viewing modes, Browse, Play and View. The Browse mode allows you to select sources and browse for content, the Play mode shows the media panel and controls, the View mode maximises the media panel so that it takes up the whole screen. When you select a new source, Sensia defaults to the Play mode. -
Page 12: Play Mode
Record Tap to instantly record the live radio broadcast (digital and Internet radio only). See page 18. Tap to use the Pure Connect tagging service to identify the name of the song that is being played. See page Favourites Tap to add the radio station to your favourites. See page 14. -
Page 13: View Mode
View mode Item Description View controls Tap these buttons to change the view (Browse mode, Play mode, and View mode). Media Panel Displays any artwork associated with the radio station/music playing. -
Page 14: Listening To Digital Or Fm Radio
Listening to digital or FM radio Selecting digital/FM radio Digital radio FM radio 1. Tap Source to display the Source menu. 2. Tap Digital radio or FM radio. Changing digital stations 1. Tap Browse to display the Browse view. 2. Tap Stations to display a list of available digital radio stations. 3. -
Page 15: Listening To Pure Connect Content
Listening to Pure Connect content Pure Connect allows you to explore thousands of radio stations, BBC listen again programmes, podcasts and Pure Sounds. To use Pure Connect, you will need to connect Sensia to your network. See page 8 for more information. -
Page 16: Listening To Other Internet Content
2. The radio station will then be listed in the My favourites list. If you have multiple folders/devices in your Pure Connect account then your Pure Connect favourites will be saved under the folder associated with this Sensia (default name “Sensia 200D Connect”) Listening to other internet content 1. -
Page 17: Music Streaming
Note: To access your tagged tracks list, you will need to log in to your Pure Connect account at connect.pure.com. -
Page 18: Media Panel Options
Media Panel options By default the Media Panel will display pictures related to the radio station you are listening to, or artwork related to the track being played. Alternatively you can choose to display a slide show of your own photographs from a media server or access internet content from Twitter, Weather, RSS Newsreader, Picasa or Facebook. -
Page 19: Listening To Audio From A Usb
Listening to audio from a USB memory stick Sensia can be used to play music by connecting a USB memory stick to the USB port on the back of Sensia. The audio file types that Sensia supports include WMA (Standard V9), AAC, MP3 and MP2. By default, Sensia looks for audio on your network if you have not connected a USB memory stick to the back of Sensia. -
Page 20: Controlling Audio Playback
Recording radio programmes Sensia allows you to record live radio from Pure Connect and digital radio. You can either schedule recordings or record instantly. To record, you need to connect a USB memory stick to the USB port on the back of Sensia. -
Page 21: Streaming From The Pure Connect App
Streaming from the Pure Connect app You can use the Pure Connect app to stream any music stored on your smartphone or tablet as well as all the content available on Pure Connect to Sensia and other Caskeid compatible devices (such as Jongo). -
Page 22: Setting Alarms And Timers
Setting an alarm Sensia has two alarms. The alarms can tune into a digital or FM radio station, an internet radio station via Pure Connect or sound a tone. 1. Tap Alarms to display the Alarms menu. 2. Tap the Alarm 1 or Alarm 2 icon. -
Page 23: Changing The Snooze Time
Changing the snooze time 1. Tap Alarms to display the Alarms menu 2. Tap the Snooze icon. 3. Adjust the snooze time by tapping on the top and bottom of the snooze timer to select the required number of minutes. 4. -
Page 24: Basic Settings
2. Tap the Language icon. 3. Tap the required language. Changing time/date settings The time and date on Sensia are automatically set by Pure Connect or the FM or digital radio signal. You can manually change the time format and the time zone. -
Page 25: Advanced Settings
Advanced settings Manual Wi-Fi setup 1. Tap Settings. 2. Tap Network. 3. Tap the icon next to Network type so that is displayed. 4. A summary of your wireless settings will display on Sensia. 5. Tap the Manual button. 6. Enter the SSID of your network in the Network box. 7. -
Page 26: Static Ip Address Configuration
Static IP address configuration 1. Enter the IP address that you want to assign to Sensia into the IP Address box. 2. Enter the subnet mask that you want to assign to Sensia into the Net mask box. 3. Enter the IP address of the DNS server being used on your network. 4. -
Page 27: Updating The Software
5. If an update is available, Sensia will begin to update the software. Updating the software using the USB port Contact Pure technical support: (http://support.pure.com) for more information on how to update Sensia to the latest software version. Displaying details on the current software... -
Page 28: Installing The Chargepak F1
Important: Sensia can only be powered with a Pure ChargePAK F1 and is not compatible with any other batteries, either disposable or rechargeable, or any other ChargePAK model. -
Page 29: Technical Specifications
Captive telescopic aerial; internal Wi-Fi aerial. Approvals CE marked. Hereby, Pure, declares that this Band II LPD device is in compliance with the essential requirements and other relevant provisions of Directive 1999/5/EC. The Declaration of Conformity may be consulted at http://www.pure.com/R&TTE-DoC. - Page 30 This guarantee covers breakdowns due to manufacturing or design faults; it does not apply in cases such as accidental damage, however caused, wear and tear, negligence, adjustment, modification or repair not authorised by us. Should you have a problem with your unit please contact your supplier or contact Pure Support at http://support.pure.com.
- Page 31 Pure Pure Pure - Vertrieb uber: Pure Australasia Pty Ltd Imagination Technologies Limited Friedrich-Ludwig-Jahn- TELANOR AG PO Box 5049 Home Park Estate Straße 2-14 Unterhaltungselektronik Wonga Park Kings Langley 64589 Stockstadt/Rhein Bachstrasse 42 Victoria 3115 Herts, WD4 8LZ Deutschland 4654 Lostorf...
- Page 32 105JP-AU...
Need help?
Do you have a question about the Sensia 200D Connect and is the answer not in the manual?
Questions and answers