Table of Contents
Advertisement
Quick Links
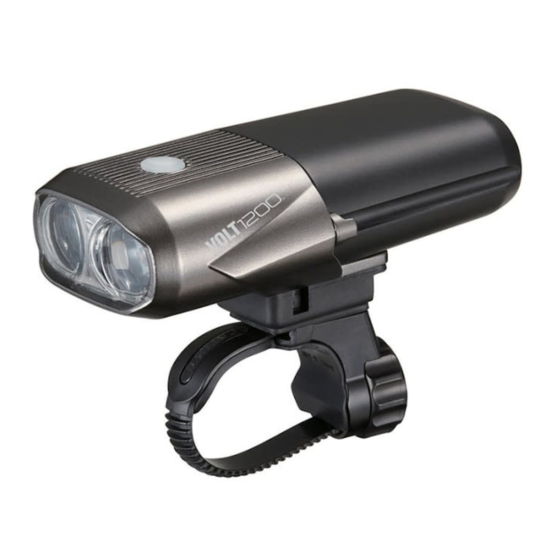
RECHARGEABLE HEADLIGHT
HL-EL1000RC
Manual
Before using the light, please read this manual and
the attached "Lithium-ion Batteries" thoroughly, and
keep them for future reference.
Design Pat. Pending
Copyright© 2013 CATEYE Co., Ltd.
4
EL1000RC-131219
Light unit
Cartridge battery
USB cable
FlexTight™ bracket
(H-34N)
2
HOW TO MOUNT TO A BICYCLE
Bracket
Rubber pad
1
Strap
WARNING!!! / CAUTION!
ENG
• This light emits an extremely powerful beam equivalent to automo-
bile headlight so it may cause a hazardous situation depending on
the beam angle used. Be sure to direct the light beam downward
so the driver approaching does not get dazzled.
• Before your trip, please make sure the light is firmly mounted to the
bracket, it lights up, and the light is not blocked by baggage, etc.
• Do not stare at the light when it is illuminating.
Otherwise it may damage your eyesight.
• Do not place it within children's reach.
• In preparation for unexpected battery shutoff, we recommend you
carry a spare light.
• Mount the light unit more than 3 cm away from the wireless meter. When
it is mounted too close, the transmission may be affected adversely.
1
HOW TO CHARGE
Standard charging time
USB cable
Charge jack cover
1
Dial
*1
Screw
2
3
1. Connect the light unit to your PC or a
Approx. 8 – 14 h
commercial USB battery charger using
the USB cable. (Fig 1 1 – 2 ).
To PC or USB
The switch lights up, and charging
battery charger
starts.
button light
2
* When your PC is in sleep state, the
unit cannot be charged.
1. Mount the bracket to the handlebar.
(Fig 2 1 – 3 )
2. Insert the light unit into the bracket until
it clicks, and adjust the beam angle. ( 4 )
Turn on the light on a smooth road at
night, and loosen the dial slightly to
move the bracket. Adjust the beam an-
4
Release button
5
gle so it does not direct to a driver ap-
proaching and
then tighten the
dial firmly to fix
the bracket.
• This product is water-resistant under normal daily use and can be
used in the rain. However, do not intentionally submerge it in water.
• If the light unit or parts become dirty with mud, etc., clean with a
soft cloth which is moistened with mild soap. Never apply paint
thinner, benzine or alcohol; damage will result.
• Dispose of used cartridge batteries appropriately according to lo-
cal regulations.
Before Initial Use
This unit is shipped with a small charge to check the light.
Be sure to charge it before use, according to the instructions
"HOW TO CHARGE".
On
Charging
Slow flash Fast charging
Switch
Charging is
Off
completed
Fast flash Charging error
Beam angle adjustment
NO!
OK
* Use a USB battery charger of 500mAh
(USB2.0) or more. The cartridge can
be fast-charged with high capacity
USB battery charger.
2. After charging is completed, remove
the USB cable, and install the charge
jack cover.
* The battery charges to about 80% after
approximately 10 hours.
* Charging and lighting times are ap-
proximate values, and will vary by
environmental and user conditions.
3. To remove the light unit, pull out it
forward while pressing down on the
release button ( 5 ).
CAUTION!:
• Be sure to tighten the dial by hand. When
you tighten it too hard with a tool, the
screw thread may be stripped.
• Check the dial and screw (*1) on the
bracket periodically, and use them without
any loosening.
• Round off the cut edge of the bracket strap
to prevent injury.
Advertisement
Table of Contents

Subscribe to Our Youtube Channel
Related Manuals for Cateye HL-EL1000RC


Summary of Contents for Cateye HL-EL1000RC
- Page 1 Design Pat. Pending “HOW TO CHARGE”. Copyright© 2013 CATEYE Co., Ltd. • Mount the light unit more than 3 cm away from the wireless meter. When EL1000RC-131219 it is mounted too close, the transmission may be affected adversely.
-
Page 2: Specifications
Micro USB plug To install the cartridge, reverse the procedure. workmanship for a period of 2 years from original purchase. If the product fails to work during normal use, CatEye will repair or replace the defect at no Dynamic : Approx.
Need help?
Do you have a question about the HL-EL1000RC and is the answer not in the manual?
Questions and answers