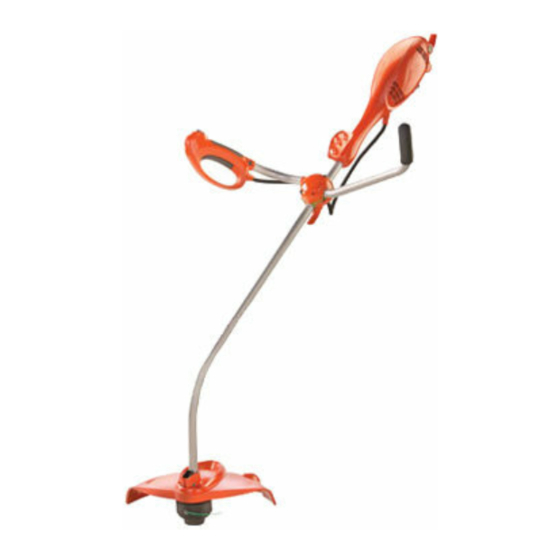
Flymo SAMURAI 1000XT Original Instructions Manual
Hide thumbs
Also See for SAMURAI 1000XT:
- Original instructions manual (80 pages) ,
- Instruction manual (52 pages) ,
- User manual (10 pages)
Summary of Contents for Flymo SAMURAI 1000XT
- Page 1 ® SAMURAI 1000XT Original Instructions AUTOMATIC SPEED CONTROL FOR YOUR SAFETY AND COMFORT...
-
Page 2: Carton Contents
Steady Handle IMPORTANT ! Please check the contents of the carton are correct BEFORE assembling your new Flymo product. IF ANY PARTS ARE MISSING CONTACT:- Husqvarna UK Ltd. Customer Service Department direct:- Telephone : 0844 844 4558 UK... - Page 3 6. A 13 Amp fuse must be fitted to the Mains Plug. CONNECTORS 7. The normal plug fuse and household fuse only protect Flymo connectors are suitable for use with 2 core cable the electrical equipment and are not a safeguard only. Under no circumstances should these connectors against electrocution.
-
Page 4: Assembly Instructions
Assembly Instructions Switch Handle and Handle Tube Assembly (A), (B) & (C) 1. Loosen the four bolts on the Handle Clamp (A). 2. Insert the Switch Handle and the Steady Handle into the holes at the side of the Handle Clamp (B1 Right Handed) (B2 Left Handed) - using the Hex Drive Tool to turn the switch handle (B3) 3. -
Page 5: Cutting Head
Line Feed The length of nylon line wears down naturally as you work. When this happens, tap the Cap (M1) on the ground while it is turning. A further length of line will automatically be fed out. The line cutter in the guard then ensures the line is cut to the optimum length. -
Page 6: Maintenance
Cutting Head cont’ To fit nylon line only: • Remember ! Your Flymo Trimmer is designed to use only nylon line with a maximum diameter of 2mm. Use only genuine Flymo nylon line. 1. Take approximately 7 metres of line. Place the centre of the line into the slot in the middle of the spool (T1) enabling 3.5 metres of line to be wound on either side... -
Page 7: Fault Finding Chart
Cable Storage 1. Your mains cable can be stored on the product as illustrated in Fig Z1. 2. Wind cable carefully to avoid kinking. 3. To release the cable press the button and the hook will drop down (Z2). 4. Push cable hook fully back into position. Hexagon Drive Tool Storage 1. -
Page 8: Ec Declaration Of Conformity
Our policy of continuous improvement means that the specification of products may be altered from time to time without prior notice. Copyright © 2013 Flymo S.A. All rights reserved. Flymo® and other product and feature names are registered or unregistered trademarks of Flymo S.A.


Need help?
Do you have a question about the SAMURAI 1000XT and is the answer not in the manual?
Questions and answers