Table of Contents
Advertisement
Quick Links
For The ON-THE-GO Pet
™
INSTRUCTION MANUAL
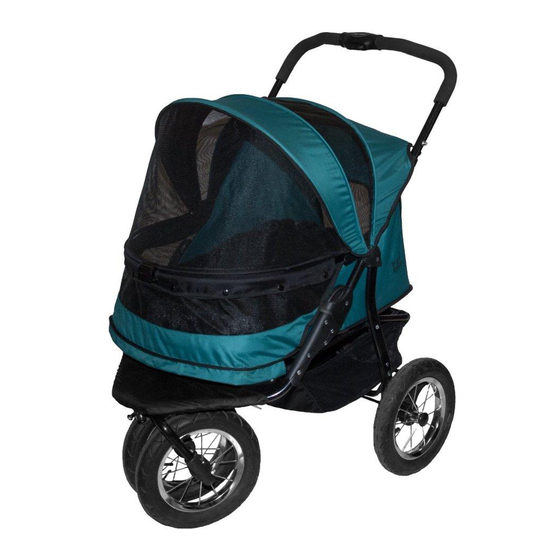
NO-ZIP DOUBLE PET STROLLER
PG8700NZ
Interior Dimensions:
27"L x 20"W x 23"H
To see our full line of products, visit us online at: www.petgearinc.com
CUSTOMER SERVICE HELP DESK
customerservice@petgearinc.com
Toll-Free 877-752-9123 - Eastern Standard Time 8am-3pm, Monday through Friday
Advertisement
Table of Contents

Summary of Contents for Pet Gear PG8700NZ
- Page 1 For The ON-THE-GO Pet ™ INSTRUCTION MANUAL NO-ZIP DOUBLE PET STROLLER PG8700NZ Interior Dimensions: 27"L x 20"W x 23"H To see our full line of products, visit us online at: www.petgearinc.com CUSTOMER SERVICE HELP DESK customerservice@petgearinc.com Toll-Free 877-752-9123 - Eastern Standard Time 8am-3pm, Monday through Friday...
-
Page 2: Parts List
Step 1. Release folding latch (A). Step 2. Spread handle (B) and seat apart until the frame clicks and locks on both sides. Step 3. Ensure that the stroller is locked in on both sides before using. NO-ZIP DOUBLE PET STROLLER • PG8700NZ... - Page 3 WARNING: Never leave your stroller parked without applying brakes. Back View of Stroller Step Here BACK WHEEL ASSEMBLY INSTRUCTIONS Shown with both back wheels in place. Push back wheels until they easily click into place. NO-ZIP DOUBLE PET STROLLER • PG8700NZ...
- Page 4 FRONT WHEEL ASSEMBLY INSTRUCTIONS Step 1. To attach front wheels, slide plastic wheel Step 2. Slide wheels up, until velco pins pop out supports up and into tubing. of holes. Tubing Velco Tubing Slide wheels up NO-ZIP DOUBLE PET STROLLER • PG8700NZ...
-
Page 5: Pump Instructions
Step 4. Remove cap on valve, then place stem onto valve and pump tire with handle. After tire is filled, place cap back onto valve. Step 2. Place inside opposite end. Cap/Valve Handle Pump Step 3. Twist on until tight. Stem NO-ZIP DOUBLE PET STROLLER • PG8700NZ... - Page 6 Step 2. Clip onto frame. TO SECURE LATCH Step 1. To close compartment, pull downward to latch clip onto frame. Step 2. Lift up on latch clip and secure by pushing down until it locks. NO-ZIP DOUBLE PET STROLLER • PG8700NZ...
- Page 7 TO UNLOCK LATCH Pull upward on latch clip to release. TO SECURE SIDE FLAP To help secure compartment, Velcro flap around tube and fasten to the bottom of the compartment. NO-ZIP DOUBLE PET STROLLER • PG8700NZ...
-
Page 8: Folding The Stroller
LOCK RELEASE SLIDE FRAME TO RIGHT LOCK RELEASE TO RIGHT SQUEEZE MAIN FRAME LOCK RELEASE AND SQUEEZE MAIN FRAME ROTATE LOCK RELEASE AND ROTATE ROTATE 180 DEGREES FORWARD WHILE SQUEEZING MAIN FRAME (D) LOCK RELEASE NO-ZIP DOUBLE PET STROLLER • PG8700NZ... -
Page 9: Wheel Maintenance
• Clean the rear wheel assembly and the rest of the frame with warm, soapy water; clean off with warm water and dry thoroughly. • NOTE: Do not lubricate brake components or swivel locks. NO-ZIP DOUBLE PET STROLLER • PG8700NZ... -
Page 10: Replacement Parts
Not intended to be used as a restraining device for aggressive or dangerous animals that dig, chew or paw aggressively. Do not leave your pet unattended. PET GEAR is not liable for any damage caused by aggressive, destructive, immature or untrained animals. Do not use near an open or exposed flame. Failure to follow these warnings and the instructions could result in serious injury or death.


Need help?
Do you have a question about the PG8700NZ and is the answer not in the manual?
Questions and answers