Table of Contents
Advertisement
User Manual
English
Before using the product for the first
time, please read carefully through
the Safety Instructions and the User
Manual. The person responsible for
the instrument must ensure that all users understand
these directions and adhere to them.
Contents
..................................................................... 1
................................................................. 2
................................................. 10
................................................................ 11
................................................................. 11
.............................................. 13
Start up
Inserting / replacing batteries
Slide the locking button forwards to unlock the battery
compartment. Open the battery compartment cover and
insert the batteries, observing the correct polarity. Then
press the battery compartment cover back down until it
engages.
.......................... 11
......................... 12
........................................ 13
The battery symbol 5 lights up when the battery voltage
is too low. Replace the batteries as soon as possible.
•
Insert the batteries observing the correct polarity
•
Use alkaline batteries or rechargeable batteries only
•
Remove the batteries if the instrument is not to be
used for a long period of time (to prevent corrosion)
1
en
GB
F
I
E
P
NL
DK
S
N
J
CN
PL
HR
H
RUS
CZ
GR
LT
LV
EST
SLO
SK
Start up
M
TR
Advertisement
Table of Contents

Related Manuals for wurth PLL 11


Summary of Contents for wurth PLL 11
-
Page 1: Table Of Contents
Operation LLE 11 ..........10 Care and advice on operation ......11 Transport ..............11 Warranty ..............11 Technical data PLL 11/CLL 11 ......12 Technical data LLE 11 ........13 Safety instructions ..........13 Start up Inserting / replacing batteries Slide the locking button forwards to unlock the battery compartment. -
Page 2: Operation
2 Pulse key 3 Lock switch Display 4 Locked 5 Battery voltage too low 6 Pulse/Power save mode ON 7 Horizontal laser line PLL 11 8 Vertical laser line 9 Plumbing point AT Plumbing and crossline intersection point pulse CLL 11 pulse... - Page 3 Pressing the On/Set key 1 activates the following laser tion is deactivated. functions: Pulse PLL 11 CLL 11 To be able to detect the laser lines over long distances Action (> 15 m) or in unfavourable lighting conditions, a laser...
- Page 4 Applications PLL 11 1x + 1x + 2x + 2x + pulse pulse Operation...
- Page 5 Applications CLL 11 1x + 2x + pulse Operation...
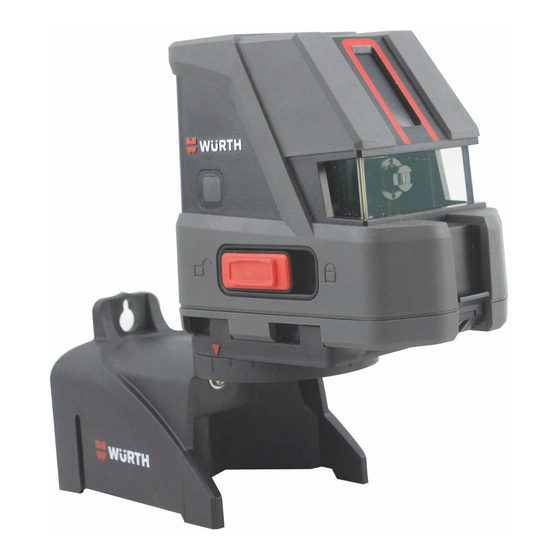
- Page 6 How to use the wall mount bracket: Operation...
- Page 7 Checking the accuracy Check the accuracy of your CLL 11/PLL 11 regularly and particularly before important measuring tasks. Checking the accuracy of the levelling Then place the instrument at the same elevation as close as possible to wall A and again mark the horizontal laser line or the laser dot on wall A (->...
- Page 8 Now read off the maximum deviation of the laser then the CLL 11/PLL 11 is within tolerance. line from the top of the plumb line. If the difference does not exceed 2 mm, then the CLL 11/PLL 11 is within tole- rance. Operation...
- Page 9 2 mm away from point B1, then the PLL plumbing of the PLL11: 11 is within tolerance. Place the Lock switch 3 in the "Unlocked" ( Should your CLL 11/PLL 11 be outside of the position. specified tolerance, please contact an authorised Checking the upper plumbing point: dealership of Würth Electronics.
-
Page 10: Fin Operation Lle 11
Display status symbols Operation LLE 11 Würth LLE 11 The Würth LEE 11 is a robust and easy to use laser receiver and can be used with all Würth line lasers. Keypad 1 Sensivity: fine ±1 mm (default) 2 Sensivity: coarse ±3 mm 3 Battery status: full 4 Battery status: low 5 Beep medium... -
Page 11: Care And Advice On Operation
Care and advice on operation Warranty Do not immerse the instrument in water. Wipe off dirt For this Würth tool, we provide a warranty in accordance with a damp soft cloth. Do not use aggressive cleaning with statutory/country-specific regulations from the date agents or solvents. -
Page 12: Technical Data Pll 11/Cll 11
Technical data PLL 11/CLL 11 PLL 11 CLL 11 PLL 11 CLL 11 Range up to 15 m* Range up to 50 ft* Range with detector > 30 m Range with detector > 100 ft Levelling accuracy @ 5 m ±... -
Page 13: Technical Data Lle 11
Technical data LLE 11 Safety instructions The person responsible for the instrument must ensure LLE 11 that all users understand these directions and adhere to them. Sensitivity (switch- ±1mm / ±0.04/ able) ±3mm ±0.12inch Symbols used Detection field length 42 mm 1.65inch The symbols used have the following meanings Protection... -
Page 14: Hazards In Use
Watch out for erroneous measurements if the inst- Refer to section "Technical data". rument is defective or if it has been dropped or has been The CLL 11/PLL 11 is designed for use in areas misused or modified. permanently habitable by humans. Do not use the product in explosion hazardous areas or in aggressive Carry out periodic test measurements. - Page 15 Electromagnetic Compatibility (EMC) aged to try to correct the interference by one or more of WARNING: the following measures: The CLL 11/PLL 11 conforms to the most • Reorient or relocate the receiving antenna. stringent requirements of the relevant standards and •...
-
Page 16: Laser Classification
Laser classification The CLL 11/PLL 11 produces visible laser beams, which It is a Class 2 laser product in accordance with: are emitted from the instrument: • IEC60825-1 : 2007 "Radiation safety of laser products" Laser Class 2 products: Do not stare into the laser beam or direct it towards other people unnecessarily. - Page 17 Labelling PLL 11 Laser Radiation Do not stare into the beam Laser class 2 in acc. with IEC 60825-1:2007 Maximum radiation power: <1.0mW c.w. Emitted wavelength: 620-690nm Beam divergence <180° Laser Radiation Do not stare into the beam Laser class 2 in acc.
Need help?
Do you have a question about the PLL 11 and is the answer not in the manual?
Questions and answers