
Subscribe to Our Youtube Channel
Related Manuals for Akai RPM500


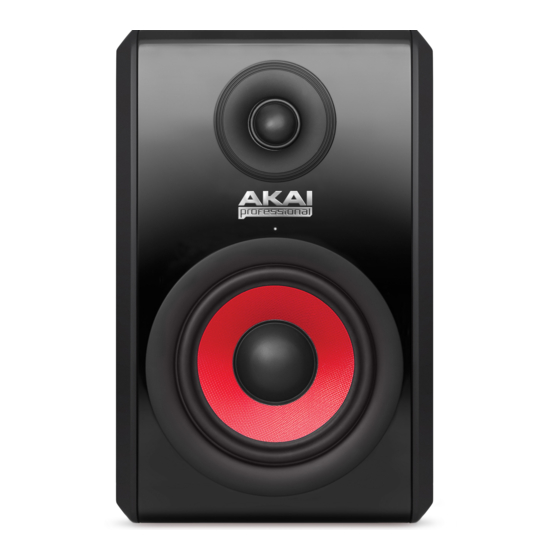
Summary of Contents for Akai RPM500
- Page 1 User Guide English ( 2 – 7 ) Guía del usuario Español ( 8 – 13 ) Guide d'utilisation Français ( 14 – 19 ) Guida per l'uso Italiano ( 20 – 25 ) Benutzerhandbuch Deutsch ( 26 – 31 )
-
Page 2: Box Contents
Even if you are experienced with recording and mixing, please take a moment to read through this guide. It will give you valuable information about how to set up your RPM500 monitors and will help you get the most out of your new purchase. -
Page 3: Connection Diagrams
Connection Diagrams Akai Professional RPM500 monitors feature balanced XLR and 1/4" connectors, as well as unbalanced RCA-type analog inputs. Connect the outputs of your audio interface, mixer, or other line-level device to these inputs. Note: The XLR/TRS and RCA inputs are summed (i.e., mixed together) before arriving at the RPM amplifier, so it is possible to have two sound sources connected to a speaker at the same time. - Page 4 240V. If you are not sure about your region, be sure to check your power outlet's rating and set the Input Voltage selector before connecting and switching on your RPM500 monitors. ** The XLR/TRS and RCA inputs are summed (i.e., mixed together) before arriving at the RPM amplifier.
- Page 5 If possible, place the RPM500 monitors in their upright position and avoid laying the speakers on their sides. The RPM500 woofer and tweeter are vertically aligned and will provide the best performance when the speakers are placed upright. Placing them on their sides may create strong reflections from nearby surfaces resulting in spectrally unbalanced sound.
- Page 6 About the Rear-Panel EQ Contour Switches These switches allow you to tailor the EQ curve of your RPM500 monitors to complement the frequency response of your studio. Since studio monitors (including the RPM series) are designed to have a flat frequency response, you may be wondering why these speakers include additional EQ controls.
- Page 7 +2dB. Setting this switch to either +2dB or -2dB allows the RPM500 monitors to compensate for a mixing environment that is either too "live" (i.e., too much high-frequency reflection from the walls and other surfaces) or too "dead"...
- Page 8 akaipro.com Manual Version 1.1...
Need help?
Do you have a question about the RPM500 and is the answer not in the manual?
Questions and answers