Advertisement
Advertisement

Related Manuals for Matko SBL Series


Summary of Contents for Matko SBL Series
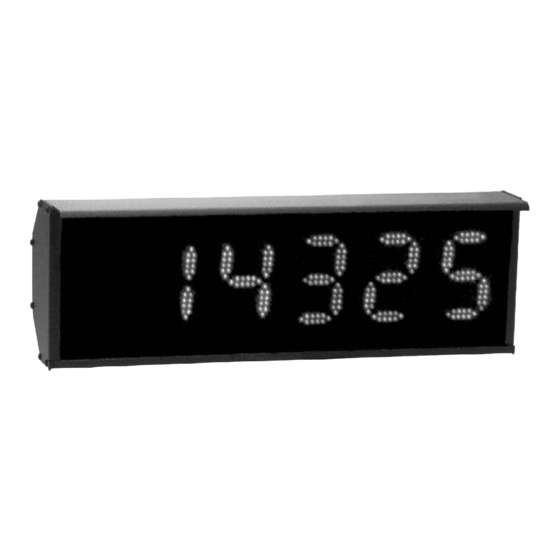
- Page 1 S B L S e r i e s M a n u a l 8 0 0 . 8 1 4 . 4 0 5 3 w w w . m a t k o . c o m...
-
Page 2: Table Of Contents
section M anual C ontents Section Topic Page Q uick Setup W iring C onfiguration 3– 4 C hanging Intensity O ption Summary 6– 7 O ption Details 8– 13 Trouble Shooting A SC II Table 15– 16... -
Page 3: Q Uick Setup
section Q uick S etup P rocedure Placing weight on the scale can be advantageous in shifting the weight into the correct position. W ire up the display according to Section 2. C onfigure the transmitting device to output continuously. Press and release the R E S E T button on the display. -
Page 4: W Iring C Onfiguration
section W iring C onfiguration C onnect the Scale indicator using the appropriate diagram. Place the B LU E J U M P E R in the center of the motherboard in the correct position for RS232, RS422, or 20 mA C urrent Loop. Indicator Display C onnector P in O ut... -
Page 5: W Iring C Onfiguration
W iring C onfiguration continued The green LE D will be illuminated when the following four requirements are satisfied: The display is powered on. The indicator’ s port is enabled to transmit continuously. The jumper is in the correct position. The wires are connected to the terminal block as described previously. -
Page 6: C Hanging Intensity
section C hanging Intensity To change the display’ s intensity press and release the R E S E T button then hold the R IG H T button during countdown. A t the end of countdown the R IG H T button will toggle between displaying “... -
Page 7: O Ption Summary
section O ption S ummary To enter into the options hold the LE F T button during power A t the end of the countdown the display will display " O PTIO N " . O nce in options, LE F T will cycle through the option numbers 0 through 20. - Page 8 O ption Summary continued N ame D escription for " O N " V alue Reset Resets all settings to factory defaults Future O p - - - - - Toledo / Fairbanks Decodes Toledo / Fairbanks status bytes M aximum time allowed between data transmissions Timeout Length Default = 5 seconds Updates display when a Print button is pressed...
-
Page 9: O Ption Details
section O ption D etails O ption 0 R estore F actory D efaults O ption 0 resets the display to factory default. It erases all data stored in non-volatile RA M including shift amount, baud rate, end character, and sets all options to off. O ption 1 F uture O p O ption 1 is reserved for a future option. - Page 10 O ption Details continued O ption 3 Timeout Length O ption 3 is used to set the timeout length. The timeout length is the maximum amount of time expected between data streams before communication is considered interrupted. The default (0/O ff) acts as a 5 second timeout, all other values represent the number of seconds the display will wait for a new data stream.
- Page 11 O ption Details continued O ption 6 F ix ed D ecimal P oint O ption 6 will set the display to illuminate a decimal point when it is not present in the data stream. Default (off) will show a decimal point only where it is located in the data stream.
- Page 12 O ption Details continued O ption 10 M irror O ption 10 enables a display to be read in a rear view mirror. The default (off) is for direct viewing. O ption 11 A ddressable O ption 11 will set the display to be addressable. The display will ignore any characters until the addressable character is received, then display the data immediately following it.
- Page 13 O ption Details continued O ption 14 F ix ed B aud R ate O ption 14 disables the auto-learn' s ability to detect the baud rate of the data stream and instead configures the baud rate to the set amount. Default (off) will allow the unit to learn on power up when LE A R N is pressed for the correct baud rate.
-
Page 14: O Ption Details
O ption Details continued O ption 17 M ax imum W eight O ption 17 sets the maximum weight that the unit will display. LE F T will change the value of the selected digit and R IG H T will change which digit is selected. -
Page 15: Trouble Shooting
section Trouble S hooting Problem: The red LE D is on and the display reads “ N oData” . C ommunication was lost Suggestion: M ake sure the unit is powered on. M ake sure the indicator port is enabled. M ake sure the wiring is correct. - Page 16 section A S C II Table H ex C har H ex C har N UL null Space SO H start of heading start of text " E TX end of text E O T end of transmission E N Q enquiry A C K acknowledge...
- Page 17 A SC II Table continued H ex C har H ex C har DE L...
- Page 18 M A T K O 8 0 0 . 8 1 4 . 4 0 5 3 B o x 8 8 9 1 9 0 9 . 7 9 8 . 4 4 5 7 f a x R e d l a n d s , C a .
Need help?
Do you have a question about the SBL Series and is the answer not in the manual?
Questions and answers