Table of Contents
Advertisement
Advertisement
Table of Contents

Related Manuals for Minolta 115


Summary of Contents for Minolta 115
- Page 1 E INSTRUCTION MANUAL...
-
Page 2: Table Of Contents
CONTENTS Contents ... 2 ADVANCED OPERATION For Proper and Safe Use ... 3 Selecting Functions in the Flash Mode 36 Flash Range ... 38 GETTING STARTED Autoflash ... 39 Name of Parts ... 10 Autoflash with Red-eye Reduction 40 Inserting the Battery ... 14 Fill flash ... - Page 3 FOR PROPER AND SAFE USE • Tape over lithium battery contacts to avoid short-circuiting during disposal; always follow local regulations for battery disposal. • Do not disassemble this product. Electric shock may cause injury if a high voltage circuit inside the product is touched. Take the product to a Minolta Service Facility when repairs are required.
- Page 4 FOR PROPER AND SAFE USE CAUTION • Do not use or store the product in a hot or humid environment such as the glove compartment or trunk of a car. It may damage the product and batteries which may result in burns or injuries caused by heat, fire, explosion, or leaking battery fluid.
-
Page 5: Getting Started
FOR PROPER AND SAFE USE If this equipment does cause harmful interference to radio or television reception, which can be determined by turning the equipment off and on, the user is encouraged to try to correct the interference by one or more of the following measures: •... -
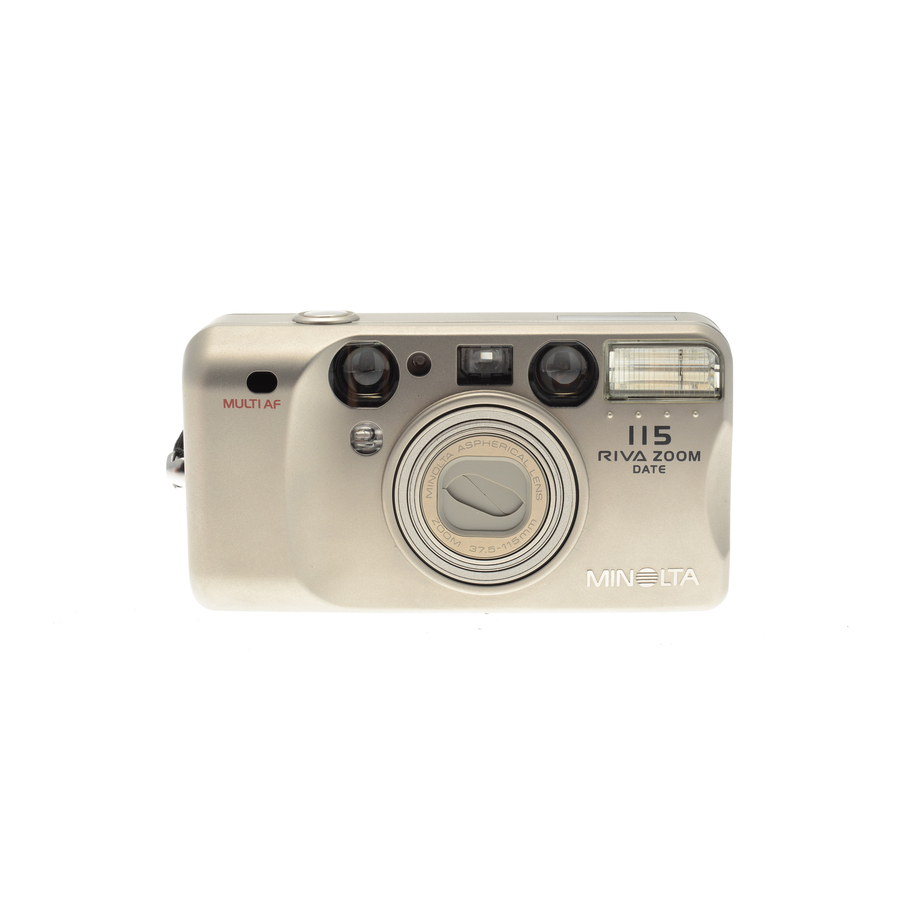
Page 6: Name Of Parts
NAME OF PARTS BODY For information on specific parts, refer to the page numbers shown in parenthesis. Meter window* AF windows* Self-timer/ Red-eye reduction lamp* (48/40) Manual-rewind button ( 22 ) Tripod socket Drive-mode/ Adjust button Viewfinder window* ( 48/50 ) Flash-mode/ Flash* ( 36 ) Select button... - Page 7 NAME OF PARTS DATA PANEL Only the necessary indicators will appear on the data panel. Date/Time display Self-timer indicator ( 48 ) ( 50 ) (Quartz-date model only) Flash mode indicators ( 36 ) Autoflash Autoflash with red-eye reduction Fill flash Flash cancel Auto-depth Night Portrait (with red-eye reduction)
-
Page 8: Inserting The Battery
INSERTING THE BATTERY Your camera uses one 3-volt CR123A or DL123A lithium battery. 1. Open the battery-chamber door by sliding the battery-chamber release in the direction indicated. • Quartz-date model: The date and time must be reset (p.50). • When changing batteries, make sure the main switch is off. 2. -
Page 9: Battery Condition Indicator
BATTERY CONDITION INDICATOR Each time the camera is turned on, a symbol will appear on the data panel to indicate the power status of the battery. Briefly appears. Power is sufficient for all camera operations. Power is sufficient, but the battery must be replaced soon. - Page 10 LOADING THE FILM 2. Place the film cartridge into the film chamber. Extend the film leader to the "FILM TIP" mark, making sure it lays flat. • If the film tip extends beyond the index mark, push the excess film back into the cartridge.
-
Page 11: Rewinding The Film
REWINDING THE FILM Your camera automatically rewinds the film after the last exposure is taken. When blinks on the data panel, open the back cover and remove the film • When you want to rewind quietly (silent rewind), push the manual-rewind button while the film is rewinding (p.23). - Page 12 REWINDING THE FILM MANUAL REWIND To rewind before the end of the roll, turn the camera on and gently press the manual rewind bottun using the button key on the strap. SILENT REWIND This camera has a silent-rewind function to minimize the noise of film rewinding.
-
Page 13: Basic Operation
BASIC OPERATION FULL-AUTO OPERATION 1. Press the main switch to turn the camera on. • Auto Power Off: To conserve power, the camera automatically turns off if it is not operated for more than 8 minutes. • Do not obstruct or hold the lens barrel. 2. - Page 14 FULL-AUTO OPERATION 3. Look through the viewfinder and push the zoom lever ( T ) to zoom in or ( W ) to zoom out. T(elephoto) : zoom in W(ide angle) : zoom out 4. Place the focus frame on the subject and press the shutter-release button partway down.
-
Page 15: Focus Lock
FULL-AUTO OPERATION 5. When the green ready lamp glows, press the shutter-release button all the way down to take the picture. • Press the shutter-release button with slow, steady pressure. • The film automatically advances to the next frame. • After use, press the main switch to turn the camera off. -
Page 16: For Close Subjects
FOCUS LOCK 2. Press and hold the shutter-release button partway down until the green ready lamp glows indicating focus lock. 3. Without lifting your finger, recompose the picture and press the shutter- release button all the way down to take the picture. •... - Page 17 FOR CLOSE SUBJECTS • If the green ready lamp blinks rapidly and the shutter locks, the subject is too close. Be sure your camera-to-subject distance is at least 60cm (2.0 ft.) in the wide-angle setting or 55 cm (1.8 ft.) in the telephoto setting. •...
-
Page 18: Special Focusing Situations
SPECIAL FOCUSING SITUATIONS Some scenes or subjects are difficult for the autofocus system to lock on to. When the focus will not lock, focus lock (p. 29) on another object the same distance from you as the main subject, recompose, then take the picture. The autofocus may not lock on the following;... -
Page 19: Selecting Flash-Mode
SELECTING FLASH-MODE Press the flash-mode button until the desired indicator appears on the data panel. The following mode can be selected: Autoflash (p. 39) Autoflash with red-eye reduction (p. 40) Fill flash (p. 42) Flash cancel (p. 43) Auto-depth (p. 44) Night portrait (p. -
Page 20: Flash Range
FLASH RANGE The range of the built-in flash depends on the film speed and focal length you are using. To ensure proper exposure, make sure your subject is positioned within the flash range. 37.5mm Focal length Film speed W(ide-angle) 0.6- 5.1m ISO100 2.0- 16.7f t . -
Page 21: Autoflash With Red-Eye Reduction
AUTOFLASH WITH RED-EYE REDUCTION Use the reduction mode to reduce the red-eye effect when photographing people or animals in low-light situations. The red-eye reduction lamp will blink three times before the main flash will fire. Press the flash-mode button until appears on the data panel, then take the picture. -
Page 22: Fill Flash
FILL FLASH The flash will fire when the shutter is released regardless of lighting. Use the fill flash to reduce harsh shadows on your subject's face. Also the use in back-lit situations is recommended. Press the flash-mode button until appears on the data panel, then take the picture. -
Page 23: Auto-Depth
AUTO-DEPTH The auto-depth is used for taking pictures with both foreground subjects and background subjects in sharp focus. Use this mode when taking portraits where the surrounding landscape is also important. Press the flash-mode button until appears on the data panel, then take the picture. -
Page 24: Night Portrait
NIGHT PORTRAIT In the night portrait mode, the camera balances the flash and existing light exposures so you can take beautiful pictures of people at sunset or at night. Press the flash-mode button until appears on the data panel, then take the picture. •... -
Page 25: Self-Timer
SELF-TIMER The self-timer delays release of the shutter for approximately 10 seconds after the shutter-release button is pressed. 1.Place the camera on a tripod, then press the drive-mode button until the self-timer symbol appears on the data panel. 2. Place the focus frame on your subject. -
Page 26: For Owners Of The Quartz-Date Model
FOR OWNERS OF THE QUARTZ-DATE MODEL IMPRINTING THE DATE OR TIME This feature enables you to record the date or time onto the lower-right portion of the picture. Buttons for date function Select button Adjust button Date button • Since the date is recorded when the film is advanced to the next frame, sometimes the last frame of the roll will not have a data print. - Page 27 FOR OWNERS OF THE QUARTZ-DATE MODEL SETTING THE DATE OR TIME This camera has a quartz clock and automatic calendar through the year 2029. 1. Press the main switch to turn the camera off, then press the date button to display the date. 2.
- Page 28 FOR OWNERS OF THE QUARTZ-DATE MODEL CHANGING THE FORMAT The order of year/month/day can be changed. 1. Press the main switch to turn the camera off. 2. Press the date button to display the date. 3. Press and hold the select button until all items on the date display blink.
-
Page 29: Attaching The Camera Strap
ATTACHING THE CAMERA STRAP BUTTON KEY • The button key is included on the strap. Use the key to push the manual-rewind button (p.22). Attach the strap as shown. APPENDIX... -
Page 30: Care And Storage
CARE AND STORAGE OPERATING TEMPERATURE AND CONDITIONS • This camera is designed for use from -10 to 40 °C (14 to 104 °F). • Never leave your camera where it may be subjected to extreme temperatures such as in the glove compartment of a car. •... - Page 31 CARE AND STORAGE • Never place lens fluid directly on the lens. • Never touch the lens surface with your fingers. • Never use alcohol or solvents to clean the camera. STORAGE When storing the camera for extended periods, please follow these guidelines: •...
-
Page 32: Technical Specifications
TECHNICAL SPECIFICATIONS Camera Type: 35mm lens-shutter camera Lens: 37.5-115mm f/5.4 - 10.9 lens 6 element/6 group construction Focusing Range:( W ): 0.6m - (2.0 - ) ( T ): 0.55m - (1.8 - ) Film Speed: Settings Automatic for DX-coded film. Non-DX coded film seto to ISO100. - Page 33 Minolta Co., Ltd. 3-13, 2-Chome, Azuchi-Machi, Chuo-Ku, Osaka 541-8556, Japan Minolta Europe GmbH Minoltaring 11, D-30855 Langenhagen, Germany Reparatur/Repair Senator-Helmken-Strasse 1, D-28197 Bremen, Germany Minolta France S.A. 365 Route de Saint-Germain, F-78420 Carrieres-Sur-Seine, France Minolta (UK) Limited 7 Tanners Drive, Blakelands, Milton Keynes, MK14 5BU, England Minolta Austria Ges.
Need help?
Do you have a question about the 115 and is the answer not in the manual?
Questions and answers
What size battery is required for Minolta ribs 115 camera
The Minolta RIBS 115 camera requires one 3-volt CR123A lithium battery.
This answer is automatically generated
What size batter does the camera use?