Table of Contents
Advertisement
Advertisement
Table of Contents

Subscribe to Our Youtube Channel
Related Manuals for Nexa PX900


Summary of Contents for Nexa PX900
-
Page 1: User Manual
Nexa PX900 Thermal Receipt Printer User Manual P a g e... -
Page 2: Table Of Contents
Table of Contents Safety Notice ............................... 3 Available Functions .............................. 3 Main Features ..............................4 Technical Specifications ............................4 Unpacking the Printer............................5 Connection & Operation ............................. 5 Paper Roll Installation............................6 Self Test ................................6 Set Print Mode (DIP Switch) ..........................7 Driver Installation .............................. -
Page 3: Safety Notice
Safety Notice Don’t touch the print head. Don’t touch the cutter blade. Don’t bend the power cord excessively or place any heavy objects onto it. Don’t use the printer when it is out of order. This can cause a fire and/or electrocution. ... -
Page 4: Main Features
Main Features Command protocol is based on the ESC/POS standard Low-noise thermal printing. Various layouts are possible by using page mode. Repeated operation and copy printing are possible. Character font size optional. Easy paper-roll installation. ... -
Page 5: Unpacking The Printer
Unpacking the Printer The following items are included with the standard specification printer. If any item is missing or damaged contact your dealer. Australian power cord 24v power supply USB cable Serial (9 pin) cable included with serial version 80mm thermal paper roll Connection &... -
Page 6: Paper Roll Installation
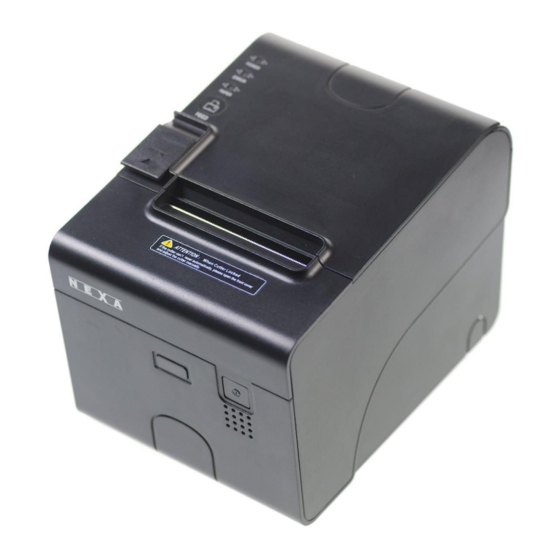
Paper Roll Installation Lift the “OPEN” lever to open the top cover, install the paper roll as the picture shows. Set the paper roll into the hollow, and pull on the leading edge of the paper towards the front of the printer. Press the centre of printer cover down firmly to close. -
Page 7: Set Print Mode (Dip Switch)
Set Print Mode (DIP Switch) Use the DIP Switch to set options such as density, cutter, beep, etc. Dip switch panel is located under the printer. INTERFACE DIP-8 FUNCTION SW-1 SELECT CUTTER SW-2 SELECT BEEPER SW-3 SELECT PRINT DENSITY DARK LIGHT SW-4 TWO-BYTE CHARACTER CODE SW-5... -
Page 8: Driver Installation
Supplies The printer uses 80mm thermal paper rolls. It is recommended you use Nexa brand paper rolls as inferior brands may cause damage to the printer or have poor print quality. These can be purchased through your dealer or from a stationery and office supplies retailer. -
Page 9: Troubleshooting & Maintenance
If all of the above are correct, please contact your dealer or www.nexapos.com. Can NEXA series printers support USB to Parallel and on-line NEXA series printers all support USB to Parallel and on-line server print? server print. -
Page 10: Service
If the printer develops a fault refer back to the dealer you bought the printer from or www.nexapos.com. Warranty WHAT THIS WARRANTY COVERS: Nexa offers you a warranty that the product purchased and its enclosed accessories are free from defects in material and workmanship according to the following terms and conditions: ...
Need help?
Do you have a question about the PX900 and is the answer not in the manual?
Questions and answers