Table of Contents
Advertisement
Advertisement
Table of Contents

Subscribe to Our Youtube Channel
Related Manuals for Premium PRN1005MW


Summary of Contents for Premium PRN1005MW
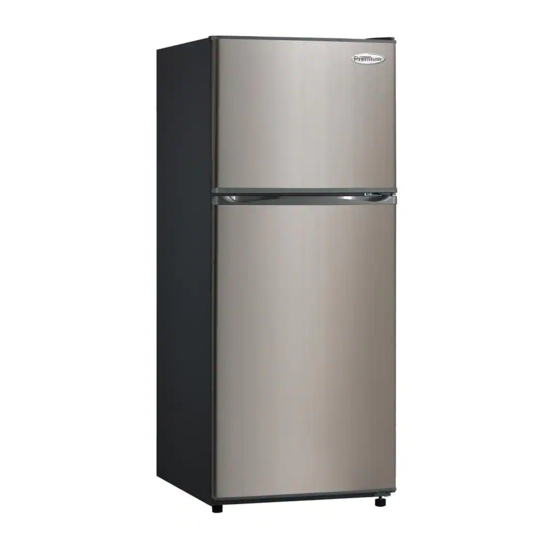
- Page 1 REFRIGERATOR SUPER DESIGN PRN1005MW PRN1006MS PRN1215MW PRN1216MS...
-
Page 2: Table Of Contents
TABLE OF CONTENTS Structure Illustration…………………………………………………………………………3 Unpacking Your Refrigerator……………………………………………………………..4 Clean Before Usage…………………………………………………………………………...4 Space Requirement…………………………………………………………………………….4 Electrical Requirement……………………………………………………………………….6 Recommended Electrical Grounding Method…………………………………….6 Leveling……………………………………………………………………………………………….6 Usage of the Appliance……………………………………………………………………….7 Cleaning Your Refrigerator Freezer…………………………………………………..10 Prolonged OFF Periods……………………………………………………………………….10 Trouble-shooting…………………………………………………………………………………11 Changing the Reversible Door…………………………………………………………….11 Warning………………………………………………………………………………………………14... -
Page 3: Structure Illustration
Structure Illustration: 1、Thermostat 2、Refrigerator lamp 3、Refrigerator shelf 4、Crisper(The crisper contains ice tray and manual) 5、Adjustable foot 6、Freezer shelf 7、Freezer tray 8、lamp switch 9、Refrigerator tray Unpacking Your Refrigerator: WARNING: Use two or more people to move refrigerator-freezer. Failure to do so can result in injury. -
Page 4: Space Requirement
1, To Remove tape and any labels from your refrigerator-freezer before using it (except the rating label). 2, To remove any remaining tape or glue, rub the area briskly with your thumb. 3, Tape or glue residue can also be easily removed by rubbing a small amount of liquid dish soap over the adhesive with your fingers. - Page 5 between counter top and the roof or ceiling. If you are installing your refrigerator-freezer next to a fixed wall, leave sufficient space on the hinge side to allow the door to swing open. Never install your refrigerator-freezer near heat source and direct sun shines.
-
Page 6: Electrical Requirement
ELECTRICAL REQUIREMENT WARNING: DO NOT REMOVE GROUND PRONG. DO NOT USE AN ADAPTOR. DO NOT USE EXTENSION CORD. Failure to follow these instructions can result in death, fire or electrical shock. Before you move your refrigerator-freezer into its final location, it is important to make sure you have the proper electrical connection. - Page 7 clockwise to raise that side to the refrigerator-freezer or turn counter – clockwise to lower that side. NOTE: Having someone push against the top of the refrigerator-freezer, take some weight off. This makes it easier to adjust the adjustable foot. USE OF THE APPLIANCE To obtain the best possible results from your refrigerator-freezer, it is important that you operate it properly.
- Page 8 This prevents food odor and taste transfer throughout refrigerator. · Fruit – wash, let dry and store in refrigerator in plastic bags or crisper. · Leafy vegetables- Remove wrapping and trim or tear off bruised and discolored areas, wash in cold water and drain. Place in plastic bag or plastic container and store in crisper.
- Page 9 When using the refrigerator-freezer for the first time or after defrosting, turn the temperature control to set “MAX” for at least two hours before introducing the food to be stored. All frozen food products you purchase should be placed in the freezer compartment as soon as possible to avoid the frozen food from defrosting.
-
Page 10: Cleaning Your Refrigerator Freezer
For best performance, leave enough space in the Freezer compartment for air to circulate around the packages. Cleaning your refrigerator-freezer Before you start to clean your refrigerator-freezer remove the mains plug from the power supply. Use a clean sponge or soft and a mild detergent in warm water. Do not use abrasive or harsh cleaners. -
Page 11: Trouble-Shooting
TROUBLE SHOOTING In case of malfunction, you can solve many common problems easily. Your refrigerator-freezer will not operate…Check if -- The power supply cord is unplugged. The doors will not close completely…Check if -- The drawers are out of position. -- The gaskets are dirty. -
Page 12: Changing The Reversible Door
All parts removed must be saved to do the replacement of the light bulb. Before removing the light bulb, either turn off the appliance or disconnect the electricity leading into the appliance at the main power supply. Failure to do so could result in electrical shock or personal injury. - Page 13 Remove the screws from the Remove right bottom hinge and reserve the middle screws. Remove screw covers at left corner hinge. Lift the refrigerator door and put them into the screw holes at right corner. Install left hinge by using those and away from the appliance.
- Page 14 Remove right pin assemblies from the bottom Place the refrigerator door on the bottom hinge. of the freezer and refrigerator doors. On the Ensure the door is aligned horizontally and opposite side, attach the replacement pin vertically. Attach middle hinge to refrigerator door assemblies (located in the plastic bag with the and attach bolt washer to the back of the hinge, Use and Care Manual) with a screwdriver.
-
Page 15: Warning
WARNNING RECOMMENDATIONS: 1) WARNING – Keep ventilation openings, in the appliance enclosure or in the built-in structure, clear of obstruction. WARNING – Do not use mechanical devices or other means to accelerate the defrosting process, other than those recommended by the manufacturer. - Page 16 7) Children should be supervised to ensure that they do not play with the appliance. If the supply cord is damaged, it must be replaced by the manufacturer, its service agent or similarly qualified persons in order to avoid a hazard. 9) Please abandon the refrigerator-freezer according to local regulators for it use flammable blowing gas and refrigerant.
- Page 17 collection systems or contact the retailer where the product was purchased. They can take this product for environmental safe recycling.
- Page 18 This product is for domestic use only Use&Care manual Important safeguards...
Need help?
Do you have a question about the PRN1005MW and is the answer not in the manual?
Questions and answers