Table of Contents
Advertisement
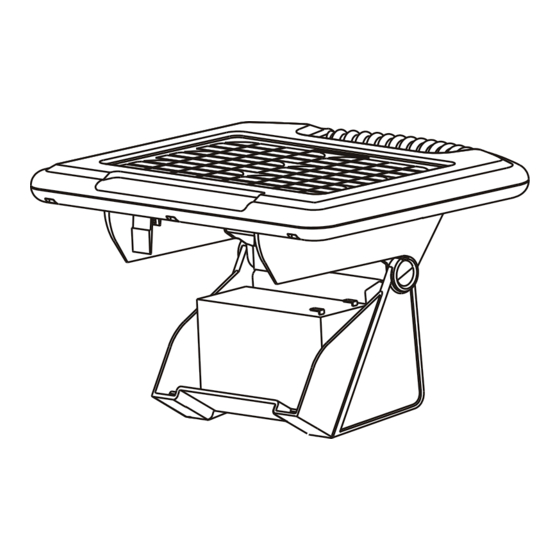
electric fence energizer
STOP!
DO nOT reTurn
ThIS PrODuCT
TO The STOre
w w w.p atr iotg lo b al. c o m
solarGuard
If you suspect the unit is not working then follow these steps:
1. Disconnect the unit from the fence and check the indicator light is
flashing.
2. Check the battery connection and voltage.
3. Check that the voltage between the live and ground terminals is
greater than 7000 V using a fence voltage tester.
4. If these tests are OK you have an installation problem.
Consult your user manual for installation and operating instructions
or contact Tru-Test Group Customer service on 800-874-8494.
user manual
50, solarGuard
Tm
155
Tm
Advertisement
Table of Contents


Need help?
Do you have a question about the SolarGuard 155 and is the answer not in the manual?
Questions and answers