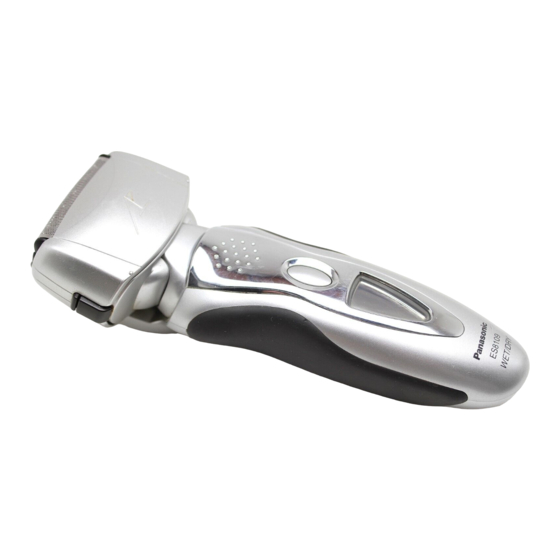
Panasonic ES8109 Operating Instructions Manual
Rechargeable shaver
Hide thumbs
Also See for ES8109:
- Operating instructions manual (33 pages) ,
- Operating instructions manual (197 pages)
Summary of Contents for Panasonic ES8109
- Page 1 Ref.No.IM-B085-01-A Operating Instructions Rechargeable Shaver Model No. ES8109 Before operating this unit, please read these instructions completely.
- Page 2 Treat yourself to wet lather shaves for at least three weeks and bend the power cord or wrap it around the shaver. This notice the difference. Your Panasonic WET/DRY shaver requires appliance is not intended for use by persons (including children)
- Page 3 Adaptor (RE7-40) Clean lamp Parts identification Power cord Dry lamp Appliance plug Charge lamp Self-cleaning recharger Status lamp (Referred to as the Select button “Recharger”.) Cleaning tray Detergent cartridge Water level Water tank Soft case Socket Cleaning brush Water tank cap Operating environment for the self-cleaning recharger Operating temperature:...
- Page 4 Charging with the self-cleaning recharger Thoroughly wipe off any drops of water on or around the recharger so that it is dry before charging it. Attach the detergent Remove the protective cartridge and the cap and then attach water tank to the the shaver.
-
Page 5: Using The Shaver
About the LCD panel Using the shaver The LCD panel shows the remaining battery capacity from 0% to 100%, in 10% increments. 10 minutes after After charging is While charging charging is completed completed 90˚ Press the OFF/ON Hold the shaver as The indicators The indicators blink The indicators... - Page 6 Replace the detergent cartridge when the status lamp is months, throw away the detergent cartridge and the cleaning liquid. • illuminated. Use the below chart as a guide. Only use self-cleaning recharger detergent for Panasonic shavers. • Always change the detergent cartridge and the cleaning liquid in Shaving...
- Page 7 Cleaning the shaver Insert the appliance Remove the Press [SELECT] to select the course. plug. protective cap and • Each time you press [SELECT], the course changes from “Clean/ then attach the Plug in the adaptor. Dry/Charge” “Clean/Dry” “Dry/Charge” “Dry” “Charge”.
- Page 8 Cleaning with the self-cleaning recharger (continued) Follow the steps outlined below if the status lamp blinks or glows Cleaning the shaver without the self-cleaning during the “Clean/Dry/Charge” course or the “Clean/Dry” course. recharger Blinks Glows We recommend that you clean Correctly set the Remove the shaver from the self- your shaver with the self-cleaning...
- Page 9 6. Dry the outer foil section and Replacing the system outer foil and the inner the shaver completely. 7. Attach the outer foil section to blades the shaver. 8. Lubricate the shaver. system outer foil once every year inner blade once every two years Replacing the system outer foil 1.
- Page 10 Replacing the inner blades Cleaning the self-cleaning recharger 1. Press the foil frame release buttons and lift the outer foil Beard trimmings may become attached to the cleaning tray of the section upwards as illustrated. self-cleaning recharger. Follow the steps below to remove them. 2.
- Page 11 • Disconnect the power cord • Do not pull hard on the rubber blade protector at the bottom of from the shaver when the cleaning tray. The rubber may come off if you pull hard on it. removing the battery. It is only necessary to pull it up slightly.
- Page 12 Wanbao Base Shiguang Road, Panyu District, Guangzhou, Guangdong, 511495 CHINA No.1 EN Printed in China...


Need help?
Do you have a question about the ES8109 and is the answer not in the manual?
Questions and answers
Долго лежала не заряжается
The Panasonic ES8109 may not charge after being unused for a long time because the battery's lifespan can be shortened, especially if it was stored or used at low temperatures. Also, if the indicators on the LCD panel do not light up, it may take a short time before they do. If they blink twice per second, it indicates a charging issue.
This answer is automatically generated
На боковине бритвы есть переключатель, для чего он преднозначен?