Table of Contents
Advertisement
Advertisement
Table of Contents

Related Manuals for Riccar SupraLite R10S


Summary of Contents for Riccar SupraLite R10S
- Page 1 R10S, R10D, R10P & R10SAND R10S, R10D, R10P & R10SAND O w n e r ’ s M a n u a l...
-
Page 3: Table Of Contents
Replacing the Agitator Belt Lifetime Belt Protection Brushroll Jam Indicator Resetting the Circuit Breaker Replacing the Squeegee Annual Checkup Problem Solving Guide Troubleshooting Visit Riccar Vacuums Online How to Contact Your Authorized Retailer Key Replacement Parts For Best Performance Warranty... -
Page 4: Important Safety Instructions
Authorized Riccar Retailer • Do not use without vacuum bag in place. for service. • Turn off all controls before unplugging. -
Page 5: Polarization Instructions
PolARIzAtIon InstRUCtIons Power Cord, 2-Wire Polarized Cord To reduce the risk of electric shock, this product is equipped with a polarized alternating current line plug (a plug having one blade wider than the other). This plug will fit into the power outlet only one way. -
Page 6: Description Of The Vacuum
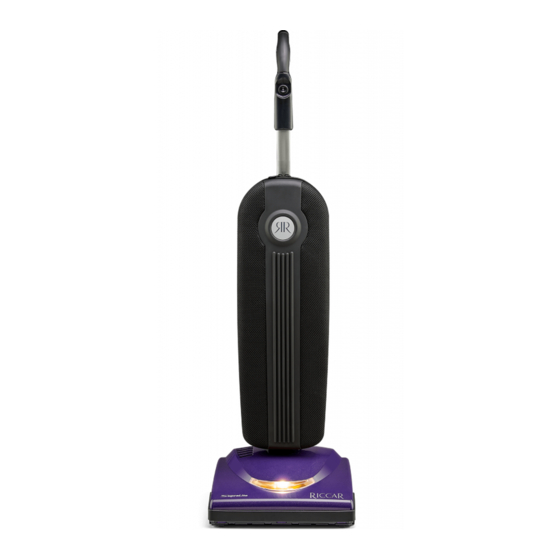
DesCRIPtIon oF tHe VACUUM Ergonomic Handle On/Off Power Switch Bag Compartment Vacuum Nozzle Headlight Furniture Guard Brushroll Jam Indicator (models R10P and R10SAND only) Circuit Breaker Reset Button (models R10S and R10D only) Handle Release Pedal Quick Release Cord Hook Upper Cord Hook... -
Page 7: Assembling The Vacuum
AsseMblIng tHe VACUUM SHEET PART 1 OF 1 DESCRIPTION O Attaching the Handle to the Vacuum NOTE: Do not plug in the vacuum until it is completely assembled. The vacuum cleaner and the handle are packed separately and require assembly. •... -
Page 8: Operation
oPeRAtIon This vacuum is intended for household use only. Reclining the Handle • Press the handle release pedal located on the back of the vacuum with your foot to recline the handle (Fig. 1). On/Off Switch Fig. 1 • The power switch located on the vacuum handle, is a three-way switch (Fig. -
Page 9: Maintenance And Care
Power Cord Care • If the cord or plug has any apparent damage, refrain from using the vacuum. Please visit an Authorized Riccar Retailer for a new cord or plug. • When the vacuum is in use, hold the cord to keep from running over it. -
Page 10: Replacing The Vacuum Bag
MAIntenAnCe AnD CARe Replacing the Vacuum Bag NOTE: Unplug the vacuum cleaner from the electrical outlet before changing the bag. • Unzip the bag compartment. • Remove the used vacuum bag by pulling the green bag collar tab away from the vacuum (Fig. -
Page 11: Removing And Reinstalling The Bottom Plate
MAIntenAnCe AnD CARe Removing and Reinstalling the Bottom Plate WARNING! To Reduce the Risk of Electrical Shock or Injury From Moving Parts, Unplug Before Servicing or Cleaning. To Remove the Bottom Plate: • Press the handle release pedal to place the vacuum cleaner in the flat position. -
Page 12: Replacing The Agitator Belt
• Reinstall the bottom plate (see page 9). Fig. 2 Lifetime Belt Protection Warranty (Models R10P and R10SAND only) Your vacuum belt is covered with a lifetime warranty. Should the vacuum belt break, simply bring your vacuum to your Authorized Riccar Retailer for a free replacement. -
Page 13: Brushroll Jam Indicator
• If the brushroll is free of obstructions and the Brushroll Jam Indicator light is still flashing, it’s likely the clogged condition is located in the vacuum motor fan. If so, please take your SupraLite to an Authorized Riccar Retailer for service. -
Page 14: Resetting The Circuit Breaker
Annual Checkup To keep your vacuum in peak operating condition, it is recommended you bring it to an Authorized Riccar Retailer for an annual checkup. The Retailer will conduct a comprehensive examination to ensure your vacuum is in top operating condition. -
Page 15: Problem Solving Guide
Review bag installation (page 8). Any other service should be performed by an Authorized Riccar Retailer. To locate your nearest Authorized Riccar Retailer visit our website at www.Riccar.com or call 888.6.RICCAR. Key Replacement Parts • Genuine HEPA Media Vacuum Bags: RLH-6 •... -
Page 16: Warranty
WARRAntY What is Covered: This warranty covers any defects in material and workmanship in your new Riccar vacuum and applies exclusively to the original purchaser. How Long Coverage Lasts: Warranty coverage for R10S and R10D lasts four years. R10P and R10SAND lasts 5 years. - Page 17 oWneR’s WARRAntY InFoRMAtIon keep this for your records… Date of purchase Serial number Model number Purchased from: Store name Address City, State, Zip Telephone...
- Page 18 notes...
- Page 20 ©2013 Tacony Corporation B503-7000 10.13...
Need help?
Do you have a question about the SupraLite R10S and is the answer not in the manual?
Questions and answers
Wiring diagram