Samsung S19C150N User Manual
Hide thumbs
Also See for S19C150N:
- User manual (95 pages) ,
- User manual (94 pages) ,
- User manual (94 pages)
Table of Contents
Advertisement
User manual
S19C150N
S19C150F
S20C150FL
S20C150NL
S22C150N
S19C325N PLUS
S19G325N PLUS
S19H325N PLUS
S19R325N PLUS
S19V325N PLUS
S20C325B PLUS
S20G325B PLUS
S20H325B PLUS
S20R325B PLUS
S20V325B PLUS
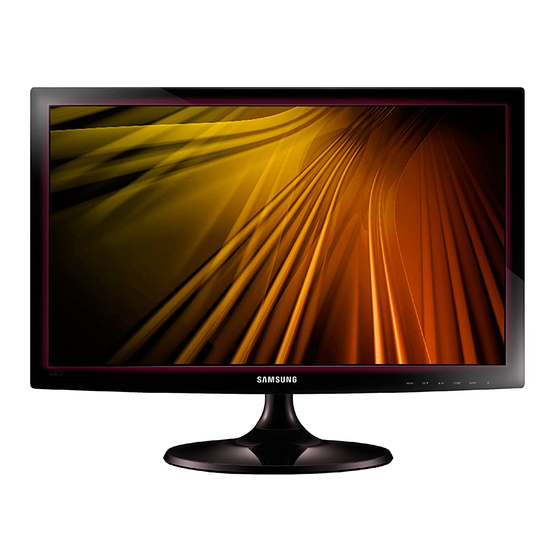
The color and the appearance may differ depending on
the product, and the specifications are subject to
change without prior notice to improve the performance.
Advertisement
Table of Contents


Need help?
Do you have a question about the S19C150N and is the answer not in the manual?
Questions and answers