Advertisement
®
Visit ProMariner Online at www.promariner.com, for a Complete
Selection of Quality Marine Products...
Here are just a few:
ProMite Series - Recreational Grade Waterproof Marine Battery Chargers
ProSport Series - Heavy Duty Recreational Grade Waterproof
Marine Battery Chargers
ProTournament Series - Professional Grade Tournament
Waterproof Marine Battery Chargers
ProTech-I Series Dry Mount Battery Chargers
Digital Mobile Charge In-Transit Chargers
Battery Maintainers
AC Plug Holders
Battery Isolators
Isolation Transformers
Galvanic Isolators and Monitored Systems
Corrosion Control Products
Waterproof Marine Binoculars
Gold Plated Fuses and Holders
A Complete Line of Hand Held Test Meters
Online Technical Support and Service Support
Visit frequently, we are always adding new products for your
boating enjoyment!
Professional Mariner, LLC
200 International Drive, STE 195
Portsmouth, New Hampshire 03801
TEL: 603-433-4440
FAX: 603-433-4442
www.promariner.com
specifications subject to change without notice
09/06 rev b
®
Owner's Manual and Installation Guide
Microprocessor Controlled, Fully Automatic, Multi-Stage Battery Charger
Models
Part No.
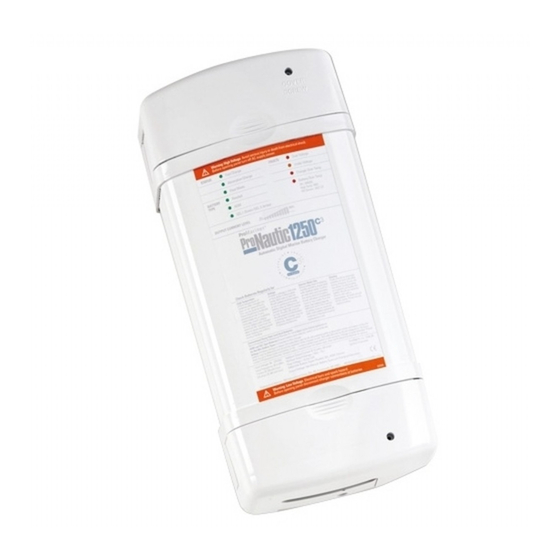
ProNautic1240 C3
63540
ProNautic1250 C3
63550
ProNautic1260 C3
63560
ProNautic2425 C3
63725
ProNautic2430 C3
63730
IMPORTANT NOTICE
This manual contains important safety and operating instructions for ProNautic models
1240, 1250, 1260, 2425 and 2430. Please save and read all safety, operating, and installation
instructions before installing or applying AC power to your ProNautic series battery charger.
Your Satisfaction is Important to Us!
Do not return this product to retailer or dealer for any service or warranty requirements.
Call our Customer Care Department at 800-824-0524 from 8:30 am to 5pm (EST) for warranty,
service or installation assistance.
PLEASE RECORD YOUR:
model number:
serial number:
Series
FIVE YEAR
WARRANTY
Amperage
No. Of Banks
40 Amps
3 Banks
50 Amps
3 Banks
60 Amps
3 Banks
25 Amps
3 Banks
30 Amps
3 Banks
date of purchase:
Volts
12
12
12
24
24
Advertisement
Table of Contents

Related Manuals for ProMariner ProNautic1240 C3


Summary of Contents for ProMariner ProNautic1240 C3
- Page 1 ® ® Series Visit ProMariner Online at www.promariner.com, for a Complete Selection of Quality Marine Products... Owner's Manual and Installation Guide Here are just a few: FIVE YEAR ProMite Series - Recreational Grade Waterproof Marine Battery Chargers WARRANTY ProSport Series - Heavy Duty Recreational Grade Waterproof...
- Page 2 ® ® Notes Table Of Contents Please read entire manual before installation. CAUTIONS, WARNINGS AND SAFETY INSTRUCTIONS… Setup and operation… Selecting a Charging Profile and Understanding Battery Types… Installation... 8-11 DC Wiring Diagrams… AC connections... 10-11 Grounding Connection & Drip Shield Installation… Troubleshooting...
-
Page 3: Important Safety Instructions
Do not discard this manual, save it for future reference. To make a claim under warranty, go to www.promariner.com and click on the support tab and follow the instructions making sure to identify the product and the problem. Professional Mariner will make its best effort to repair or 1. - Page 4 These batteries may burst and cause injury to persons and damage to property. To Place an Order Please Contact Your Local Dealer or ProMariner at: Tel: 603-433-4440 / Fax: 603-433-4442 / www.promariner.com...
-
Page 5: Frequently Asked Questions
Q: What are the voltage requirements & how can I change the voltage from 120v to 240v? NOTE: ProMariner recommends that the ProNautic Battery Charger be mounted in the A: The ProNautic charger will automatically adjust for the correct AC voltage. -
Page 6: Setup And Operation
Setup and Operation Troubleshooting Install your ProMariner battery charger by referring to page 8 of this manual. Note: When working with tools near electricity serious electrical shock can occur resulting in injury. After installation is complete including AC and DC connections, please ensure proper fusing, strain 1) Turn off all power to the charger and disconnect all the DC cables at the batteries relief and cable support has been performed. - Page 7 The charger modes are as follows Fast Charge, Absorption, Float and Reconditioning. ***If you are unsure as to what kind of battery you have, we recommend that you contact the manufacturer of the battery. Should you have any questions please visit www.promariner.com or call 1-800-824-0524.
- Page 8 Selecting a Charging Profile & Understanding Battery Types I n s t a l l a t i o n Charging Information AC Connections 5) AC power should not be present until step 12 is completed . After connecting the AC and DC cables to the charger use cable support on the cables within 6”...
- Page 9 I n s t a l l a t i o n I n s t a l l a t i o n DC Wiring Diagrams Installation Three Bank Installation (FIG.1) 1) Make sure to mount the charger in a DRY ventilated location with easy access. Remember AC Input FIG.1 to leave plenty of room for battery cables and AC wiring.
Need help?
Do you have a question about the ProNautic1240 C3 and is the answer not in the manual?
Questions and answers