Table of Contents
Advertisement
Advertisement
Table of Contents

Subscribe to Our Youtube Channel
Related Manuals for Breezair TBA 550


Summary of Contents for Breezair TBA 550
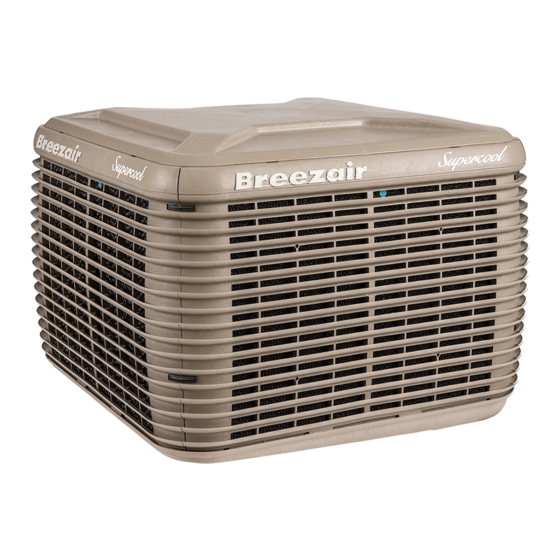
- Page 1 Breezair TBA 550 Installation Manual...
-
Page 2: Table Of Contents
Table of Contents ITEM PAGE Safety Instructions Specifications 1 , 2 Exploded View of the Air Cooler Components of the Air Cooler Dismantling the Air Cooler 4 , 5 Installing the Transition Installing Electric Cables Water Connection 6 , 7 Plumbing Connection Electrical Connection Installing the Fan Assembly... -
Page 3: Safety Instructions
Safety Instructions Please read this manual carefully. Your failure to do so could result in injury to you or damage to the cooler and property. Disconnect electrical power at the fuse or circuit breaker box and turn "OFF" the isolating switch located inside the cooler on the Electronics Module before you begin to install the cooler. -
Page 4: Exploded View Of The Air Cooler
WATER Specification : Water Connections : 1/2 inch BSP Maximum pressure: 800 KPa (115 PSI) IMPORTANT: If the water pressure exceeds 800KPa, then a pressure reducing valve must be fitted near to the air cooler by the installer! The air cooler will function best when clean water is supplied. Water that contains dissolved salts and other impurities will cause the cooling pads to become blocked more quickly and then they require maintenance. -
Page 5: Components Of The Air Cooler
Components Of The Air Cooler 1. Transition (used for the transport base, this becomes the the air cooler base for connection to the duct) 2. Weatherseal (stops air flowing in and out when the air cooler is not operating) 3. Transition Plug (fitted in the factory) 4. -
Page 6: Dismantling The Air Cooler
Dismantling The Air Cooler Dismantling The Air Cooler The air cooler is designed to be partially dismantled in order to reduce the weight The air cooler is designed to be partially dismantled in order to reduce the weight for installation. for installation. -
Page 7: Installing The Transition
REMOVING THE TRANSITION Turn the cooler onto its side to remove the Transition. It is held to the cabinet for transport with big clips. The Transition can be pulled off the cabinet with a strong pull by the installer. If it is difficult to remove, squeeze the clips together and then pull. -
Page 8: Installing Electric Cables
Lift the air cooler up and place it onto the Transition. It will only go one way. Make sure the clips in the four corners engage correctly. See Diagram. Do not use any screws to attach the air cooler. IMPORTANT: Do not place the venturi assembly into the air cooler at this stage. - Page 9 Attach the drain Adaptor under the Drain Valve and attach a pipe to carry the water to a suitable drain point. Do not allow water to run freely onto the roof - it will stain the roof!! See Diagram. The Water Sensor protects the pump and helps control water salinity.
-
Page 10: Plumbing Connection
BLEED FUNNEL ALTERNATIVE The bleed funnel is a simplified alternative to the drain valve. It also provides overflow and drain features. Assemble the bleed funnel to the Water Tank as shown. Make sure the o-rings are fitted correctly. Screw the nut tight by hand!! Attach the Drain adaptor under the Bleed Funnel and attach a pipe to carry the water to a suitable drain point. -
Page 11: Electrical Connection
Electrical Connection Now the Electronics Module must be re-fitted. First take the wall control cable and the Solenoid Valve cable (if installed) that are loose in the Water Tank and route them out from the Electronics Module location, as shown.The cables must rest in the special channel provided. -
Page 12: Installing The Wall Control
Installing the Wall Control WALL CONTROL LOCATION Install the Wall Control station about 1.5 metres above the floor in the place where you want the temperature to be controlled from. When selecting a position for the Wall Control station avoid the following locations: •... - Page 13 Insert the mounting plugs into the holes and ensure the plug face is against the wall. Insert the screws into the plug as shown. Only use the screws provided. Tighten the screws fully until the mounting plug beds into the wall, then retract the screw so it protrudes by 2.0mm.
-
Page 14: Wall Control Programming
BRICK WALL To mount the wall control on a brick wall, follow the previous instructions using the wall plugs and screws provided. Note that the wall plugs require 5mm holes as indicated on the template provided. WARNING: Ensure there are no electrical wires behind the wall where you intend to drill. -
Page 15: Commissioning The Air Cooler
DRAIN RATE ADJUSTMENT If you installed the drain valve then the water will drain when the sensor detects that the water salinity is too high. Alternatively and if necessary, the air cooler can be set to replace some water after a set time of cooling operation with the following procedure. - Page 16 If you installed the drain valve, a complete drain can be initiated by holding down both for 1 second when the wall control is OFF. The signal “dr” will display to confirm the drain operation has activated. WATER PUMP CONNECTION Switch off the electronics module.
-
Page 17: Troubleshooting Guide
Troubleshooting Guide PROBLEM - Inadequate Cooling CAUSE ACTION 1. Pump not working correctly. Check plug, wiring and circuit breaker. Impellor may be jammed or obstructed. Check salinity sensor correctly installed. Rectify fault or replace pump. 2. Dry pads. Check water flow to pads Inspect fitment of distributor cap. - Page 18 PROBLEM - No Variable Speed CAUSE ACTION 1. Faulty electronics module Replace electronics module or wall or wall control. control. 2. Minimum fan speed set Adjust fan speed. See diagram on too high. pg 9. PROBLEM - Noisy Unit CAUSE ACTION 1.
- Page 19 PROBLEM - Unit Will Not Run / Wall Control Display Fault (Cont.) CAUSE ACTION 5. Main supply frequency Reset the wall control by pushing change. (wall control displays the power button. “service”, red light on electronics module flashes) 6. Water sensor not working Check that the sensor is correctly (if water sensor installed.) fitted and the cable is plugged in.
- Page 20 information is extracted from booklet 839479-B.
Need help?
Do you have a question about the TBA 550 and is the answer not in the manual?
Questions and answers