Advertisement
Quick Links
Advertisement

Subscribe to Our Youtube Channel
Related Manuals for TigerStop Printer


Summary of Contents for TigerStop Printer
- Page 1 Made In America 2013 TigerStop, LLC ™ Printer...
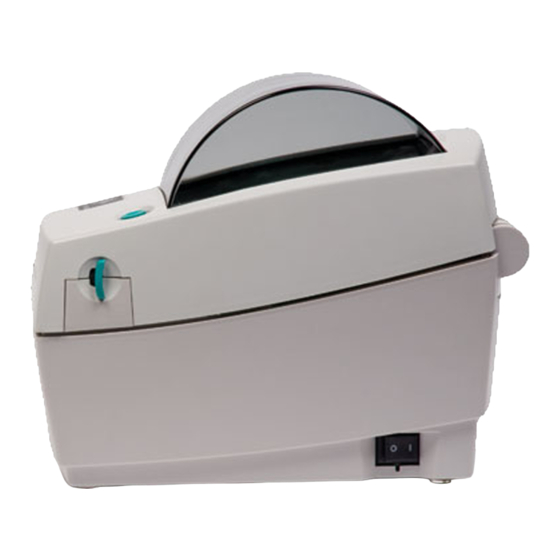
- Page 6 Unpacking the Label Printer Set the box the printer shipped in on a bench or table. We are going to remove the contents, one package at a time, to ensure we have everything we need.
- Page 7 The printer stand comes in 5 pieces. You will have a printer stand base (item A), a round tube (item B), a square tube (item C), a printer stand top (item D) and a printer cover (item E). The printer stand...
- Page 8 6. Remove the I/O panel from the box and set it on the table. The I/O panel with interface with the TigerStop controller, motor box and the printer.
-
Page 9: Installation
Installation The printer must be installed AFTER TigerStop is installed to the tool. If TigerStop has not been installed yet, please do so now. Printer Stand Assemble the printer stand, as shown on the next page, using the printer stand hardware pack. - Page 11 6. Plug the [black] end of this same cable into the I/O panel port labeled “Amp”. Printer Installation 1. Place the printer on the printer stand. The feet of the printer will drop into holes in the top of the printer stand.
- Page 13 Configuration After the printer has been installed and connected to TigerStop, we need to change settings to tell TigerStop that it has a printer. Access the Options Menu Power up TigerStop and run the home routine. When finished, TigerStop will display the Ready screen.
- Page 14 Print Cut The print cut setting tells TigerStop to print length and quantity information any time TigerStop is moved. Print Cut can be set to two different settings. •Standard - This will print the data in a standard small font.
- Page 16 FIND US ONLINE AT www.tigerstop.com 12909 NE 95th Street Vancouver, WA 98682-2426 1.360.254.0661 sales@tigerstop.com TigerStop B.V. Holland 31 546 575 171 info@tigerstop.nl...
Need help?
Do you have a question about the Printer and is the answer not in the manual?
Questions and answers